Sharpness is essential for professional results. Learn how to take sharp portraits. Also, get tips to avoid blurry photos in different situations.

A blurry photo can be a creative effect. But, if your goal is to capture tack-sharp portraits, a blurry and soft result is frustrating.
When working with clients, they expect sharp images.
It’s an essential skill for a photography business and professional results.
Understanding the different factors allows you to capture sharp photos in all situations.
The following covers everything you need to capture tack-sharp portraits. You’ll learn about the best tricks, settings, and gear.
1. Keep your camera still

How you hold your camera affects the sharpness of an image. You can counteract camera shake with steady hands and good form.
The following covers how to hold a camera for the most stability:
- Wrap your right hand around the right side of the camera. Your finger should hover over the shutter button.
- Use your left hand to hold the bottom of the lens and camera.
- Tuck your elbows into your side for stability and control.
- Bend your knees a little to stabilize your body.
Hold the camera as steady as possible to avoid blurry results. A light movement can cause the camera to shake and soften a photo.
You must support and stabilize your camera and lens to capture sharp portraits.
Aside from hand-holding your camera, you can use a tripod.
Also, you can use a shutter release button to shoot without touching the camera.
A tripod provides top-notch stability and helps you avoid camera shake.
2. Use a fast shutter speed

Shutter speed is how long the camera takes to capture an image.
A fast shutter speed is essential for sharp portraits. It creates a shorter exposure and freezes motion.
The shutter speed you choose depends on the subject. A moving subject needs a faster shutter speed than a still one.
Aside from motion blur, a fast shutter speed also helps prevent camera shake.
Most portraits will be sharp with a shutter speed of 1/125 or faster. But change the shutter speed depending on your subject and exposure.
If you want to use a slower shutter speed, use the 1-over-focal-length rule.
If you have a 100mm lens, the slowest shutter speed you should use is 1/100 for handheld shots. If you have a 200mm lens, it should be 1/200 or faster.
A lens with image stabilization will give you wiggle room to use slow shutter speeds.
Regardless, fast shutter speed is a crucial aspect of capturing sharp portraits. So, set it depending on your subject.
3. Avoid using the widest aperture

Aperture affects the depth of field, exposure, and sharpness. Before choosing an f-stop, consider the background.
You need a wide aperture to achieve a blurry background or get enough light at night. But, a narrow aperture offers corner-to-corner sharpness.
If you need to use a wide aperture, avoid shooting wide open.
Lenses are sharpest a couple of stops down from the smallest f-stop number, and it’s easier to miss the focus.
So, use f/2.8 to f/8 for the aperture. It leads to crisp images and consistency.
You can also create a shallow depth of field without the widest aperture with distance.
Decrease the distance between your camera and the subject. Then, increase the distance between the subject and background.
It allows you to use a narrower aperture while capturing bokeh and a blurry background.
4. Focus on the eyes
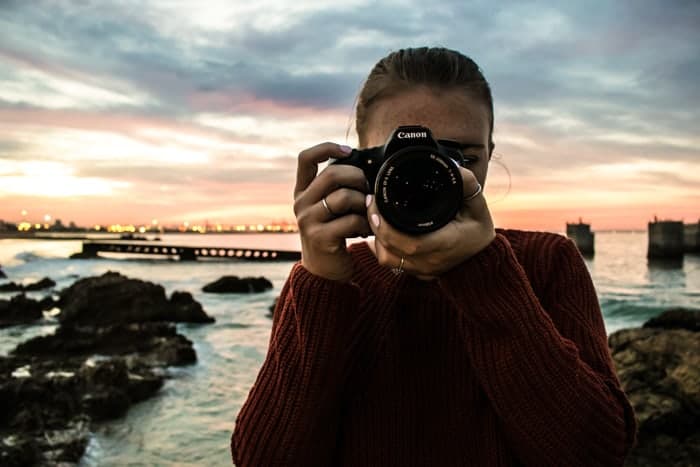
Portraits look best when the eyes are in focus. If your subject is at an angle, focus on the eye closest to the camera.
It creates eye contact and a connection with viewers. You can use manual focus or autofocus.
When using autofocus, single-point autofocus is the best type. It allows you to select a subject’s eyes for accurate focusing.
Aside from focusing on the eyes, ensure you capture catchlights. It’s the reflection of light on the eyes.
Your portraits will be sharp and powerful when you focus on the eyes with catchlights.
5. Use the lowest ISO possible

In digital photography, ISO is the camera’s sensitivity to light. The sensitivity increases with the ISO value.
The lowest ISO is the base ISO, which gives you the highest quality image.
A high ISO like ISO 6400 brightens an image. The drawback is that it adds digital grain and noise.
High ISO values can reduce sharpness due to digital noise rather than optical or gear issues.
If you’re shooting portraits at night, you may need a high ISO. You can only slow down the shutter speed so much before getting blurry results.
Noise and grain are better than motion blur or camera shake.
The best practice for taking sharp portraits is to use the lowest ISO possible.
6. Clean your lens

Dust, dirt, and smudges can affect the accuracy of the camera autofocus and lead to poor image quality.
So, clean your lens because it affects your results.
When cleaning your camera lens, start with a soft brush or blower to remove dirt and dust.
The first step is essential because wiping dirt on the glass may scratch it.
Then, use a lens-cleaning solution or lens wipe to clean the glass.
The final step is to use a microfiber cloth to wipe away smudges and ensure the lens is dry and clean.
Aside from dirt and dust, check the lens when shooting in rain or snow. The weather can also soften your image.
So, bring a microfiber cloth and use a lens hood in inclement weather.
7. Use a high-quality lens

A high-quality lens makes a difference in image sharpness.
While skill and techniques are essential, a professional lens gives you the sharpest results.
You can also get the most out of a high-resolution camera with a better lens.
Many professional lenses are expensive. But there are some excellent options at lower prices.
For example, the 50mm f/1.8 lens captures exceptional and sharp portraits.
So, get the best lens within your budget.
8. Use continuous shooting
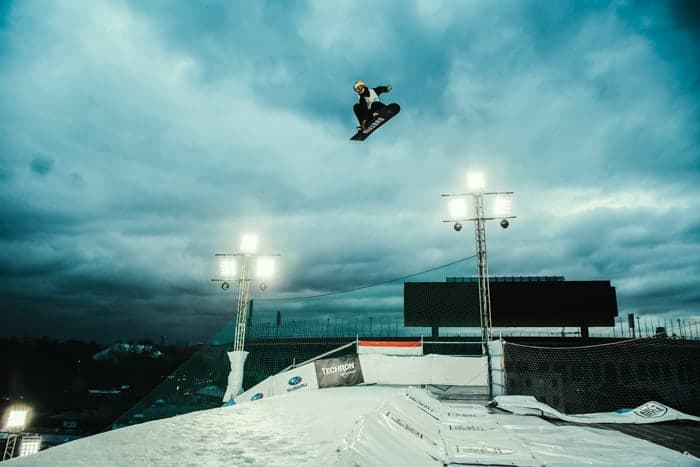
Continuous shooting or burst mode is an excellent way to capture sharp portraits.
Instead of taking one photo at a time, it captures many. The number depends on the frames per second rate.
While you can use it for still subjects, continuous shooting is best for moving subjects.
Among the many shots you capture, a few will be sharp.
Another benefit is that you capture genuine expressions from the moments.
When using burst mode, you must use a memory card with a higher capacity. More photos at a time mean it will take up more space.
9. Shoot with good light

Light can make or break portraits. So, focus on shooting with good lighting.
You can use natural or artificial lighting to capture sharp portraits.
Well-lit situations offer good contrast, colors, and sharpness. Also, you use fast shutter speeds due to the brightness.
Artificial lighting is the easiest to control. But shade and the golden hours are best for outdoor portraits.
When shooting outdoors, watch out for lens flare. It softens your image and reduces the contrast.
If you see a lens flare, reposition the light source, use a lens hood, or block it with your hand.
Good lighting is essential for sharp portraits.
10. Skip the lens filter

UV and polarizing filters have many benefits. But they can lead to softer images.
The filters increase the number of elements between light and the sensor.
Skip the lens filter if you want to capture the sharpest photos possible.
Frequently asked questions about taking sharp portraits
Why are my portraits not sharp?
Blurry portraits are from a slow shutter speed, the wrong focusing point, and camera shake. Try a faster shutter speed and use a subject’s eyes as the focusing point. You can also use a narrower aperture to capture a deeper depth of field.
Which f-stop is the sharpest?
The sharpest f-stop or aperture is two to three f-stops from the widest aperture. It’s also known as the lens sweet spot. For many lenses, it’s f/8 or f/11. It gives you the sharpest aperture, creating corner-to-corner sharpness.
How do you take group pictures with everyone in focus?
Sharpness throughout the frame is essential when taking group and family pictures. It all comes down to the aperture. The widest aperture you can use depends on the rows of people. If everyone is in one row, an f-stop of f/2.8 will work. If there are two rows or more, use f/5.6 or f/8.
Conclusion
Now that you know how to capture sharp portraits, you can say goodbye to blurry and soft photos.
The settings and gear depend on the subject. For example, a moving subject needs a faster shutter speed than a still one.
Use the techniques moving forward to take sharp portraits every time.
You’ll be better at using your camera and capturing crisp images.
Related: Silhouette Photography Tips and Examples
Featured photo courtesy of Unsplash.

Comments are closed.