A catchlight is the reflection of light in a subject’s eye. Learn to use it. It’s one of the best ways to separate your portrait photography from others.

Posing, composition, and emotions are essential aspects of stunning portraits.
But one thing most portrait photographers overlook is the eyes.
An engaging and powerful portrait photo begins with the eyes. It builds a connection between the subject and the viewer.
The eyes must have catchlights. It makes them sparkle and creates depth.
The following is a complete guide to capturing catchlights in portrait photography.
What’s a catchlight in photography?
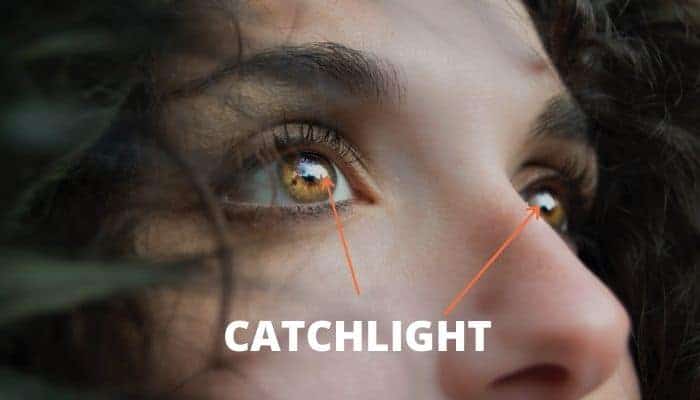
A catchlight is the reflection of a light source in the eyes. Another name for it is eye light.
Eyes are reflective, and the catchlight can be different sizes, shapes, and locations.
How it looks depends on the size and location of the light source. Also, you can have more than one catchlight in an image.
Start using the technique in your portraits. It adds dimension and makes them more compelling.
The reflection of light also makes your subject look lively.
How to capture catchlight outdoors

The sun and sky are the most convenient light sources available.
Natural light is available regardless of the weather or season. You can use harsh mid-day sun or shoot when the clouds offer diffusion.
At night, you can use ambient light to illuminate a subject.
Outdoor portrait photography makes capturing catchlight straightforward. It all comes down to angles.
The subject should face the light source. You can adjust their position to create the reflection of light in their eyes.
Avoid having your subject look at bright lights straight on. It’s damaging and causes squinting.
The best position is to have your subject look at the sky instead of the sun.
Another way to capture catchlights outdoors is to use a reflector.
It’s an excellent portable photography accessory that adds light where you need it.
Since natural light can be uneven, a reflector allows you to capture good lighting.
A silver reflector is the best choice. It gives you a prominent catchlight that leads to beautiful portraits.
How to capture catchlight indoors with natural light

Windows and doorways are the best light sources for indoor natural light portraits. They provide a soft light and diffusion.
You can shoot under different lighting conditions without your subject squinting.
The ideal way to position the subject is at a 45-degree angle from the light source.
It’s the angle that creates natural-looking shadows and stunning catchlights.
Look at the catchlights and ensure they’re at the 10 or 2 o’clock position.
The two catchlight locations are the most appealing. It leads to captivating eyes in your portraits.
How to capture catchlight indoors with artificial light
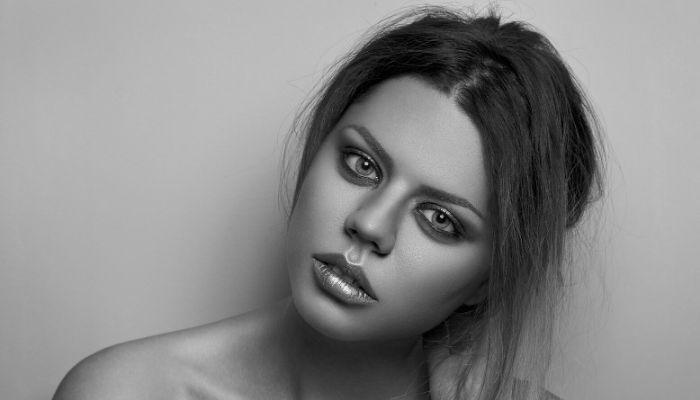
Natural light brings uncertainty. Artificial light has an edge because it gives you control.
You can shoot anytime and capture gorgeous catchlights, thanks to artificial light.
Also, you can control the intensity. Depending on the mood of the portrait, you can make it brighter or darker.
Artificial light also allows you to make the color temperature warmer or cooler.
Like natural light portraits, illuminate your subject from a 45-degree angle.
Aside from angles, the light source depends on the catchlight shape you want to achieve.
A large softbox produces square catchlights, while ring lights create rings. Artificial light offers control and flexibility.
Enhance or create catchlight in post-processing

The ideal scenario is to capture catchlights in-camera. Then, you can increase the highlights or use the brush tool to enhance them in editing.
When editing catchlights, compare your edits with the original image. You must ensure that it looks natural while bringing out the eyes.
If you miss a catchlight in the original image, you can add it in post-processing.
Using software like Photoshop, upload your picture and zoom into the eyes.
Copy the catchlight with the selection tool and paste it into the other eye. Then, adjust the highlights and details to make it look natural.
Catchlight photography tips
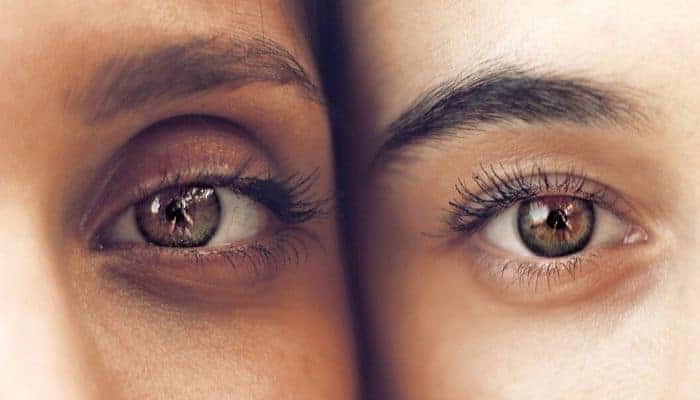
The eyes are one of the most impactful aspects of a portrait. They must be in-focus, well-lit, and feature catchlights.
An excellent technique is to use a large aperture because it creates a shallow depth of field. It blurs the background and keeps the eyes as the focus.
When using a shallow depth of field, nailing the focus is essential since it’s easy to miss.
The large aperture makes the eyes and catchlights more prominent.
Another aspect to consider is your clothes. Wear dark or white clothing.
A bright red or green shirt may lead to a slight reflection in the catchlights.
Use the tips to capture better eye light. It gives the eyes life, depth, and dimension.
Conclusion
A catchlight is the reflection of light in the eyes. It draws viewers to your portrait and creates a connection with the subject.
The glimmer of light adds depth and dimension to the photo.
You can capture a catchlight indoors or outdoors. The key is positioning your subject’s face toward a light source.
Make sure the catchlight is dim to make the portrait look natural while bringing it to life.
Related: Editorial vs. Commercial Photography
Featured photo courtesy of Unsplash.
