In photography, focus refers to the areas of the image that are sharp and clear. Learn about focus, different modes, and tips.

What’s focus?
Focus is a pillar of photography. It refers to the parts of the image that are sharp and clear. The parts or areas that are sharp are known as the plane of focus.
Related: How to capture sharp portraits
Have you looked at a portrait and noticed that the edges of a person look fuzzy? Blurriness occurs when the image is out of focus.
That’s why the focus will make or break a photo. With sharp focus, your photos will be crisp, clear, and of higher quality.
Related: 7 ways to take better pet portraits
Another reason focus is so important is that you can’t fix it in post-processing. Exposure, white balance, and colors can be adjusted, but the focus can’t.
When you’re out shooting photos, make sure you nail the focus.
Fortunately, modern cameras offer excellent autofocus, which can help you take sharp photos without manually focusing.
Regardless of the method, make sure you prioritize the focus.
By understanding how focus works and learning focusing tips, you can consistently capture sharp photos.
Related: Best point-and-shoot cameras
How aperture affects focus
Aperture affects the depth of field, which determines how large of an area is in focus on the plane of focus.
If you make the aperture smaller, a greater area will be in focus. Alternatively, making the aperture larger reduces the area that’s in focus.
Smaller apertures equal a deep depth of field, while larger apertures equal a shallow depth of field.
Related: 45 inspiring photography quotes
Typically, landscape photos require smaller apertures because you want to capture the beauty of the entire scene.
For portraits, you’ll mostly use large apertures to blur the background and keep a sharp focus on your subject.
Since the aperture controls the range that’s in sharp focus, it plays a vital role in the sharpness of your image.
Manual focus vs. autofocus

Many modern camera lenses offer two focus modes, manual and automatic.
Older camera lenses only offer manual focus, as autofocus is a relatively new feature. It was first introduced in 1977.
Related: How to write a photography mission statement
While the ability to capture a crisp photo with manual focus is impressive, autofocus is more convenient.
Camera manufacturers have improved their cameras’ autofocus performance to be faster and more accurate than ever.
The following is a more thorough explanation of manual focus and autofocus, along with when to use each one.
Manual focus
Manual focus is a classic yet advanced skill. First, your lens must have the manual focus setting selected. Typically, it’s shown as MF.
Then, you’ll look through the viewfinder or LCD and twist the ring on the lens barrel until the image is in sharp focus.
At first, your images may turn out blurry, and you may focus on the wrong parts.
Related: How megapixels affect photos
Manual focus isn’t easy, especially as you start using it for the first time.
However, you’ll start getting the hang of it, which will lead to sharp photos with manual focus.
By mastering manual focus, you’ll be able to take sharp photos in situations where autofocus may struggle.
For example, autofocus faces challenges when it’s dark or if you’re taking a close-up photo.
With manual focus, you don’t have to worry about it. Instead, you can capture sharp and focused images regardless of the situation.
Autofocus
The ability to use manual focus is an excellent skill to have. However, most lenses offer a convenient, fast, and accurate autofocus.
Another benefit of using autofocus is that it allows you to focus on exposure and composition.
Related: Best Nikon full-frame cameras
Not only will autofocus save you time, but it’ll also ensure that you don’t lose a photo due to blurriness. It can capture still or moving objects, which makes it an excellent feature.
To use autofocus, switch your lens to AF. After switching the lens to autofocus mode, you’ll select the autofocus settings on your camera.
With autofocus, cameras offer two settings, focus mode, and focus area.
Focus modes include single-shot (AF-S or single-servo), automatic (AF-A or auto-servo), and continuous (AF-C or continuous-servo).
With single-shot autofocus, you’ll point the lens at a subject and press the shutter to focus and take the photo.
Once you release the shutter, the autofocus will reset and need to focus again before taking another picture.
Related: Canon EOS M50 review
Continuous autofocus means that the camera and lens will keep the subject in the autofocus zone in sharp focus as long as you’re pressing down the shutter button halfway.
It’s the ideal focus mode for taking pictures of moving subjects.
The automatic focus mode sits in between single-shot and continuous. You won’t need to do anything. Instead, the camera will choose the best focus mode for the shot.
The second aspect is the focus area. The following covers the different focus areas:
- Wide or auto: Automatically focuses on a subject regardless of where it is in the scene.
- Zone or dynamic: You’ll select a zone in the frame, and the camera will focus on a subject in that zone.
- Center: Automatically focuses on a subject in the center of the frame.
- Single point or flexible spot: Focuses on a single point in the frame, which you’ll select.
The focus area setting tells your camera where to focus in the scene. By having the ability to choose different areas to focus on, your photos will be sharp and crisp.
When shopping for a camera, one of the features a brand will boast is the number of autofocus points.
Newer cameras typically have more autofocus points, which boosts their autofocus performance.
Related: Grayscale vs. monochrome photography: What are the differences?
Focus stacking

One of the best so-called hacks for capturing a sharp photo is focus stacking.
To do it, you’ll capture several images with different focus points. Then, you’ll combine them in Photoshop to create a single image with a sharp focus all around.
Related: What’s the hot-shoe?
Since you’re combining several images, you must ensure that you don’t move. The subject’s in the frame must also be still.
So, it’s best to use a tripod to keep the camera from moving.
Once you’ve taken the photos, upload them to Photoshop. Each image will be a separate layer.
Then, select all of the layers and select Auto-Blend Layers under Edit. Be sure to check the box for stacking images.
Related: How to find your camera’s shutter count
Lastly, you’ll flatten the image by clicking Layer and Flatten Image.
After the images are combined, you’ll have a successful photo by using focus stacking.
Back button focus (AF-ON)
Back-button focus is a button near the viewfinder that’s labeled AF-ON.
Instead of pressing the shutter button to focus and take the photo, back-button focus separates the process into two buttons.
It ensures that the camera can automatically focus on a subject without losing focus when you release the shutter button.
Related: The best lenses for Sony a7 III
With back-button focus, you don’t have to worry about the focus mode or losing the sharp focus after snapping a photo.
To set it up, you’ll need to activate the AF-ON button. Some cameras also require you to deactivate autofocusing with the shutter.
Focusing tips

Now that you know what focus is and the different settings on your camera and lens, how do you put it all together? The following are tips to help you take photos in sharp focus.
1. Focus on important areas
The last thing you’d want is a photo that’s in focus but the wrong spot. If you don’t pay close enough attention, it can easily happen.
Where you focus depends on the type of photo you’re taking.
Related: What do STM and USM mean on Canon lenses?
For portraits, focus on your subject’s eyes. If you focus anywhere else, the photo may look off because the subject’s eyes will be slightly blurry. The same goes for wildlife.
For landscapes, increase the depth of field and ensure that the entire scene is in focus.
Regardless of what you’re photographing, focus on what’s important.
2. Use live view and zoom in
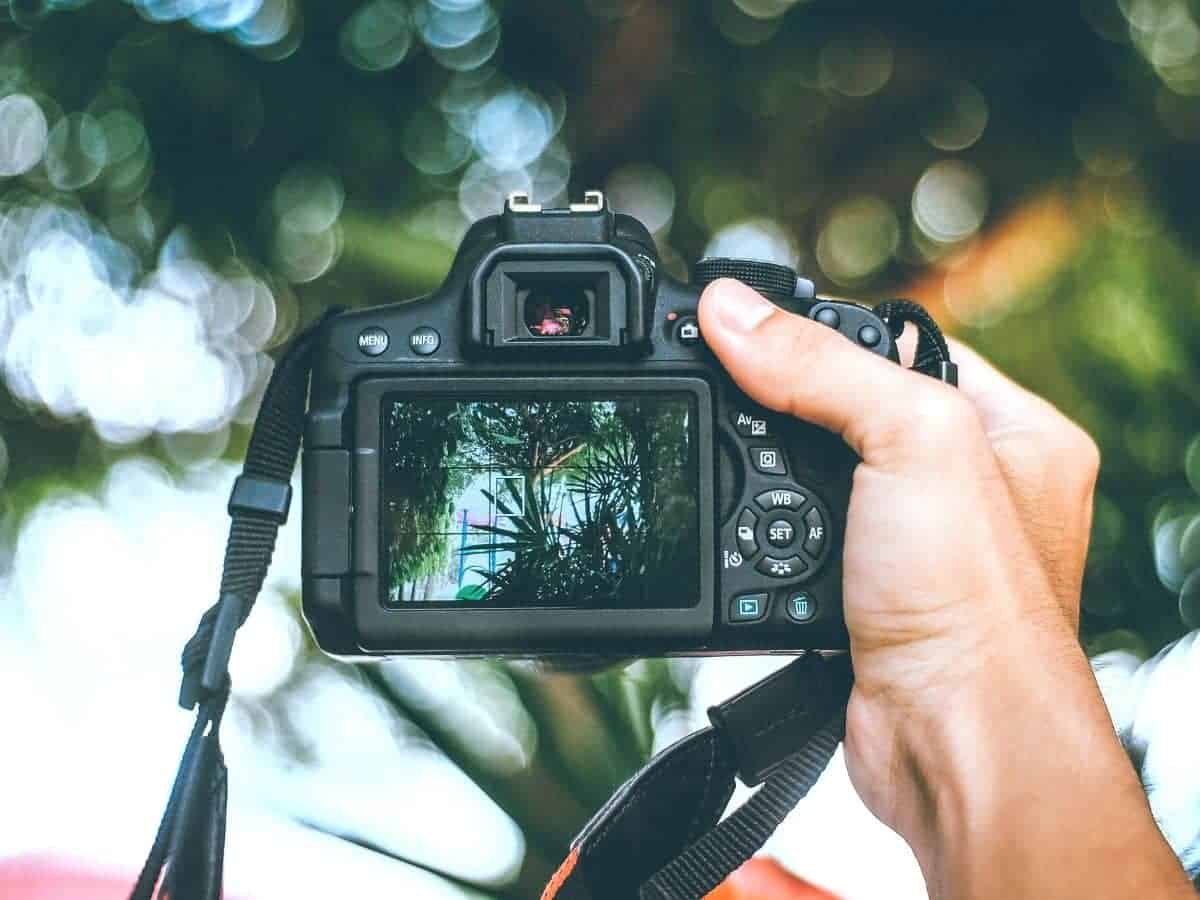
Most viewfinders have a box that’ll turn green when the focus is sharp. However, you may find that sometimes it focuses on something other than your subject.
Related: What’s a viewfinder?
The best way to ensure that you don’t miss the focus is to use live view and zoom in.
By zooming in, you can use autofocus or manual focus and see that the focus is exactly where you want it.
3. Focus on high-contrast areas
Whether you’re using autofocus or manual focus, it’s hard to nail the focus on low-contrast areas.
That’s because you can’t tell whether or not it’s in focus. So, focus on high-contrast areas.
Related: What’s an interchangeable lens camera (ILC)?
You’ll also notice that autofocus reacts more accurately and faster with high-contrast spots.
Conclusion
Focus is a critical aspect of any photograph. It’s the difference between a good to amazing photo and one that isn’t good. So, make sure you nail your focus and use the tips you learned to capture incredible photos.
Featured image courtesy of Unsplash.

