Manual mode allows you to control the shutter speed, aperture, and ISO. It’s an excellent way to learn how the different settings affect each other.
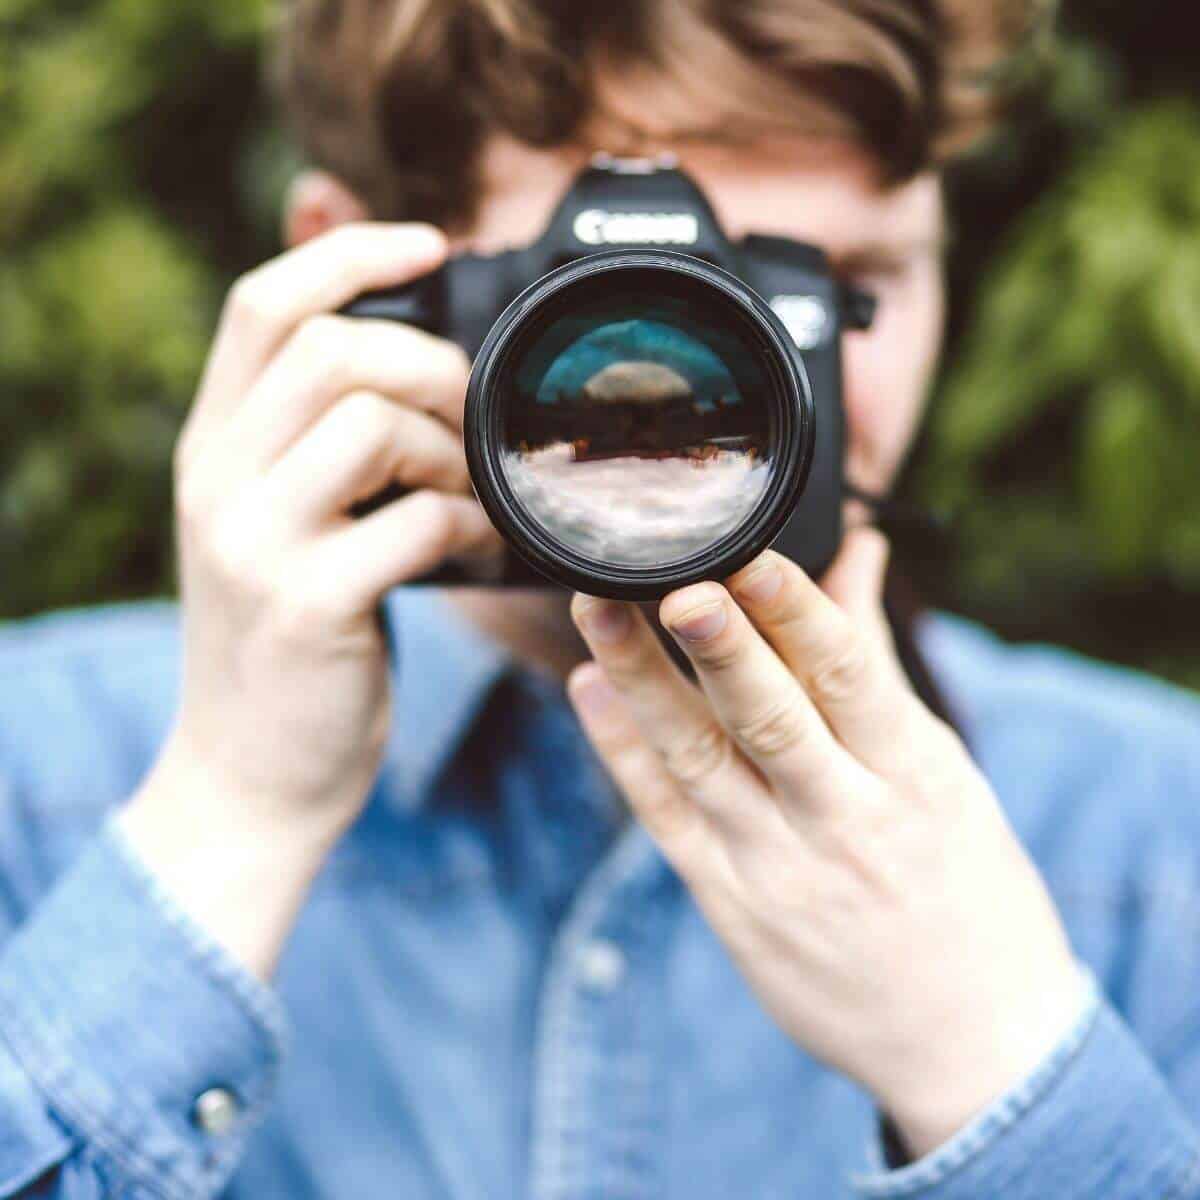
A camera offers several shooting modes. You can use automatic, semi-automatic, or manual.
The shooting mode you use has less to do with skill and more with control.
Semi-automatic modes help you work faster. But manual mode allows you to take control of the results.
You get to select the shutter speed, aperture, and ISO. You choose how long and how much light enters the camera sensor.
The following is your complete guide to manual mode. Learn to use it like a professional.
What’s manual mode in photography?
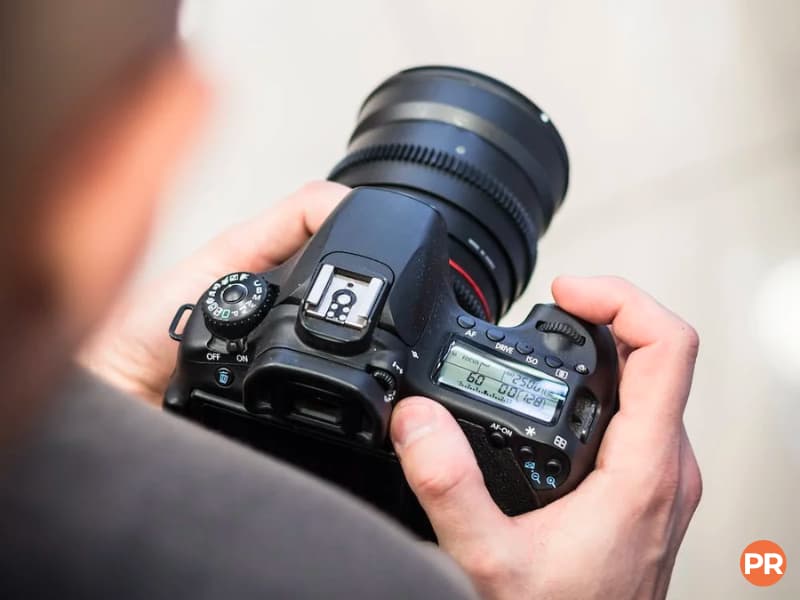
Before digital cameras, using manual mode was the only option.
Thanks to the light meter, it’s now one of the four main shooting modes.
The shooting modes are program, aperture priority, shutter priority, and manual.
Automating the exposure can be helpful but may lead to results that vary from your vision.
The light meter can use the wrong settings for the lighting situation.
Manual mode gives you control as you choose the aperture, shutter speed, ISO, and white balance.
You have more flexibility with different angles, depths of field, and exposure.
It’s an excellent way to be more creative and learn how to use your camera.
Aperture
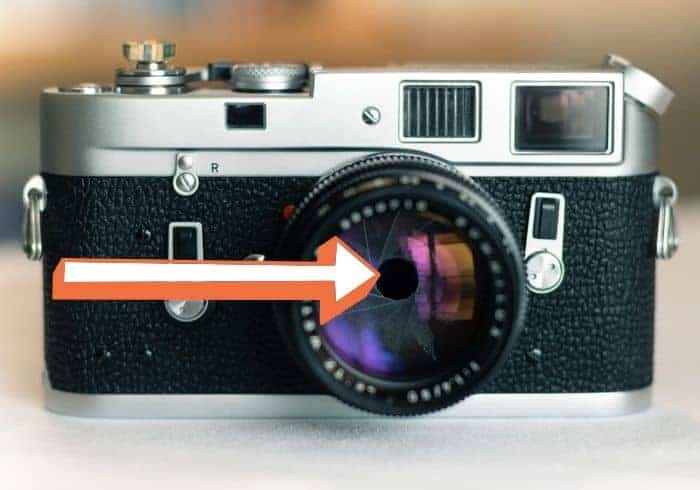
The hole in the back of a camera lens is the aperture. It controls the depth of field, focus, and light.
You can change the aperture setting by changing the f-stop or f-numbers.
Increasing the number decreases the aperture size. Decreasing the f-number makes the aperture larger.
A wide aperture allows more light to reach the image sensor and creates a shallow depth of field.
It gives you a smooth and blurry background while keeping the subject in sharp focus.
A narrow aperture allows less light in and creates a deep depth of field.
You can achieve corner-to-corner sharpness, keeping all elements in the frame in focus.
When exposing a scene, widen the aperture to make it brighter. You can also make it narrower to decrease the exposure if the scene’s too bright.
The aperture setting you choose plays a significant role in the outcome of the image.
Manual mode allows you to use the ideal aperture for the situation.
Shutter speed
How long it takes the camera to take a picture is the shutter speed. You may also hear it as exposure time.
It affects the exposure and how movement looks in your image.
Cameras measure the shutter speed in fractions of a second.
A smaller number, like 1/500, represents a faster shutter speed. A large number, such as 1/8, equals slower shutter speeds.
When using slower shutter speeds, more light will reach the sensor. It leads to a brighter image, and it results in motion blur.
Slow shutter speeds are excellent for creative effects. Examples include blurring a waterfall or capturing the night sky.
When using slow shutter speeds, a tripod is essential. It stabilizes your camera to avoid camera shake and blurry results.
Fast shutter speeds allow less light to reach the sensor, as the shutters are open for a shorter time.
It results in a darker image and is ideal for bright lighting situations.
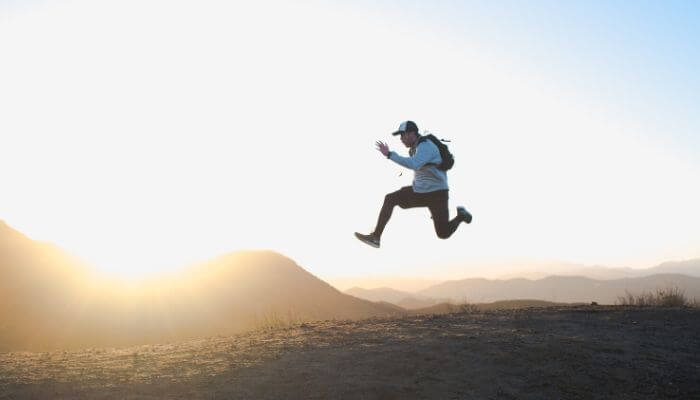
Aside from the exposure, fast shutter speeds freeze motion. It allows you to freeze a runner, car, or other moving subjects.
Manual mode is excellent because you can choose how long the light can hit the sensor.
You can capture intentional motion blur or tack-sharp images.
ISO

ISO controls the camera’s sensitivity to light. Unlike the aperture and shutter speed, it does not affect the amount of light reaching the sensor.
The lowest ISO number is the base ISO. Most cameras have a base ISO of 50 or 100.
As you increase the ISO, the image gets brighter.
A lower ISO is ideal for daytime and bright lighting conditions.
A darker environment, such as outdoor night portraits, needs a higher ISO.
When using high ISO values, digital noise can appear in the image. It can ruin the quality of your photo.
So, use the lowest ISO possible. Then, balance the exposure with the shutter speed, aperture, and light source.
White balance
Aside from settings that affect brightness, tones are essential. White balance is the setting that affects colors.
You can use automatic white balance, which works well in most cases. But, there are times that it creates unrealistic colors.
When facing incorrect colors, change the white balance to match reality.
The different white balance settings have different color temperatures.
You can also set your white balance to Kelvin mode and choose the value without a preset.
Another option is to change the color temperature in post-processing software.
In that case, shoot in RAW rather than JPEG to make editing easier. RAW files contain all the image data without compression or processing.
How to use manual mode
Before taking a picture, consider the lighting, environment, and subject. Then, use manual mode to achieve your vision.
The first step is to set the aperture. Consider the depth of field and brightness.
Then, choose a shutter speed. Use a fast one to freeze motion and a slow one to blur it.
Next, set the ISO to the lowest value possible. The final step is to set the white balance to match the scene.
Together, all the settings create the photo you had in mind.
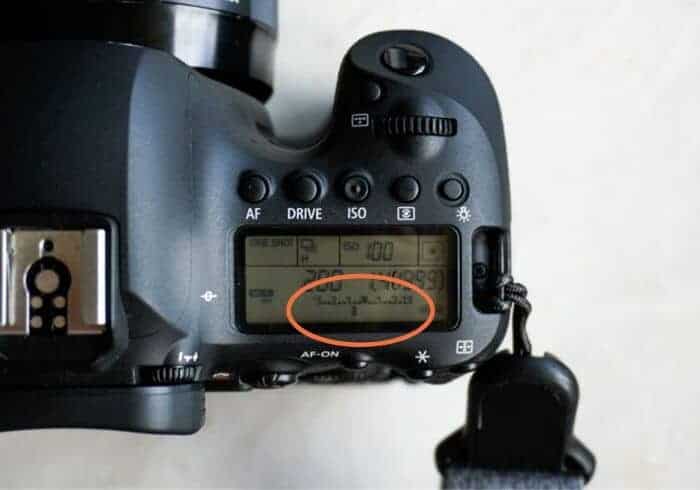
Also, use the light meter to help you capture the correct exposure.
It tells you whether you need to increase or decrease the brightness. Then, you can make the proper changes.
Manual mode is an excellent way to capture the ideal image.
Make sure you have time to set up the frame and choose the settings. It takes longer than automatic and semi-automatic modes.
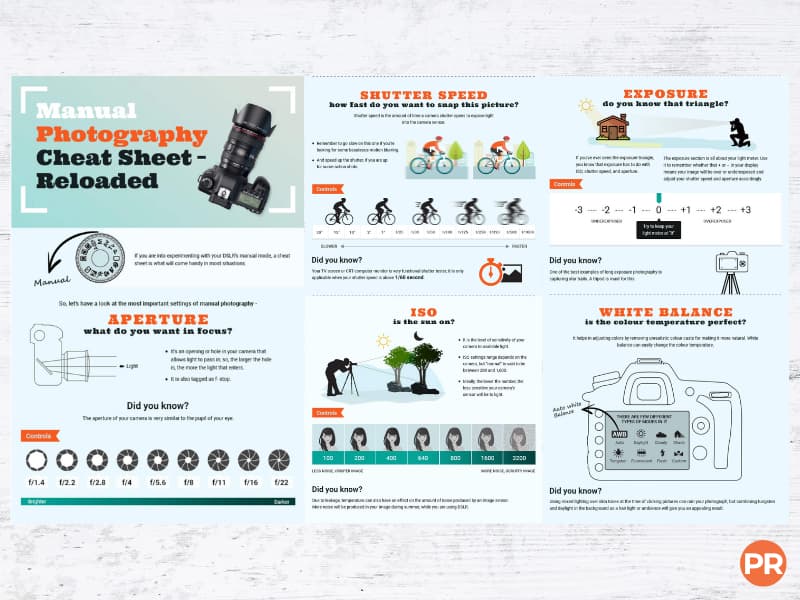
Manual mode photography cheat sheet
The following is an excellent manual mode cheat sheet from the London School of Photography.
Conclusion
The shooting mode you choose depends on the situation.
Use manual mode if you want complete control of your camera. It allows you to set the aperture, shutter speed, and ISO to achieve your vision.
Also, it’s an excellent way to master your camera. It deepens your understanding of the settings, making you a better photographer.
Related: Photography Pricing Guide
Featured photo courtesy of Unsplash.

