Kelvin is a unit of temperature. In photography, it’s a method to manually set the white balance. Use kelvin white balance for better photos.
The key to a beautiful and realistic photograph is accurate colors. By capturing the colors as they are in real life, you’ll have a genuine and stunning image.
While it’s the goal, it’s not always easy. You’ll encounter situations where the colors look completely different in your camera. It can be frustrating.
Related article: What’s the sunny 16 rule?
However, the solution is your white balance settings.
Automatic white balance (AWB), cloudy, daylight, shade, and tungsten, are examples of white balance presets.
In different situations, you’ll select a white balance preset to reproduce accurate colors. Sometimes, the presets aren’t the best choice.
That’s where you’ll come across the kelvin white balance setting, which allows you to manually set the color temperature.
Related article: The complete guide to midtones
The following covers what the kelvin scale is, why it’s important, and how to shoot in kelvin.
What’s kelvin white balance?
Kelvin is a unit of measurement of color temperature.
It’s the base unit of temperature in the Internation System of Units (SI) and is named after British engineer, Willian Thomson, 1st Baron Kelvin.
In a camera, kelvin is a white balance setting that allows you to set the exact color temperature. It’s essentially manual mode for white balance.
Since light emits heat, the different color temperatures are measured in degrees kelvin or K.
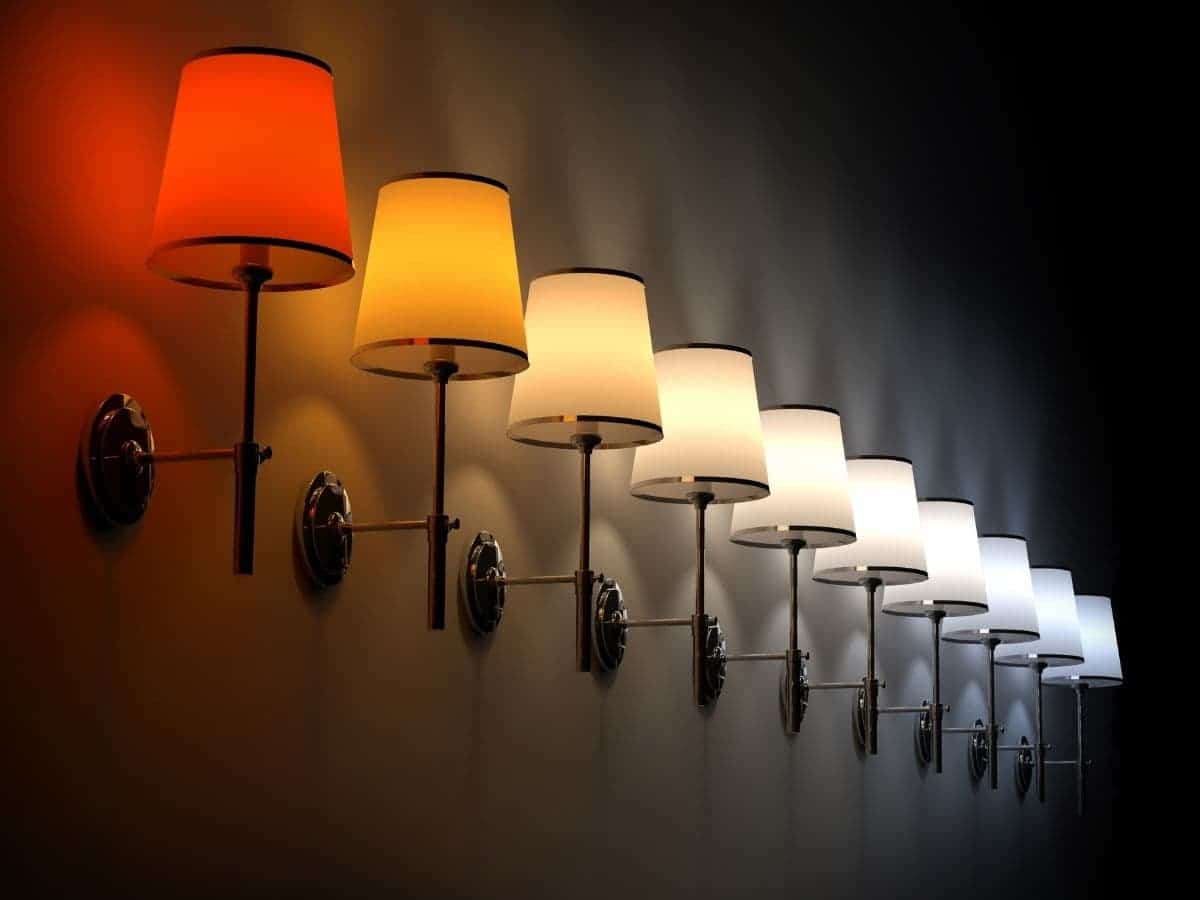
Warm colors, such as red and orange, appear at low color temperatures. Cold colors, such as blue and purple, appear at high color temperatures.
By understanding the kelvin scale, you’ll be able to select the correct color temperature to accurately capture colors or create different moods.
Related article: What’s flat lighting in photography?
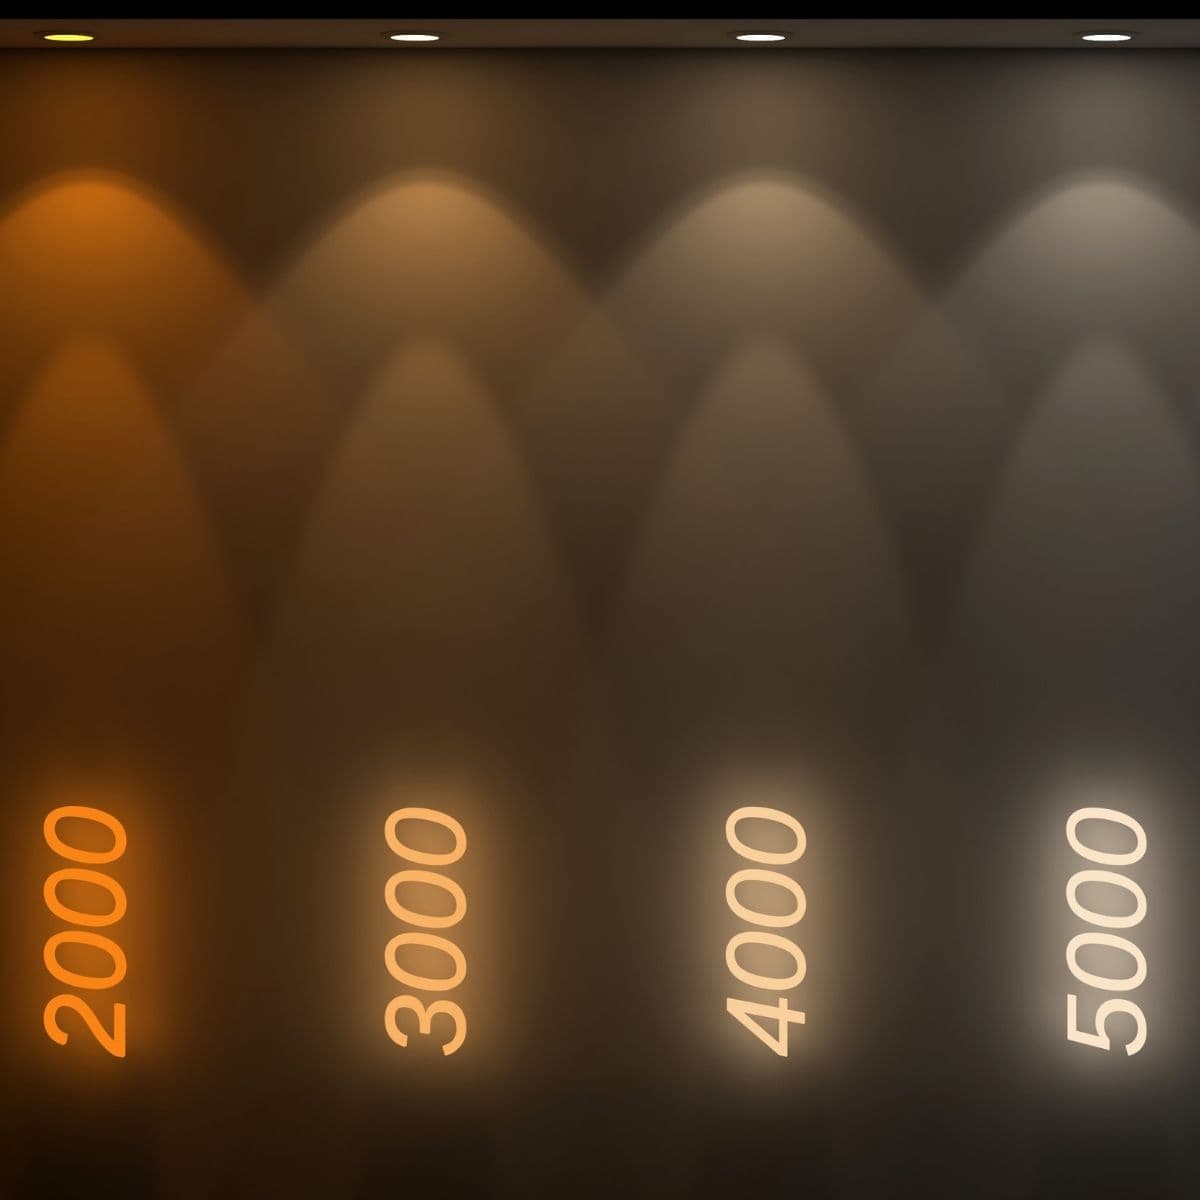
The kelvin scale
The kelvin scale starts at zero kelvin, which is equivalent to -273.15 degrees Celsius. At zero, there’s no heat.
However, it doesn’t go down that low in photography. In cameras, the kelvin scale ranges from 2,000 K to 10,000 K.
2,000 K creates a red-orange and warm tint, while 10,000 K creates a cold and blue tint.
The following are different kelvin values and the equivalent color temperature results:
- 2,000 K: Warm sunrise, sunset, or candle.
- 3,200 K: Incandescent light
- 4,500 K: Fluorescent light
- 5,500 K: Daylight
- 6,500 K: Cloudy day
- 7,500 K: Shade
- 10,000 K: Clear blue sky
By understanding the kelvin scale, you’ll be able to quickly adjust the kelvin white balance setting based on the colors in the frame.
How to shoot in kelvin
Ultimately, using kelvin instead of the white balance presets or AWB is beneficial because you control the results.
When the presets or AWB isn’t precise, you can manually adjust the color temperature.
Take the following steps to shoot in kelvin:
- Open your camera’s white balance settings.
- Select kelvin.
- Change the color temperature based on the scene.
- Confirm the kelvin value.
- Balance the exposure.
- Focus on your subject.
- Take the picture.
When shooting in kelvin white balance, consider the way the light looks.
If it has a cold or blue hue, know that you’ll use a lower kelvin value. If the light has a warm or orange hue, you’ll use a high kelvin value.
The steps are nearly identical to using a white balance preset, as the only difference is that you’re manually choosing the color temperature.
One extra step makes a tremendous difference in the result.
When selecting the color temperature, you may not get it right the first time. It’ll take some adjusting, but it’s worth it because it leads to accurate colors and exposure.
Another important aspect when using the kelvin scale is to shoot in RAW instead of JPEG. A RAW image file is uncompressed and retains all details.
So, it’ll be easier to adjust in editing software if you mistakenly set the wrong color temperature or want to make changes.
Use post-processing to correct the white balance
If you forget to set the Kelvin value, do it incorrectly, or want to change it, you can do so in post-processing.
Lightroom, Photoshop, Luminar, and other editing software and apps allow you to change the color temperature.
All you need to do is adjust the white balance sliders or type a kelvin value.
With kelvin white balance, you’ll notice that you go through post-processing faster.
The more you use it, the easier it gets. Plus, the images may also require less editing.
Over time, you’ll have a good idea of what kelvin value to use just by looking at a lighting situation.
Conclusion
Color temperature determines the overall look and feel of your image. Manually adjusting the white balance by shooting in kelvin gives you creative control.
Select the color temperature that enhances the story or reproduces accurate colors in your images.
Try using kelvin white balance today to develop your photographic skills and take better photos.
Related: The Ultimate List of Photography Terms
Featured image courtesy of Canva.