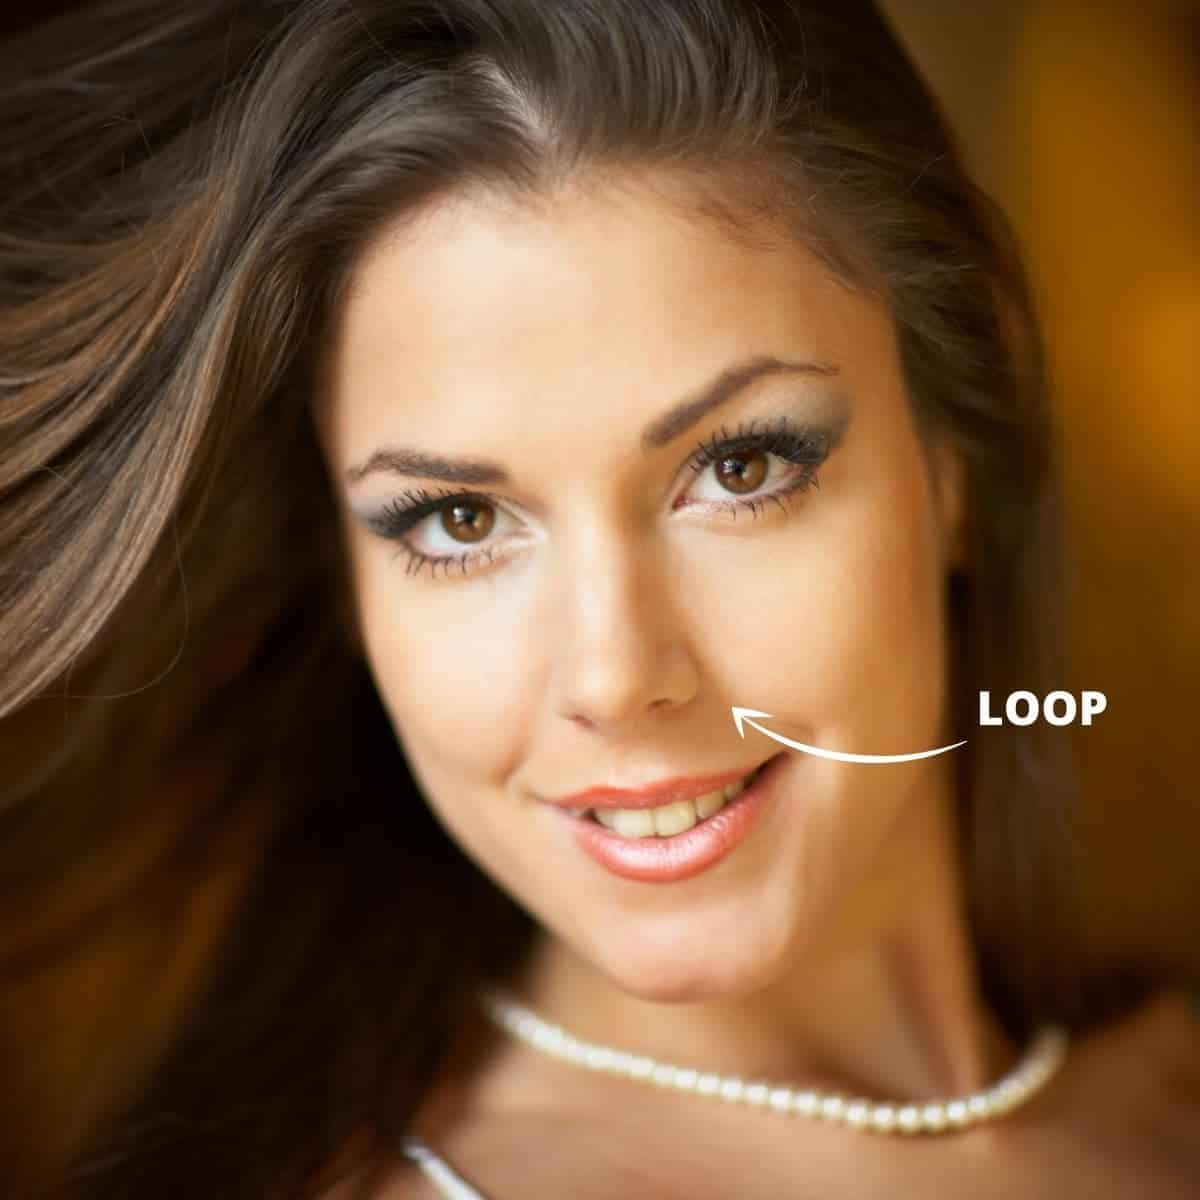
Loop lighting is a portrait photography light pattern that lights a subject from a 45-degree angle from the front and above.
What’s loop lighting?
Loop lighting is a portrait photography lighting pattern that creates a circular shadow right under a subject’s nose.
The nose shadow loops down at an angle, which is why it’s called loop lighting.
Related: How to use framing in photography
To achieve the lighting pattern, place the key light at a 45-degree angle in front of and above the subject.
It’s an excellent lighting pattern to understand and use because it offers a slight direction to the light while still illuminating most of the subject’s face.
Related: 25 famous portrait photographers you need to know
When to use it
Loop lighting is one of the best overall lighting patterns because it looks flattering on anybody.
Since the light is pointed at a slight angle, there are slight shadows. So, your subject’s face will be mostly illuminated without being flat.
Related: 35mm vs. 50mm: Which prime lens is better?
By capturing shadows, loop lighting ensures that your portrait has depth and makes it more interesting.
If you’re looking to light your subject’s face without harsh and unflattering shadows, use loop lighting.
Loop lighting is the most versatile light pattern, as it’s excellent for light and airy, dark and moody, or anything in between. Keep in mind that it won’t offer the most dramatic look like Rembrandt or split lighting would.
Related: How to create rim lighting
However, loop lighting provides a well-lit and defined subject. When in doubt, use loop lighting.
How to capture loop lighting
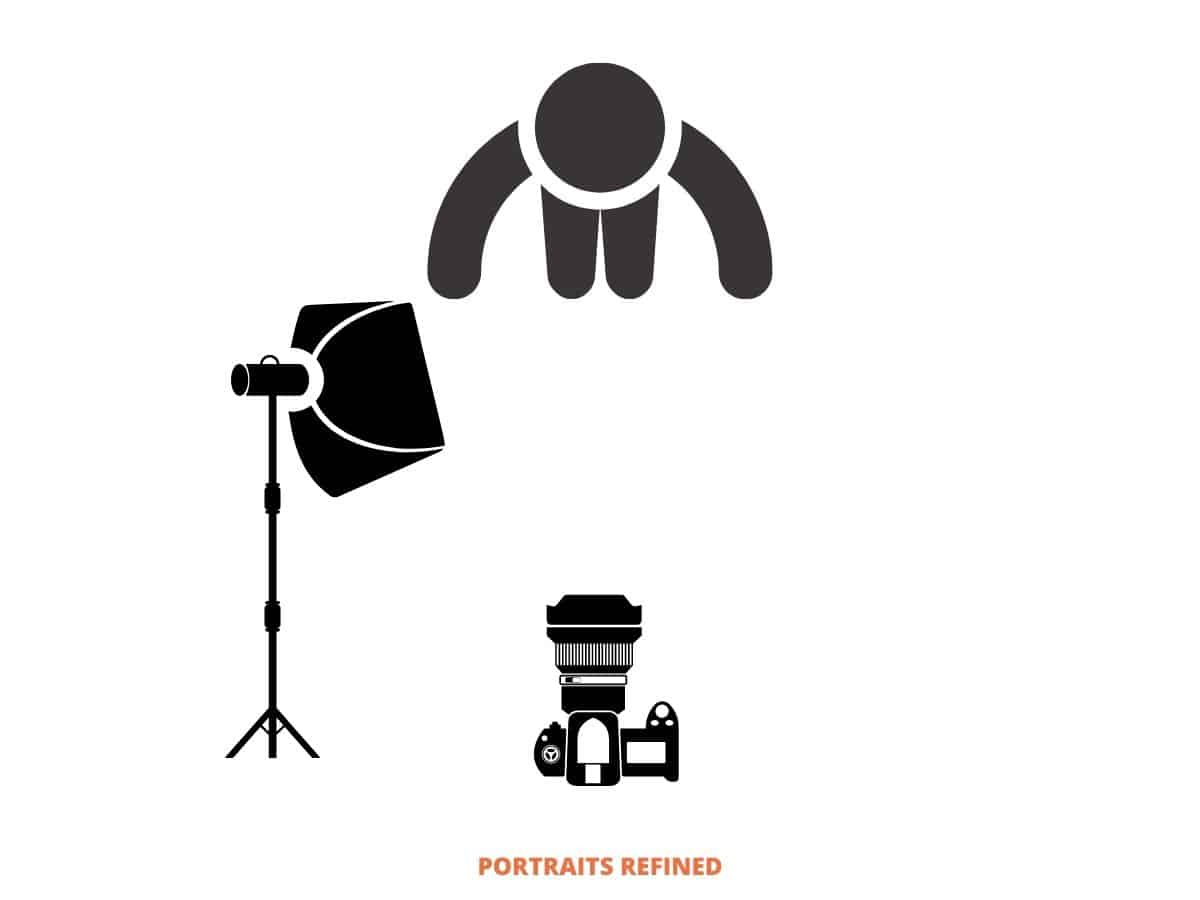
To achieve beautiful loop lighting, take the following steps.
1. Pose your subject
Since the lighting depends on how your subject poses, the first step is to pose your subject.
Related: How to take the best selfie
They can either hold the pose while you adjust the light or relax and strike the same pose after finding the ideal light position. Regardless, the key is to pose your subject first.
2. Set the light slightly above eye level
After posing your subject, adjust the light to ensure it’s slightly above eye level. Setting the light slightly above eye level creates a downward shadow, a key characteristic of loop lighting.
Related: Rembrandt lighting: What it is and how to use it
3. Move the light to be at a 45-degree angle
Once it’s slightly above eye level, move the light source to either side of your subject at a 45-degree angle. It’s the ideal angle to create a diagonal and downward shadow.
Related: 5 tips for powerful close-up portraits
It also ensures that your subject is well-lit, and the 45-degree angle creates shadows, leading to depth and interest.
4. Adjust the light to alter the shadows
While being slightly above eye level and at a 45-degree angle is the ideal light position, you can alter it. However, it can only be done lightly. Otherwise, you’ll be getting into other lighting patterns.
By slightly changing the placement of the light, you’ll change the intensity and direction of the shadows.
Related: Forced perspective: 7 tips and ideas
If the light is further away, the shadows will be lighter. If the light is closer to your subject, the shadows will be darker.
The position depends on the goal of the image and the emotions you want to evoke.
Equipment you’ll need
Loop lighting is a pattern you can do with minimal to no lighting equipment. To do it without any lighting equipment, use natural light.
However, make sure the light is illuminating your subject at a 45-degree angle and slightly above eye level. It’s possible but is difficult due to the changing light and reflections.
Related: Which cameras have in-body image stabilization (IBIS)?
If you’d rather use a more controlled light source, artificial light is the way to go. Again, it requires minimal equipment, as you only need one light.
The following are the best key light and accessories that can help.
Aputure Light Storm LS C120D II LED Light Kit with V-Mount Battery Plate
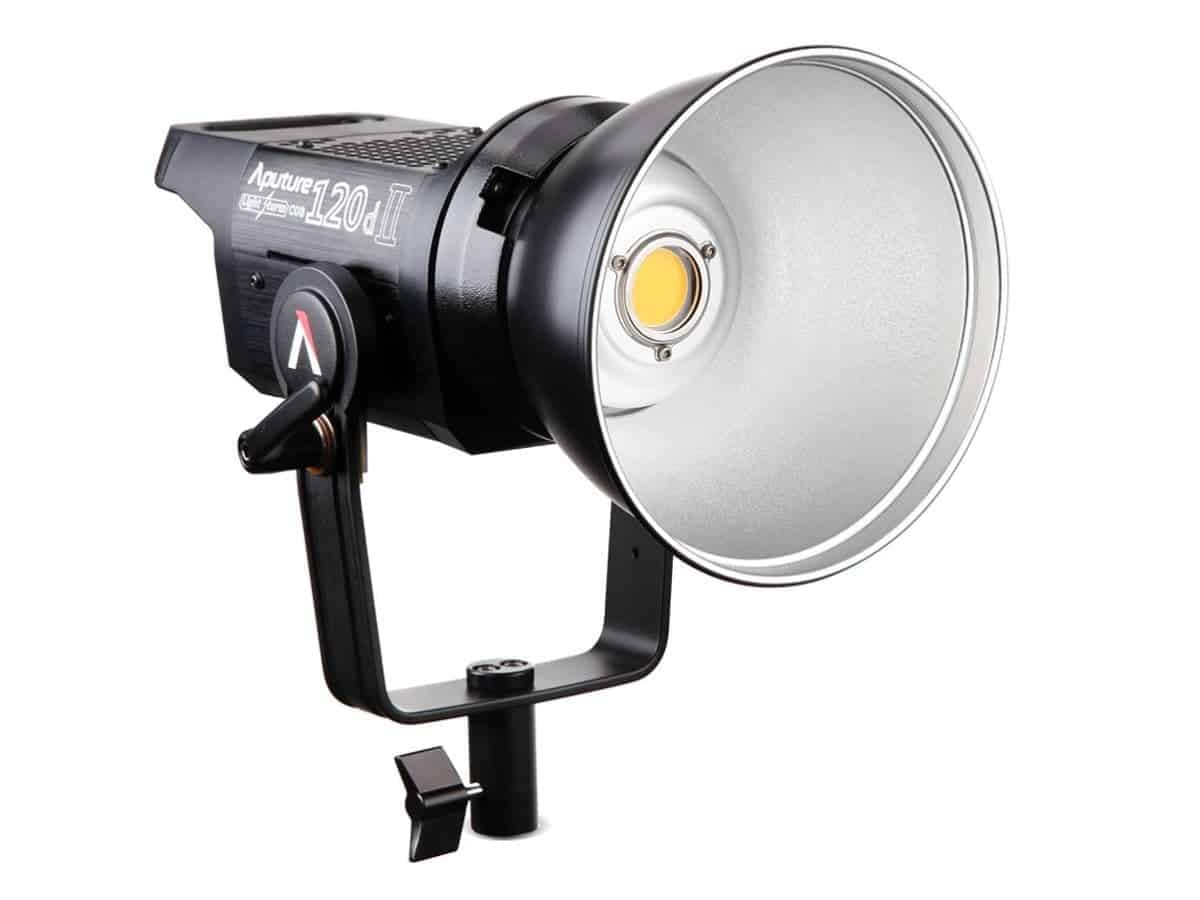
To capture loop lighting, you need a light source. Aside from natural light, continuous lighting is an ideal option.
Aputure’s Light Storm LS C120D II LED Light is an incredible choice and one of the best lights on the market. It features a 5500K daylight color temperature and boasts 25% more brightness than the first version.
If you want a top-tier light under $1,000, the Aputure LS C120D II should be the first one you look at.
Impact Heavy-Duty Air-Cushioned Light Stand (9.5′)
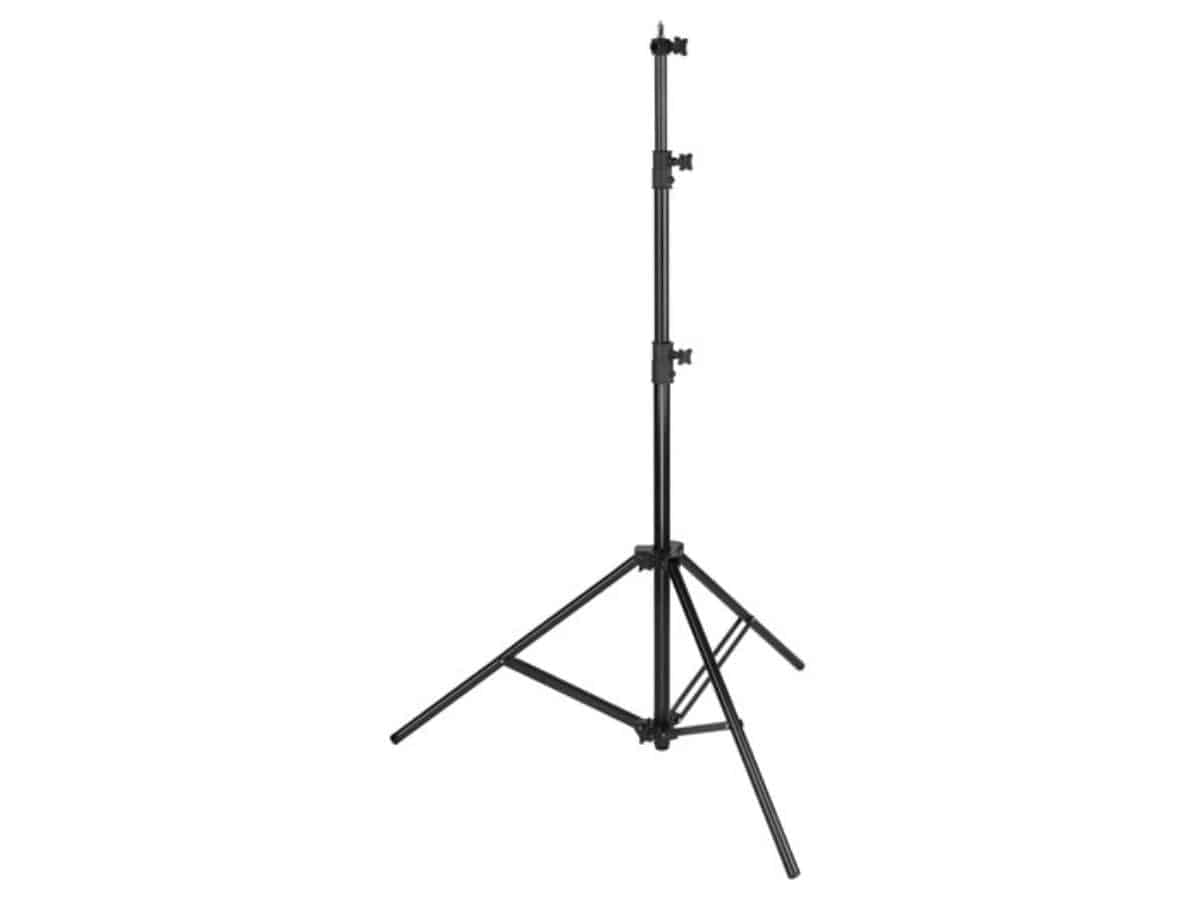
Of course, you can have someone hold the light, but why would you want to do that? Impact’s Air-Cushioned Heavy Duty Light Stand is perfect to pair with Aputure’s LED light.
The sturdy aluminum stand supports up to 22 pounds and folds down to a compact 42 inches.
Being air-cushioned, the risers descend slowly, which protects your fingers from injuries.
Overall, the Impact light stand is an excellent option and it costs less than $100.
| Compare prices |
|---|
| $54.95 at B&H |
| $54.95 at Amazon |
| $71.55 at Walmart |
Raya 5-in-1 Collapsible Reflector Disc (42″)
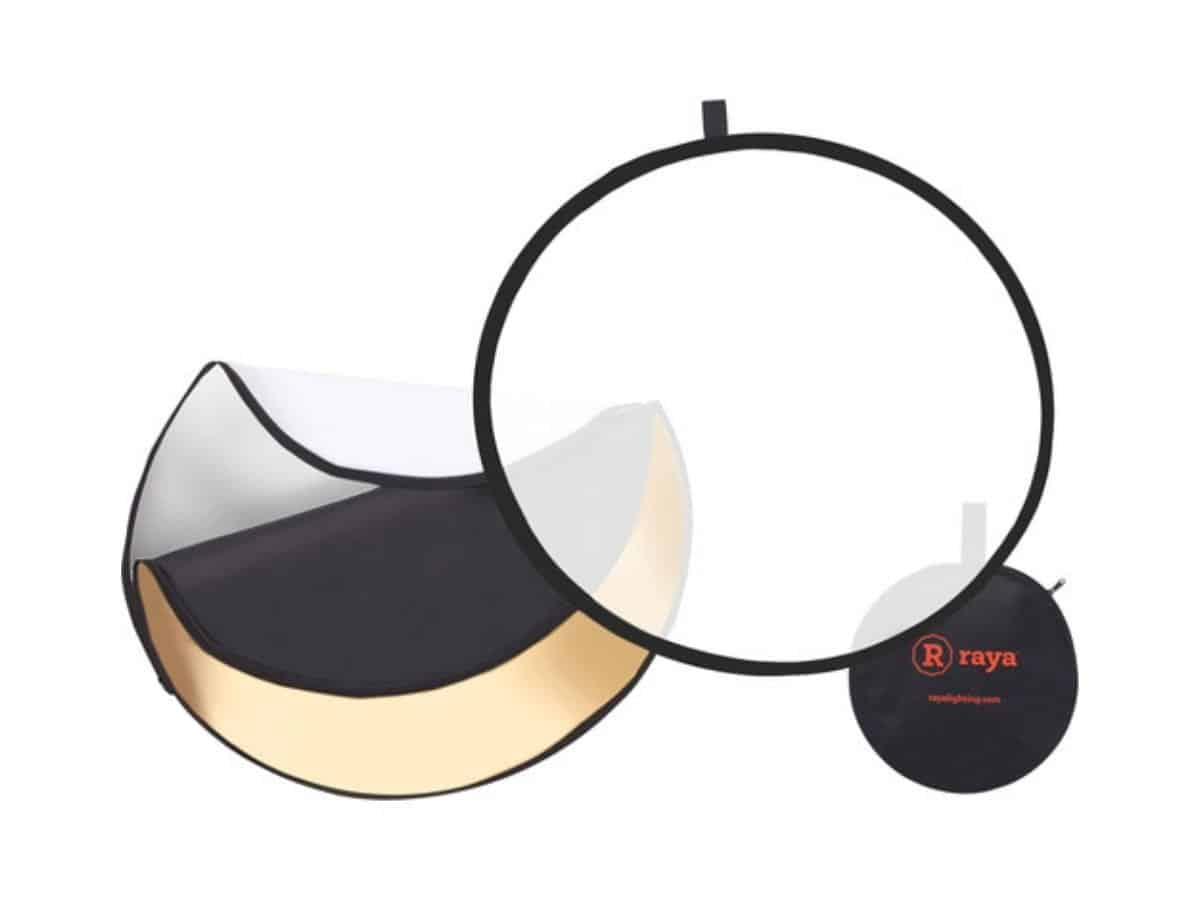
A reflector is an optional tool, but you may find it helpful. It’s used to reflect light to your subject.
The Raya Collapsible Reflector Disc is a 5-in-1, which allows you to reflect off of a white, gold, silver, or black surface. Plus, it has a diffuser.
To use it, place it on the other side of your subject at a 45-degree angle. It’ll reflect light to the opposite side of the light.
If you use a reflector, make sure you don’t fill your subject with too much light because the shadows are important for loop lighting.
Instead, ensure it lightly brightens the shadows. Maintaining the shadows is crucial because you’re not using flat lighting.
So, it’ll ensure there’s depth to the portrait. Again, reflectors are optional.
| Compare prices |
|---|
| $23.95 at B&H |
| $23.95 at Amazon |
Conclusion
Loop lighting maintains minimal shadows and a well-lit subject. It’s better than flat lighting because it offers more definition and depth.
Understanding how to use loop lighting will take your portraits and headshots to the next level.
Start using the loop lighting pattern today, as it works with natural and artificial light. All you need is for the light source to be at a 45-degree angle and slightly above your subject.
Featured image courtesy of Canva.

