Rim lighting exposes the outline of a subject with light. You can create rim lighting indoors or outdoors by placing the light behind the subject.
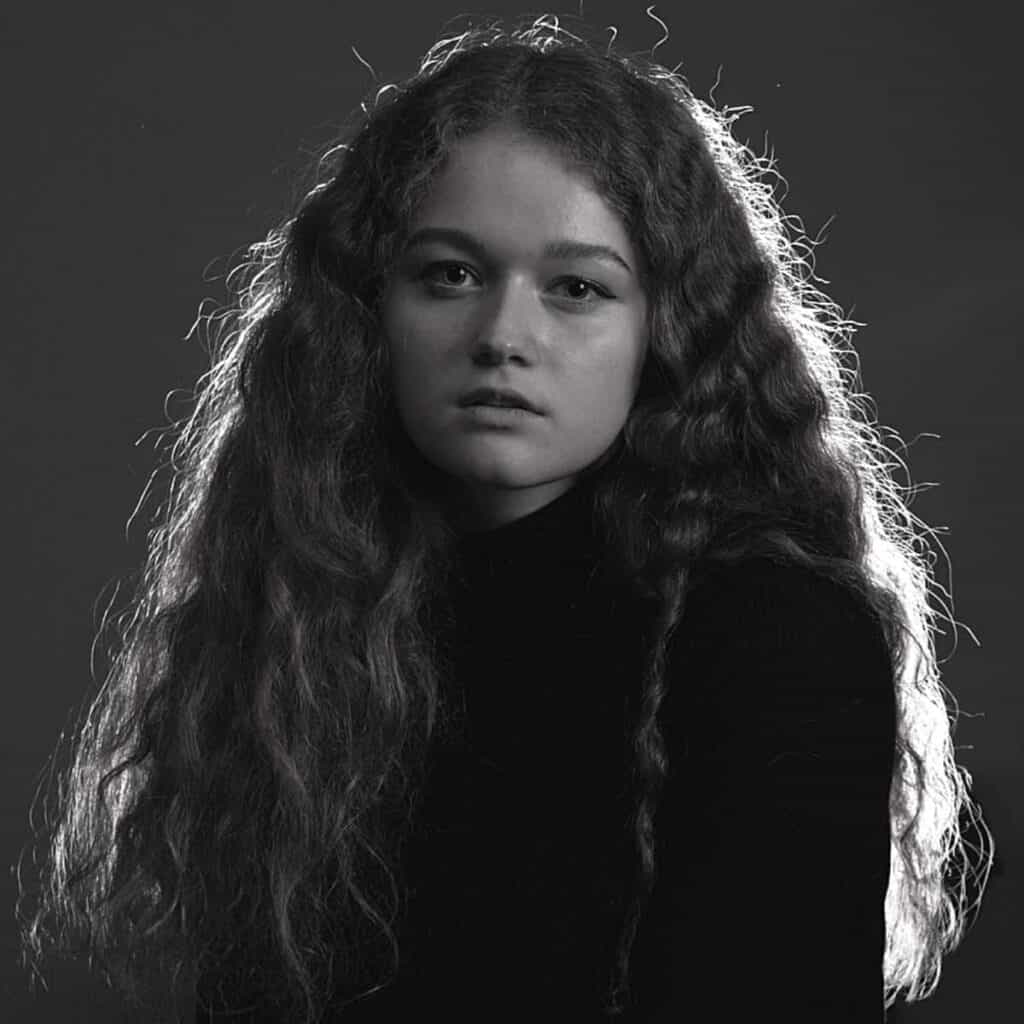
Light can add three-dimensional effects to a two-dimensional image.
Rim lighting is a powerful tool to capture stunning pictures with an extra dimension.
It enhances shapes, textures, and contrast, giving your photo a nice pop.
The following is a complete guide on rim lighting. You’ll learn what it is, how to use it, and get examples for inspiration.
What’s rim light photography?
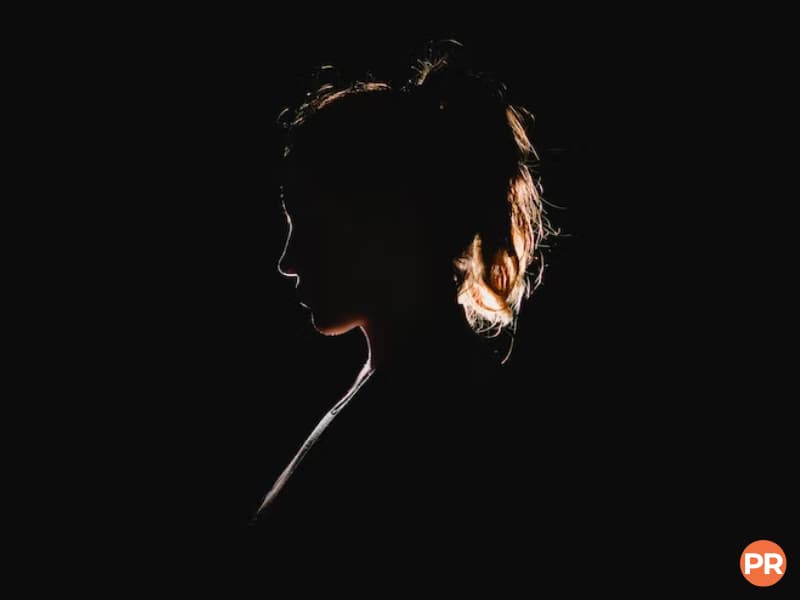
Rim lighting is a technique that exposes the outline, edges, and rim of a subject with light. A few other names for it include hair lights or halo lighting.
The light source is behind the subject and points toward you as the photographer.
The rim light highlights the shape of the subject and creates background separation.
It has a dramatic, powerful, and mysterious effect.
It often looks like a silhouette with a black background and an underexposed subject.
You can add other lights and reflectors for a well-lit subject. If you do, ensure you highlight the edges of the subject.
Most rim light photography is in a studio with artificial lighting. You can also use the lighting technique outdoors.
If you want to add depth and interest to your photos, use rim light.
How to create rim lighting
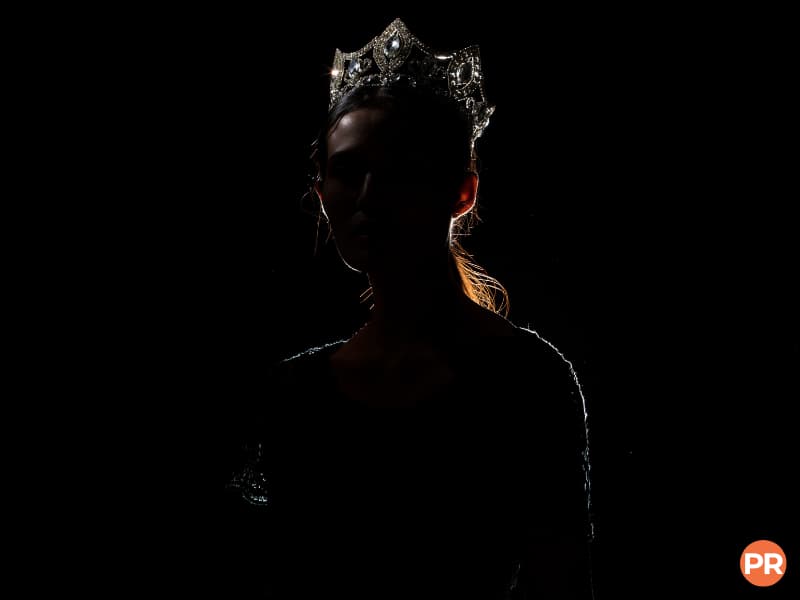
There are various ways to create a rim light setup. The one you use depends on the type and number of lights.
You can use rim lighting by itself or with other lighting patterns.
The following are the steps for rim light photography depending on the number and type of light you use.
Single light rim light setup
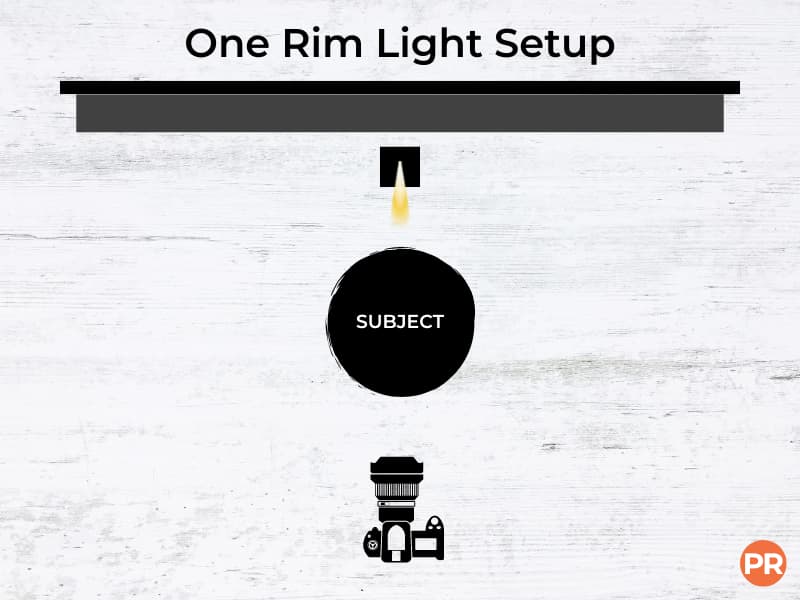
Rim lighting is an excellent technique you can use regardless of skill level. You only need one light source to capture beautiful rim light photos.
Before starting, use a black or dark background because it enhances the halo effect.
Place the flash or light source directly behind the subject to use a one-light setup.
The light will hide behind the subject, creating a beautiful glow around the edges.
When taking the picture, balance the exposure for the light instead of the subject.
It ensures you capture a dramatic and stunning photo with rim lighting.
If you want part of your subject to be well-lit, you can move the light to the side. As you expose their features, the glow must remain around the edges.
Another aspect to consider is ambient light. The flash or light source must be stronger than the ambient light.
You don’t want any other light source to interfere. The light should only run along your subject’s edges.
Rim light setup with two lights
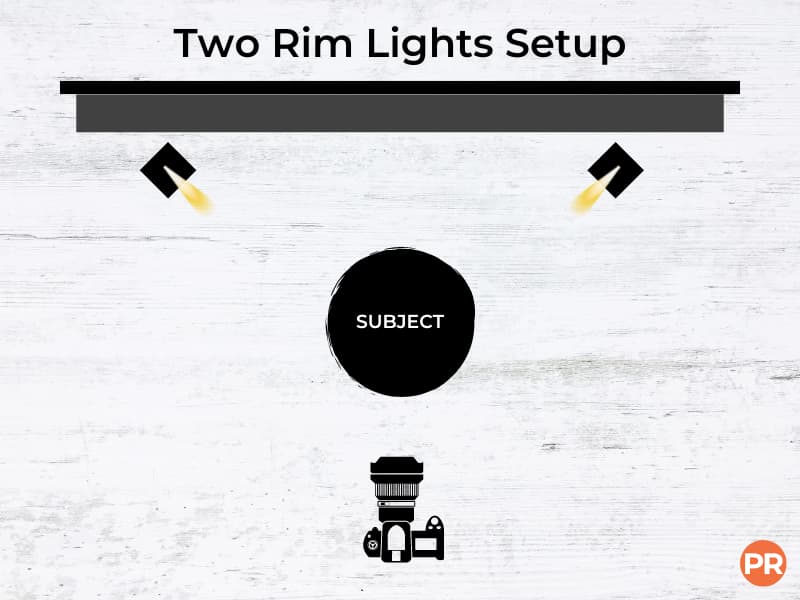
Take your rim lighting to the next level with two lights. It creates a stronger and more balanced rim.
Place the lights about 45 degrees from your subject on both sides. The lights are pointing at your subject from an angle behind them.
You can also try different heights and angles. It helps you capture the perfect glow around your subject.
The two-light setup can create dramatic low-key, or three-dimensional images.
Three-point rim lighting setup
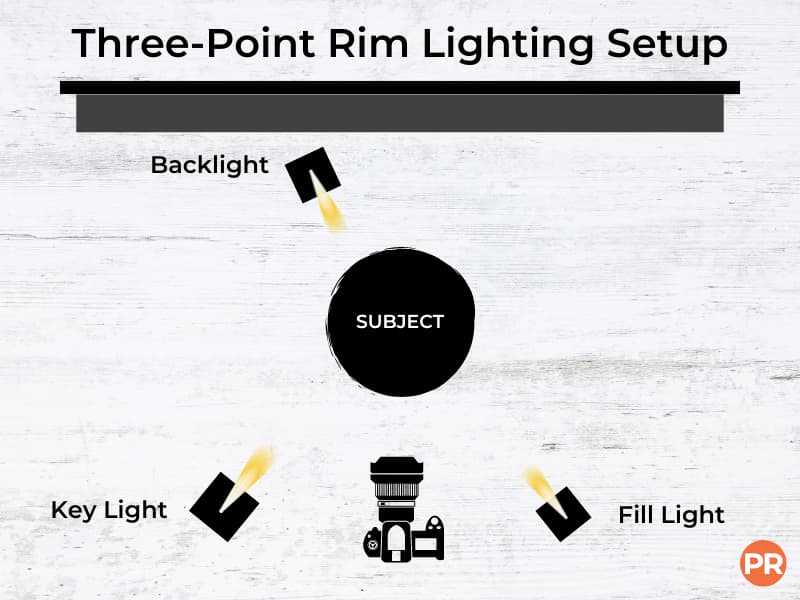
Three-point lighting uses three different light source positions to illuminate a subject.
It’s the standard lighting setup in video production and photography.
The three lights are a key light, a fill light, and a backlight. Rim lighting is a popular choice for the backlight.
The key light is the primary and brightest light source. Point the key light at the subject at a 45-degree angle from the front.
The fill light is on the opposite side of the key light and on the same side as the camera.
It fills the shadows that the key light creates. You can fill the shadows as much as you want.
The backlight creates separation from the background.
Use rim lighting to outline the subject from the back. Rim lighting completes the three-point lighting setup.
Rim light setup with natural light (the sun)
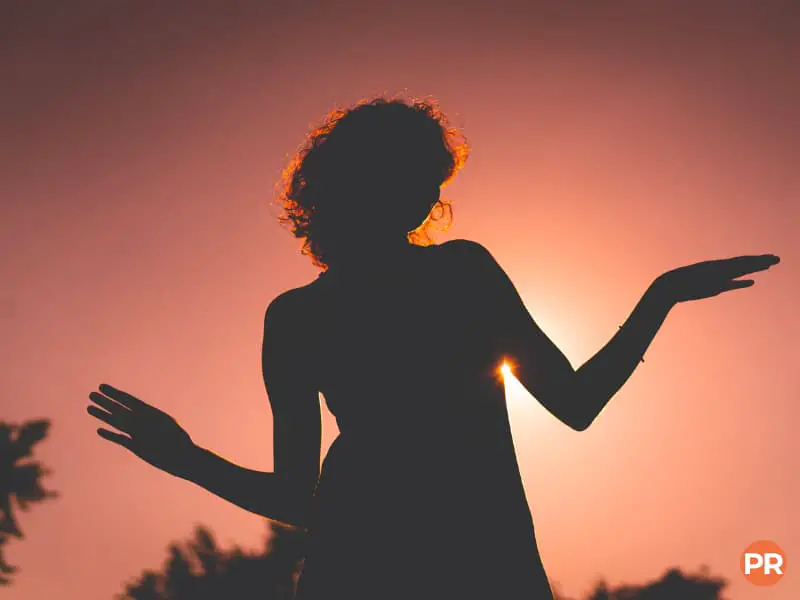
Aside from artificial lighting, you can also do rim light photography outdoors.
Natural light can be an excellent source, but the location, time, and weather play a role. The best days are when it’s bright and sunny.
Treat the sun as a one-light setup by placing it behind the subject. It creates a stunning rim-lit picture.
You may need to move around and try different locations.
Focus on the contrast between the shadows and highlights to capture a beautiful glow.
Enhance rim light in post-processing
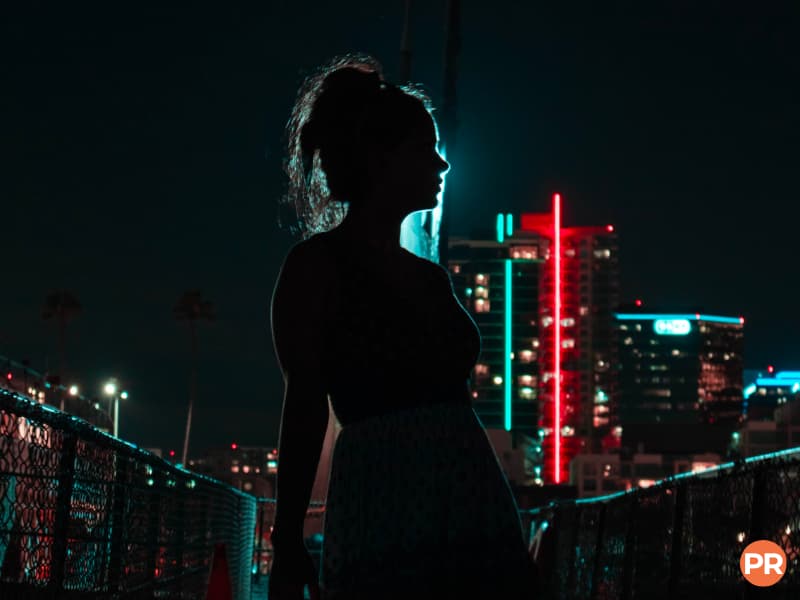
Editing is essential because it allows you to refine and enhance your photos.
Upload the images to a post-processing software. Then, focus on making the blacks deep and the highlights bright.
It emphasizes the rim light and adds more dimension to the image.
The best part about rim light photos is that it needs little editing to look incredible.
You can also adjust the colors and use different filters. It’s an excellent way to change the feelings the image will evoke.
How to avoid lens flare and spillover
Lens flare and spillover are the two most common issues when using a rim light setup.
Both can be excellent effects if you do it on purpose. If you don’t want it, learn how to deal with it.
Lens flare causes a hazy effect and takes the contrast out of your photo.
The best way to ensure it’s not there is to block the light with your subject.
You can also use a lens hood to block light from other angles.
Spillover is when the light wraps around your subject instead of staying at the edges.
The best way to reduce and avoid spillover is to use a high concentration of light. Attach a snoot or grid attachment to your light to help.
Aside from the lighting tips, a longer lens gives you a narrower field of view.
It helps cut distractions and other light sources from the background.
Frequently asked questions about rim light photography
What equipment do you need to produce rim light photography?
You only need one light source to create rim lighting. It can be the sun, a flash, or another light source. The light must hide behind the subject to illuminate the edges. The ideal setup is to use two lights and position them on opposite sides behind the subject. It provides an even glow behind the subject.
What’s the difference between rim light and backlight?
Any light source behind a subject is backlighting. So, rim light is a form of backlighting. Rim light focuses on illuminating a subject’s edges rather than the position of the light.
What’s the purpose of rim lighting?
Rim light photography has many purposes. You can capture dramatic photos and separate the subject from the background. It also highlights shapes and contours.
Conclusion
Rim light photography allows you to capture dramatic images with minimal equipment.
It separates the subject from the background and gives a beautiful glow to the edges.
You can fill the shadows with a reflector while keeping the stronger light on the rim.
Use rim light to capture stunning photos. The technique helps you understand light and grow as a photographer.
Related: Boudoir Photography Tips and Examples
Featured image courtesy of Pixabay.
