Rembrandt lighting is a classic pattern used in studio portrait photography and cinematography. Learn why it’s important and how to do it.
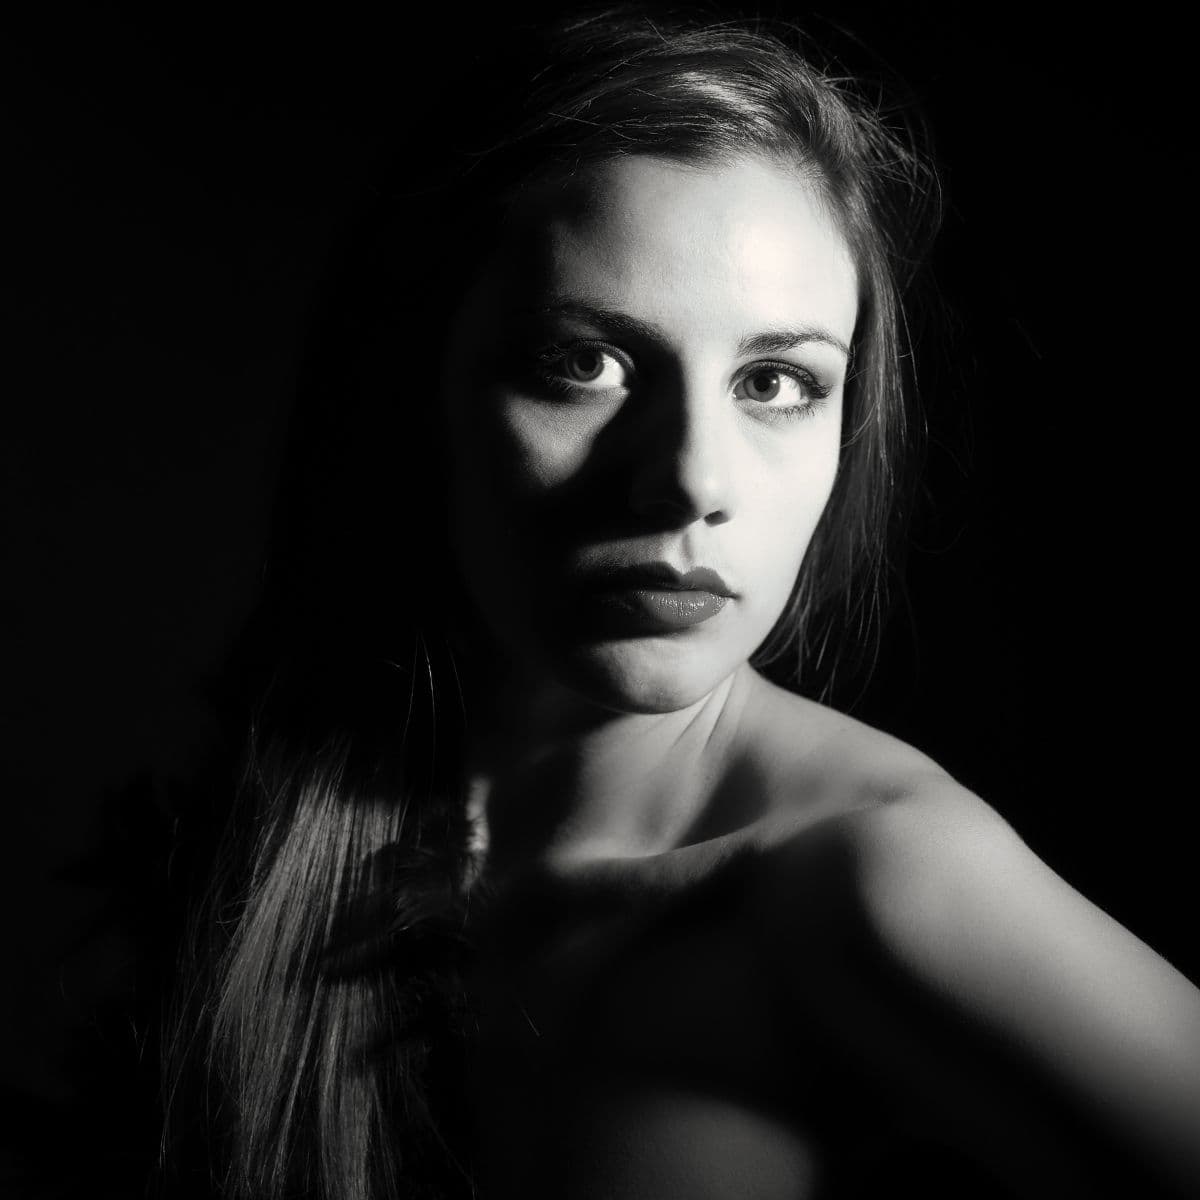
Light is the essence of a photograph. In portrait photography, the way you illuminate a subject impacts the overall feel of an image.
Related: Holy Trinity of Lenses: 3 Lenses Every Photographer Needs
That’s why it’s crucial to understand the different lighting patterns and how to use them. One of the best and most captivating techniques is Rembrandt lighting.
It’s an iconic lighting technique that requires minimal equipment and results in dramatic portraits. Additionally, it has stood the test of time.
Related: How to use framing in photography
Being such an impactful technique, understanding what it is and how to use it will take your portraits to the next level.
What’s Rembrandt lighting?
Rembrandt lighting is a classic studio portrait and cinematography lighting technique. It creates a small triangle of light under the subject’s eye, which makes the portrait compelling and dramatic.
Related: Loop lighting guide for portrait photography
Technically, the triangle should be the same width as the subject’s eye. However, you can slightly modify it to be wider, and it’ll still count as Rembrandt lighting.
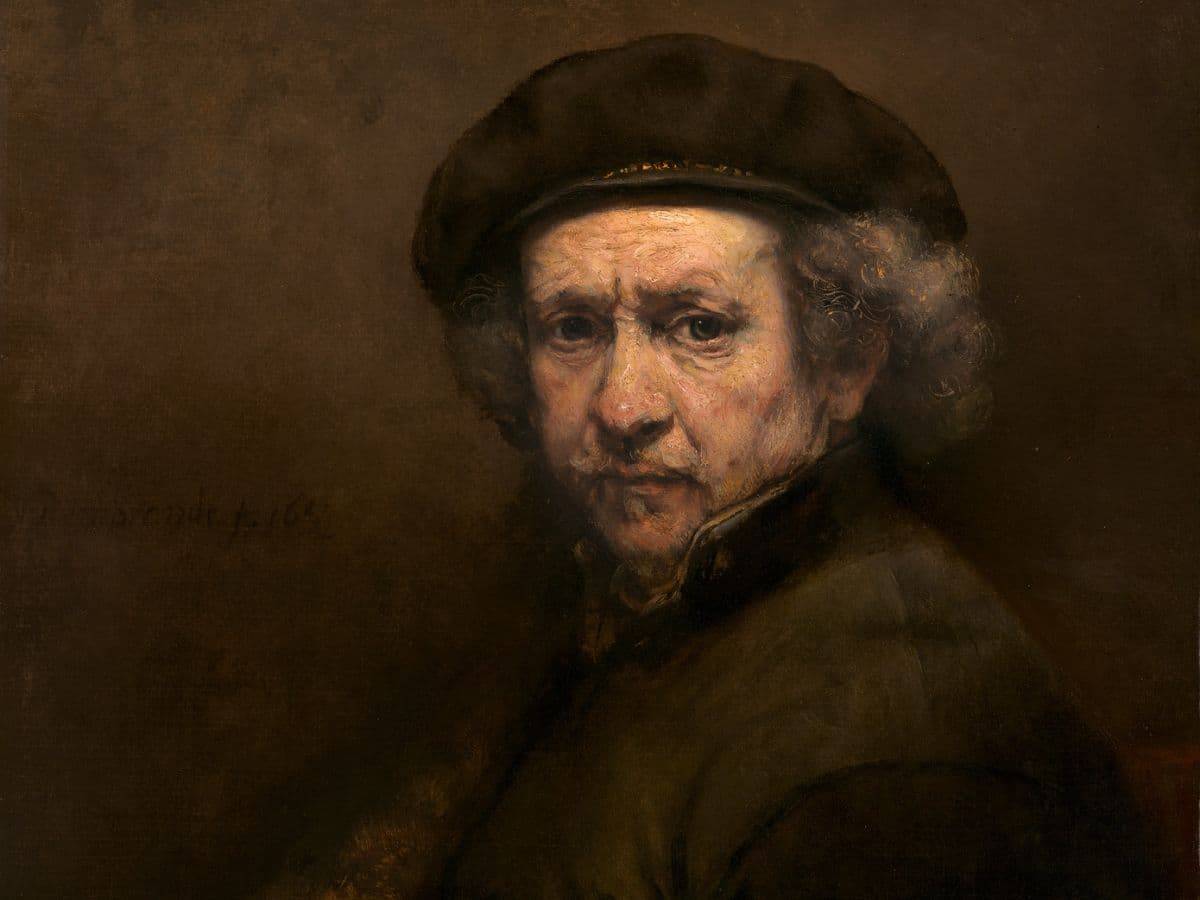
The origin comes from the famous Dutch Golden Age painter, Rembrandt Harmenszoon van Rijn.
Related: 25 famous portrait photographers you need to know
He used this lighting technique to create compelling art. It made him one of the greatest visual artists in history and the most important in Dutch art history.
In photography, Rembrandt lighting can be achieved with a single light source and a reflector. The minimal equipment makes it easy to create.
Related: 45 inspiring photography quotes
Rembrandt lighting provides dramatic light
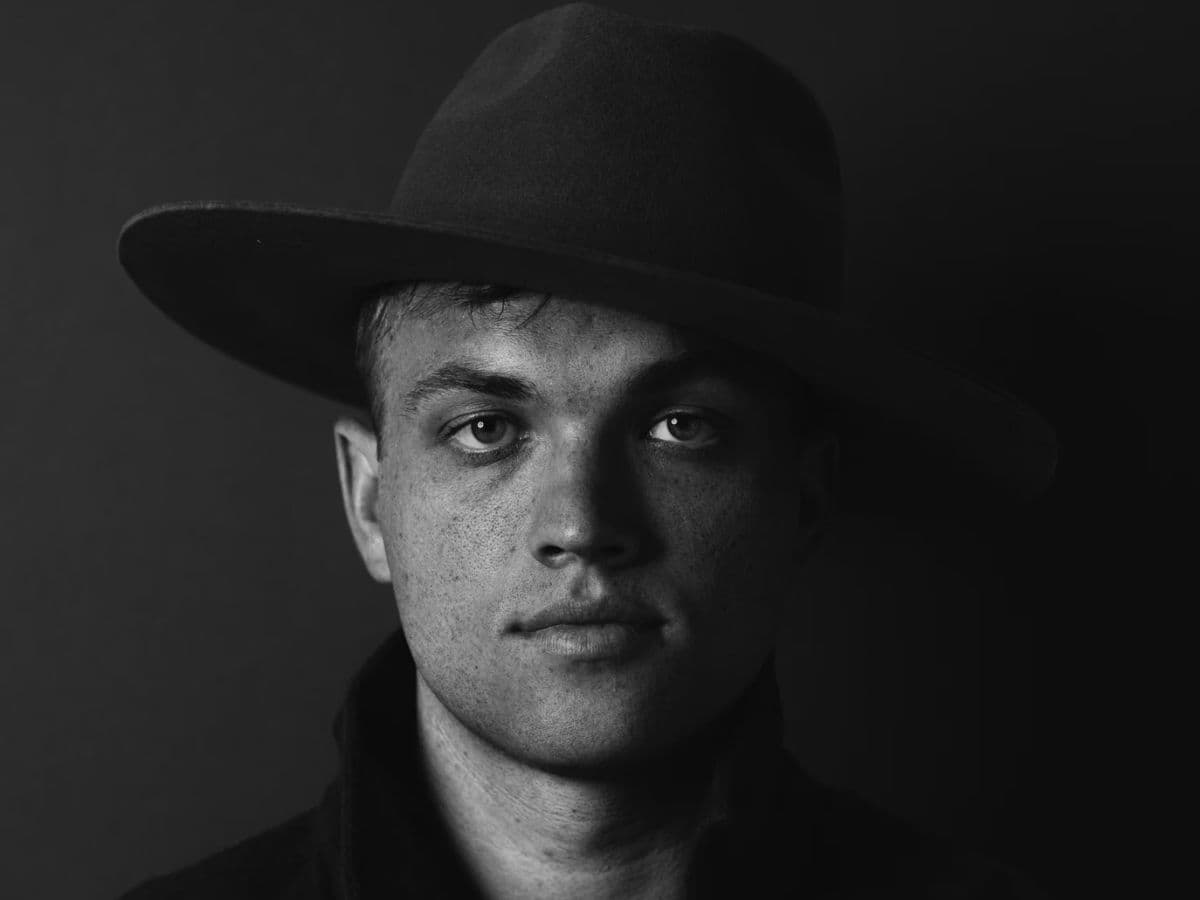
Rembrandt lighting has stood the test of time, dating back to the 17th century. Today, you’ll find the lighting pattern in Hollywood films and studio portraits.
Aside from being widely recognized as a great technique, why should you use Rembrandt lighting? Well, it comes down to its ability to create a moody and dramatic feel.
Anytime you see Rembrandt lighting, it immediately draws your eyes to the triangle of light on a subject’s cheek and evokes the feeling of mystery.
This is due to the sharp contrast and light and darkness.
It also has a slimming effect, as it sculpts your subject’s cheek.
Overall, the Rembrandt lighting technique is flattering, eye-catching, and creates a portrait full of drama.
Related: What’s tungsten light, and how do you use it?
Photography gear you’ll need
You don’t need a lot of fancy equipment to create Rembrandt lighting. As a lighting technique that requires minimal gear, it’s ideal for photographers of all skill levels.
For photography gear, it comes down to having a light source, a subject, camera, lens, and a dark room.
An optional tool is a reflector. While it’s not required, a reflector can give you a softer and more natural look.
To recap, the following is a list of the photography gear you need to create Rembrandt lighting:
- Indoor studio or dark room.
- Camera and lens.
- A subject.
- Key light.
- Reflector (optional).
Another important detail is the lens. Since you’re photographing portraits, a focal length of 50mm or longer is ideal.
Additionally, your light source can be a Speedlight, continuous LED light, or a window. Window light is more difficult to use, but it’s possible. Ideally, use artificial light.
Also, the light source must be off-camera because it’s not front-lighting.
With the right gear, you can successfully use Rembrandt lighting in your portrait photography.
Related article: A beginner’s guide to boudoir photography
How to create Rembrandt lighting
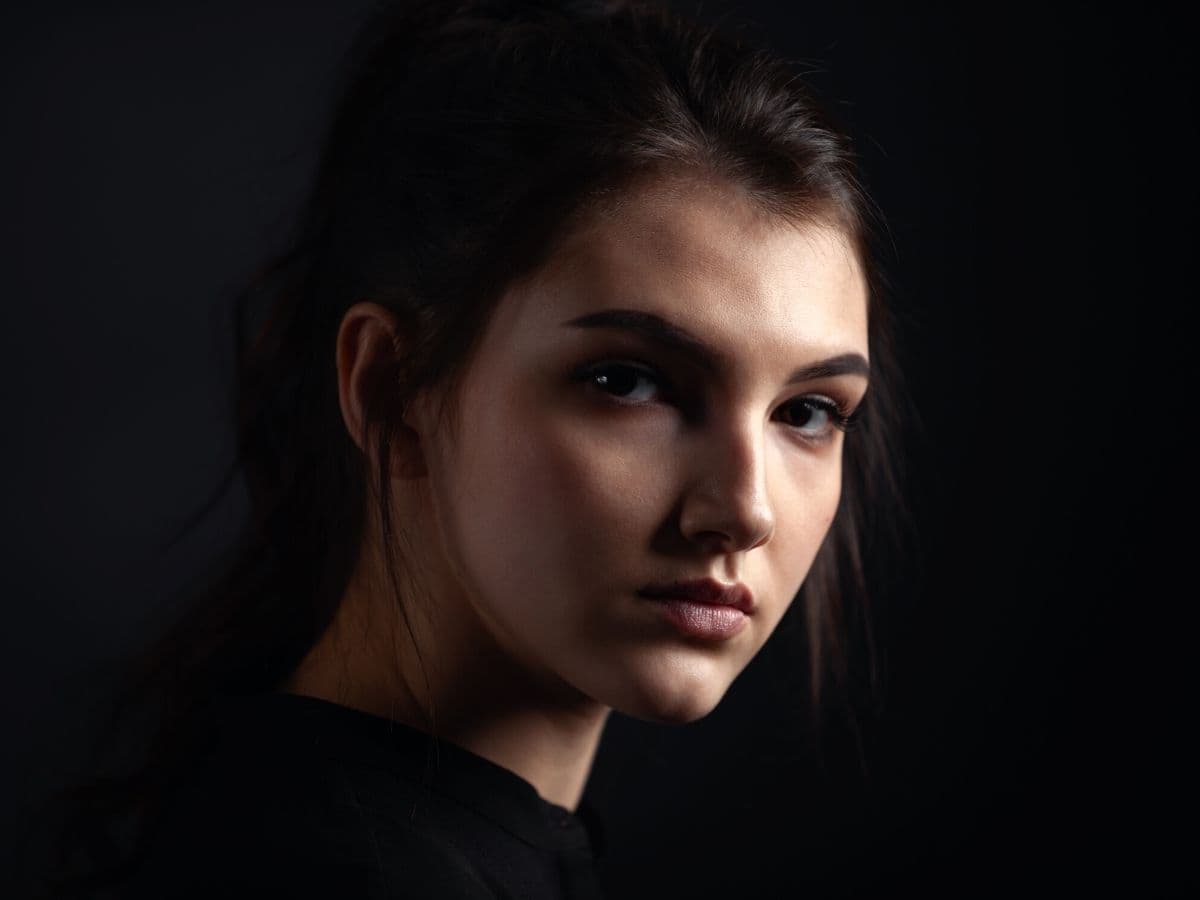
There are two common ways to use Rembrandt lighting. The traditional approach is to use one light source. The second method is to use a main light source and reflector or fill light.
Regardless of the method you use, the setup is similar. When you use one light, the shadows will be deeper and more dramatic.
With a reflector or fill light, it’ll be softer and more natural. It’ll be dramatic and moody, but not as much as a portrait without a reflector or fill light.
Related article: What’s butterfly lighting in photography?
The following covers the Rembrandt lighting setup for both approaches.
Creating Rembrandt lighting with one light
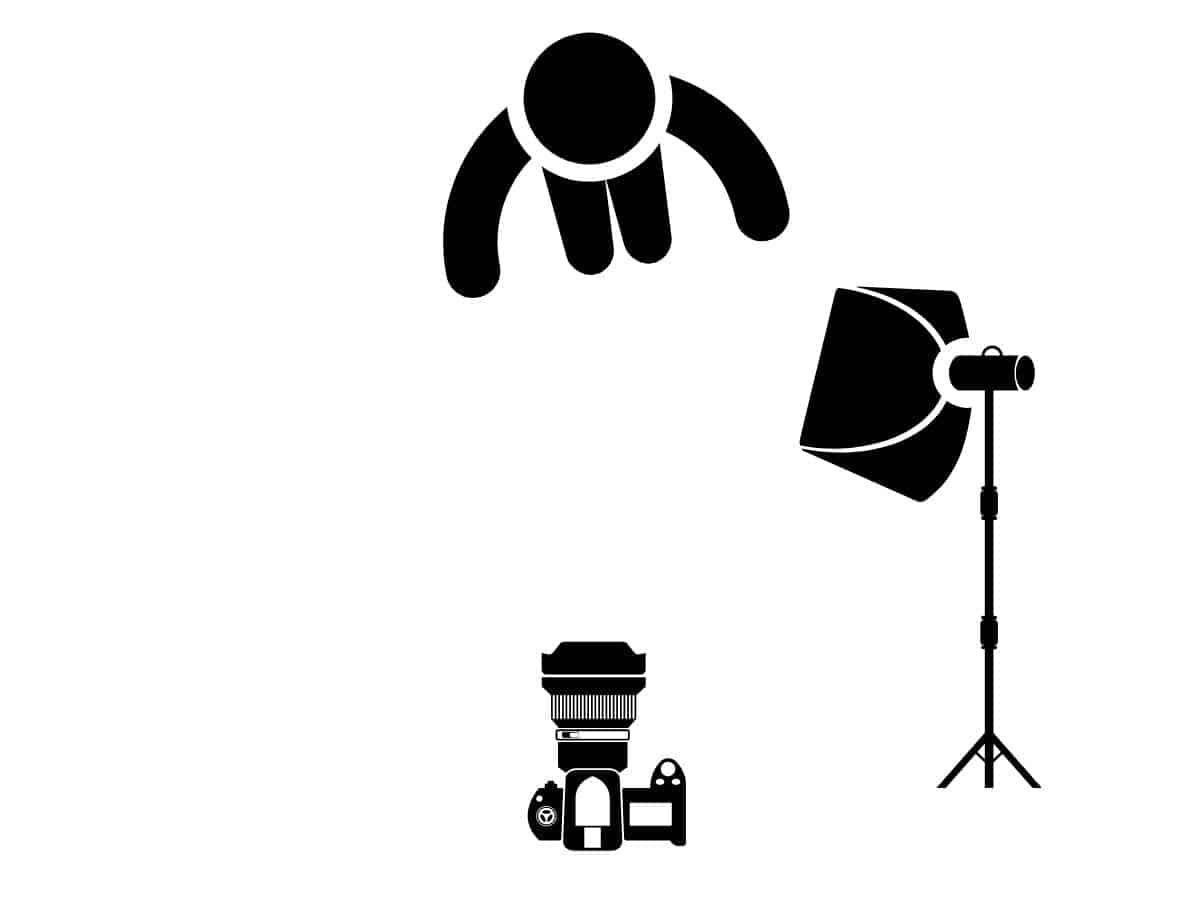
With one key light, you can achieve spectacular Rembrandt lighting. It’s the classic method and produces the most dramatic results. The following are the steps to create the one key light setup:
- Position your subject.
- Place the key light about five feet away from your subject at a 45-degree angle and slightly above eye level.
- Stand in front of your subject.
- Pose your subject by turning them slightly toward the key light.
- Take a test shot to ensure the light properly falls on your subject’s face.
Rembrandt lighting with one key light produces the most dramatic results. Keep in mind that the power of the light affects the shadows.
If the light is brighter, the shadows will be darker, which creates more contrast and drama. With a softer light, you won’t have the same level of contrast, which looks more smooth.
Creating Rembrandt lighting with a reflector or fill light
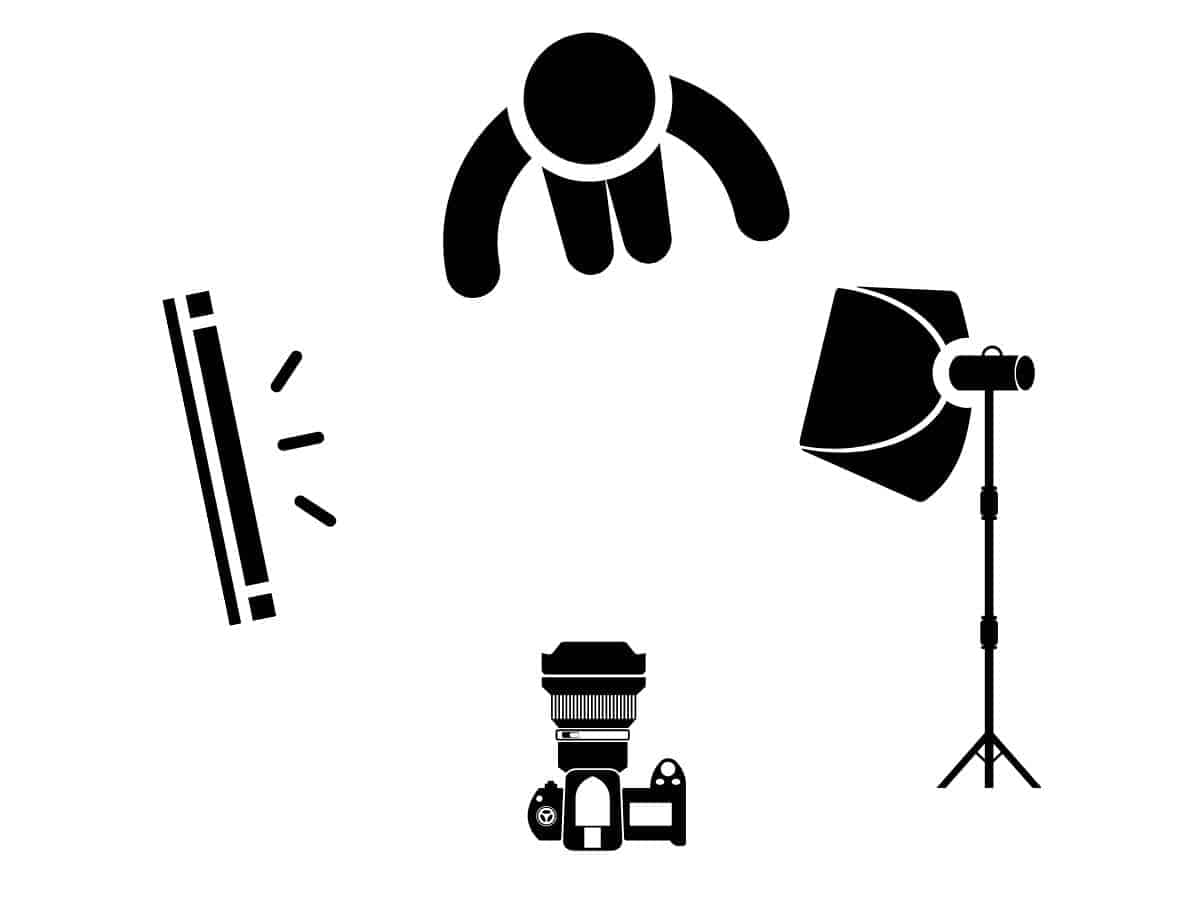
If you don’t want the opposite side of your subject’s face to be completely dark, you can use a reflector or fill light. It adds a small amount of light to lift the shadows, which makes the portrait look softer.
If you choose to take Rembrandt lighting portraits with a reflector or fill light, take the following steps:
- Position your subject.
- Place the key light about five feet away from your subject at a 45-degree angle and slightly above eye level.
- Place the reflector or fill light on the opposite side of your subject at the same distance and height.
- If you use a fill light, set it to half of the power of the key light.
- Stand between the reflector and key light.
- Pose your subject by turning them slightly toward the key light.
- Take a test shot to ensure the light properly falls on your subject’s face.
When you bounce light back to your subject and fill the shadows, the portrait will look more natural.
However, it won’t be as moody as the one light setup. So, consider the goal of the image before using one approach over the other.
The best location is indoors
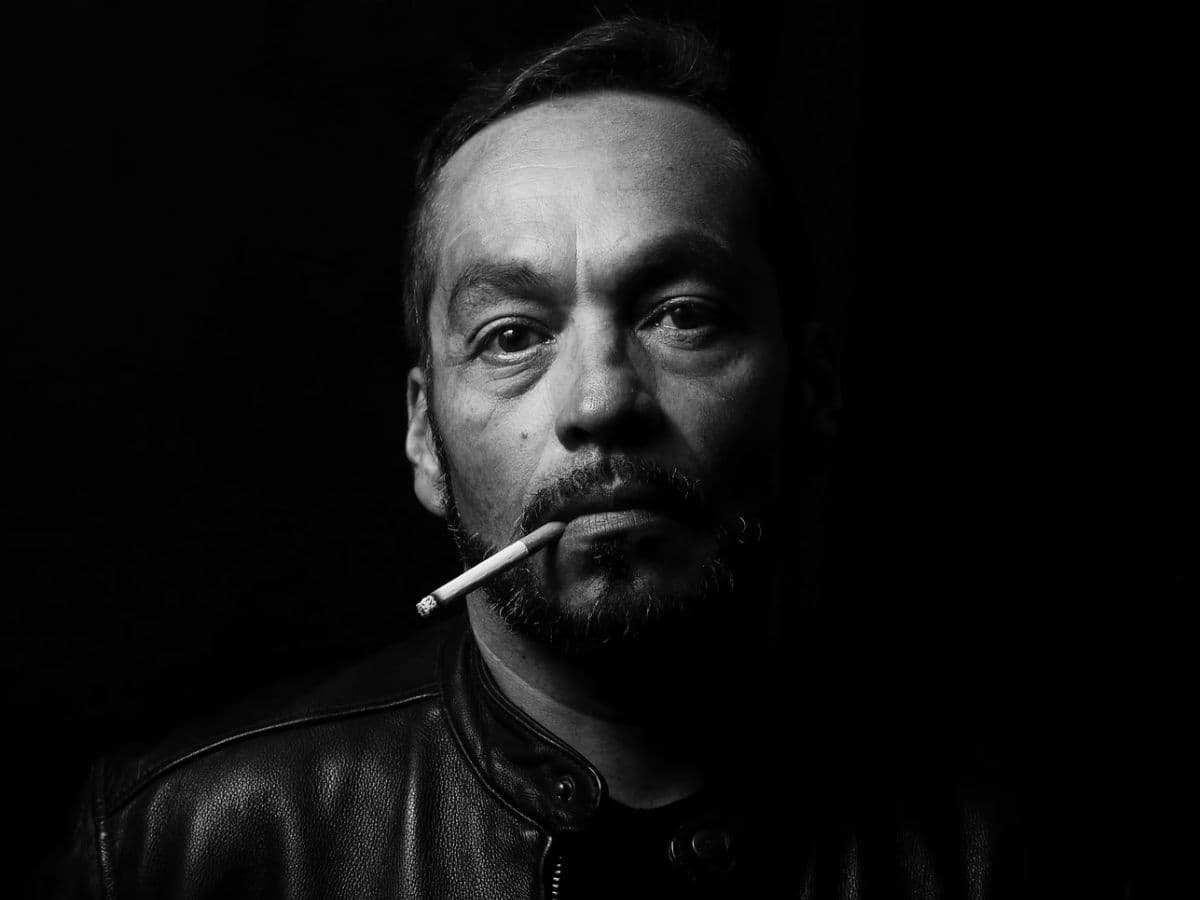
Rembrandt lighting is best suited for indoor portraits. Ideally, you’ll use it in a studio with off-camera artificial light.
The lighting pattern requires a controlled setup, and shooting outdoors won’t provide the same environment.
When you photograph outdoor portraits, the light changes, and you can’t control it. So, shoot in a studio or room with artificial light. The key is to control the light and shadows.
Conclusion
Rembrandt lighting dates back to the 17th century. It’s distinguishable by the small triangle of light under the subject’s eye.
To this day, it’s a classic, compelling, and moody lighting pattern. The best part is that it requires minimal equipment and is easy to set up.
Start using Rembrandt lighting today to capture stunning, high-contrast portraits.
Featured image courtesy of Canva.

