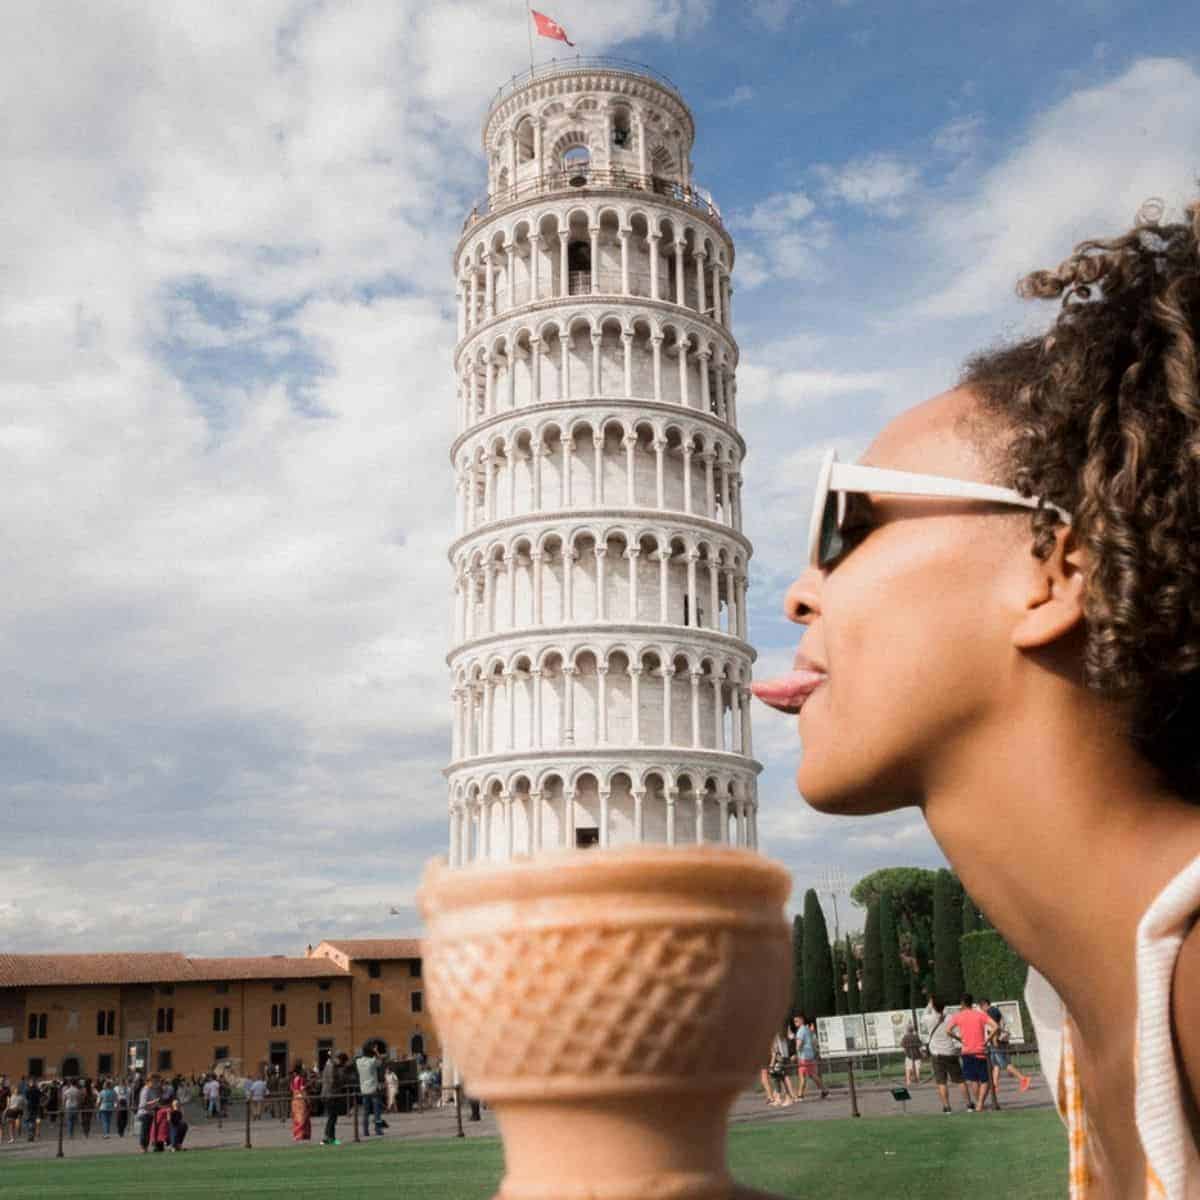
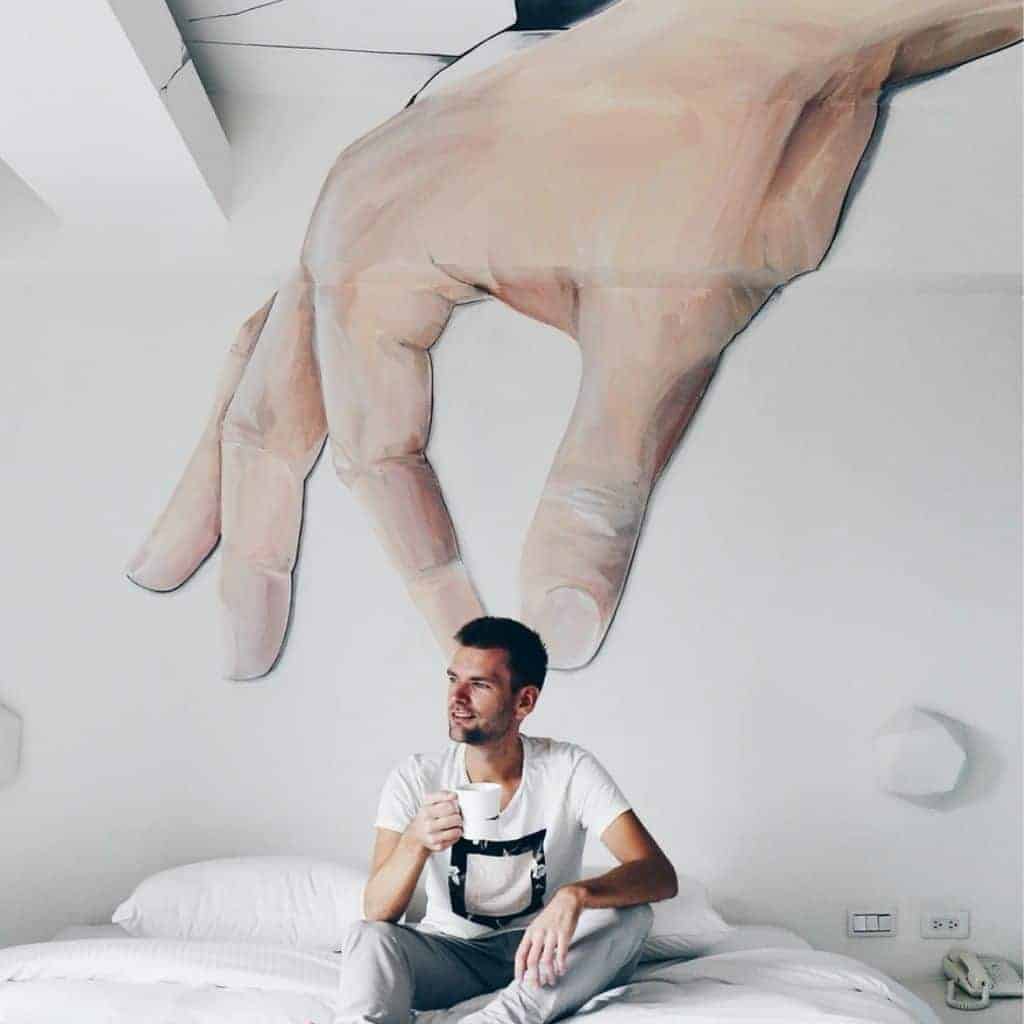
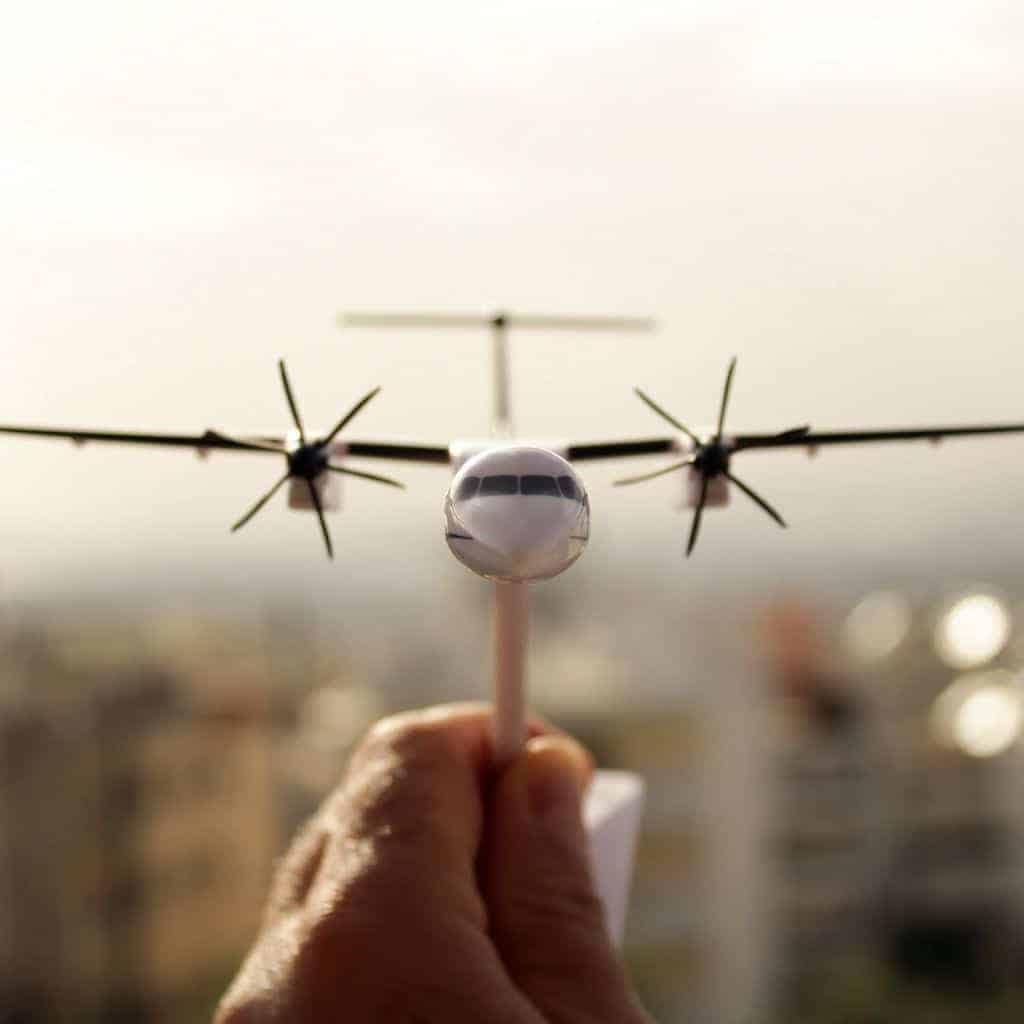
Forced perspective is a photography technique and optical illusion that manipulates the size or distance of an object.

What’s forced perspective?
In photography, forced perspective is a technique that creates an optical illusion. It makes an object or person appear larger, smaller, further away, or closer.
Related: 10 beginner composition tips
It’s a fun and creative way to capture photos that make people wonder how you did it. It manipulates the viewer’s perception and creates an interesting image.
Regardless of your photography skill level, you can use the forced perspective technique.
Related: Loop lighting guide for portrait photography
1. Use a narrow aperture
To change the way objects or people are perceived, you must strategically place them closer or further away from you.
Things that are closer to your camera will appear larger than things further away.
The objects or subjects will be at different distances. Therefore, you must keep everything in focus by using a narrow aperture, such as f/16.
A small aperture ensures that you have a deep depth of field, which results in a job well-done using the forced perspective technique.
Related: What are midtones in photography?
2. Work with other people

Yes, you can use the forced perspective technique on your own.
However, working with other people can make it more fun, and you’ll be able to capture photos you couldn’t get by yourself.
With other people, you can get creative and capture a lot of fun ideas.
For example, you can have two people holding a picture frame with others in the distance as if they’re framed in a photo.
You can also make one person look like a giant compared to others by having one of them close to the camera.
When you’re working with several people, patience is important. Creating an optical illusion with a group of people requires each person to be in a perfect position.
Be patient and take several photos of the same shot in case someone moves.
3. Use different angles

Angles are an important when you’re using forced perspective.
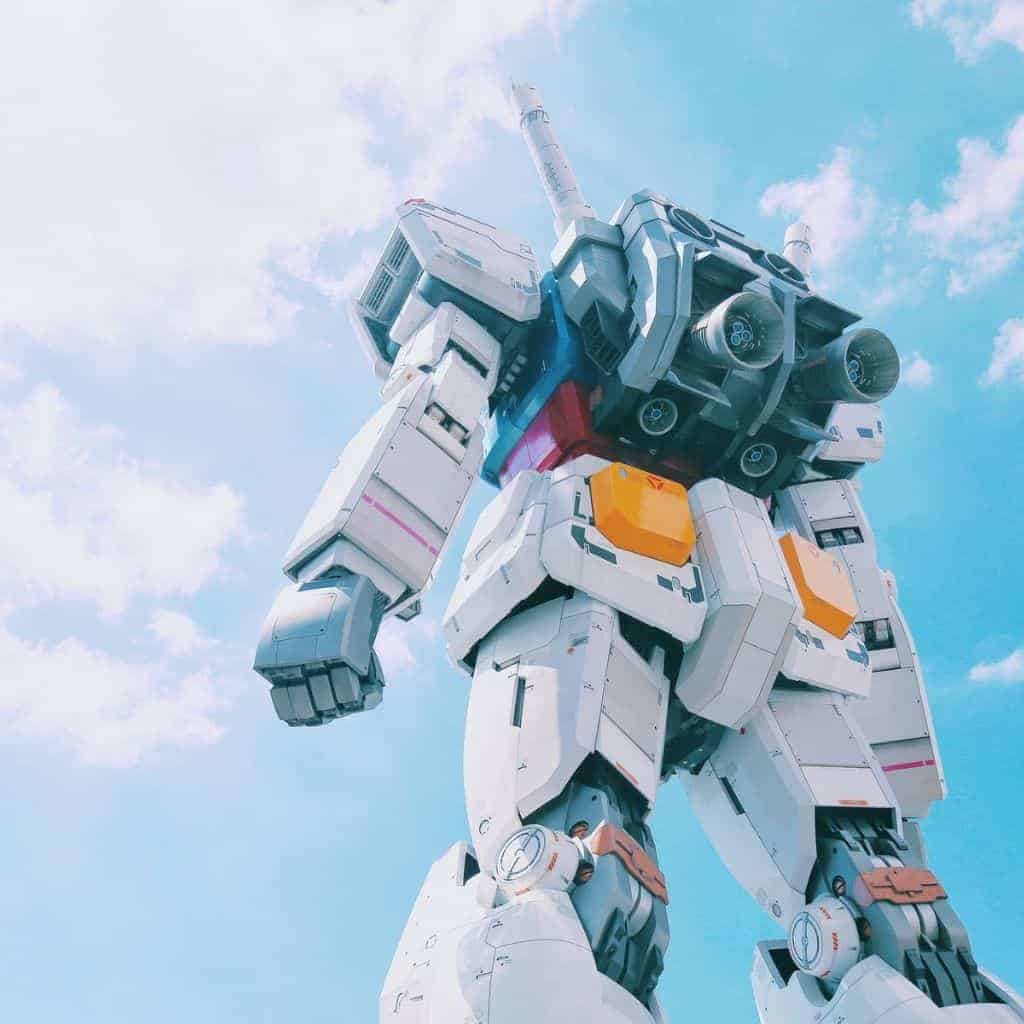
Make objects appear taller or larger by shooting from below. To make objects look smaller, shoot from higher up and point down.
Straight-on shots can make a good photo. However, utilizing different angles will make it more dramatic, resulting in a great photo.
Angles also allow you to control what’s seen in the photo. It helps you tell a story and make the photo more interesting.
4. Ideas are all around you
One of the most important things to remember is that there are ideas all around you.
If you feel stuck or hit a wall with your creativity, take a step back and look around.
You’re surrounded by objects, the sky, nature, and people. If you spend a bit of time thinking and taking test shots, you’ll be capture creative photos.
If you have an idea, try it. Experiment with anything, even if it doesn’t make sense.
When you try new things, you may discover that you found a great concept.
5. Use props

Props are great to use with or without other people. You can use anything that you have available, including toys, cups, stickers, and books.
The following are ideas of props and ways that you can use them:
- An action figure holding a building.
- Holding a paintbrush to the sky, as if you were painting a sunset.
- A person standing in a mug.
- Giant toys, such as dinosaurs or other animals.
- A light bulb with the sun shining through it.
When you use props, the ideas are endless. There’s so much that you can do with the things you already have.
6. Rotate the scene
Rotating the scene or flipping things upside down is an excellent way to practice forced perspective.
A common way to do this is to have a person sit on a bench upside down. Then, rotate the camera to make it look like they’re sitting right-side up.
Another way to do this is to have your subject lay on their stomach on the ground with their arms up. You’ll take the photo upside down to make it look like they’re climbing a wall.
Change your perspective and how you view the scene to get a creative shot using forced perspective.
7. Complete the image
Print out an image of a place that you can go to and cut out a portion of it.
Then, you’ll complete the image by surrounding the real object with the image that you printed.
You can also do this by taking a photo with your phone and using it to complete the other half.
Another way to complete the image is by using a reflection. For example, take a portrait of someone with their face covered by a mirror and show someone else’s face.
Conclusion
Forced perspective makes your image more interesting and creative by creating an optical illusion. To make things appear larger, bring it closer to the camera lens. To make things appear smaller, push them further away.
More resources:
- How to take environmental portraits
- What is chromatic aberration?
- The ultimate guide to using leading lines
Featured image courtesy of Unsplash.
