Indoor natural light photos can yield stunning results as long as you follow the proper steps. Learn how to take indoor natural light photos.

Natural light produces some of the most beautiful photos. However, it’s not always easy to use it, especially indoors.
Related: What’s an interchangeable lens camera (ILC)?
Natural light comes in handy because it’s free and available during the day.
You don’t need professional lighting equipment or an off-camera flash. Instead, you’ll use the light that nature provides.
Before you start snapping away, make sure you understand what you can do to take your indoor natural light photos to the next level.
Related: Landscape vs. portrait orientation in photography
By following the tips covered in this article, you can avoid common mistakes and take stunning photos.
1. Use windows

Indoor photography can yield beautiful photos as long as you have a good light source, which is the most challenging part.
Windows are incredible and the key to amazing indoor natural light photos. The reason windows are amazing is that it emulates light from a softbox, which creates flattering lighting.
Soft light is a great way to illuminate your subject because it looks better than hard light.
Related: What is chromatic aberration?
It also looks more natural and makes your subject appear calm and friendly. Another benefit is that soft light can help reduce the appearance of wrinkles and acne.
When using the window light, make sure the sun isn’t directly in line with the window. It’ll be too bright to take good photos without diffusion.
So, schedule your session when the sun isn’t directly shining through the window.
2. Use a reflector
Indoor natural light isn’t perfect, especially with the light constantly changing.
One of the best ways to ensure that your subject is evenly lit is to use a reflector. It bounces light toward your subject, which you can direct to capture a well-lit photo.
Related: How to find your camera’s shutter count
If you don’t have a reflector, there are other ways to get a similar effect. You can use something white, such as a blanket, lid, or tarp.
Regardless of what you use, the goal is to reflect light back to your subject to provide even lighting.
3. Turn off the lights
To capture the best indoor natural light photos, make sure all of the lights are off. It’s common to think that the lack of light means you need as much light as possible, but it’s the opposite.
If there are any other light sources aside from the natural light, it can affect the white balance and make your photo too blue or yellow.
Related: Understanding color in photography
Other lights can also make your subject’s skin tone look off and inaccurate. The solution is to turn off all of the lights.
The light through the window is sufficient and flattering.
4. Soften the light with curtains or a diffuser
While soft light is the goal, it’s not possible at all times. If you encounter harsh light and the window doesn’t offer enough diffusion, use a thin curtain, sheet, or diffuser.
Related: What’s texture in photography?
Not all curtains will work, as some block out light completely. You can find other translucent or thin materials to hang or hold out to diffuse the light.
Remember, the key is to provide a soft light.
5. Use the right camera settings

Your camera settings can make or break the photo. With indoor natural light photography, consider your subject’s surroundings and the brightness of the light source.
In most cases, indoor photos will be taken in their home. So, there will be things in the background, such as furniture, the kitchen, or other distracting items.
Unless the background helps you tell the story, make it blurry by using a shallow depth of field.
To create a shallow depth of field, use a large aperture. Most lenses have a maximum aperture of between f/1.4 and f/4.
For shutter speed, you want to ensure there’s no camera shake. 1/125 or 1/160 is a good shutter speed to capture sharp photos.
Related: How to fix grainy photos
When you’re taking indoor natural light photos, you’ll need to increase the ISO. While ISO 100 or 200 works well outdoors, you have less light inside.
So, you need to increase the ISO to ensure your photo is well-exposed. To make finding the perfect exposure easier, use a semi-automatic mode.
Aperture priority is an excellent option because you can set it to the maximum aperture and let the camera do the rest.
After you achieve the perfect exposure, check the white balance. With indoor photos, turn off automatic white balance because it can be tricky.
Instead, set it manually or use a preset, such as daylight or cloudy, depending on the color temperature of the light.
To recap, use the largest aperture possible, a fast shutter speed to avoid blur, raise the ISO as needed, and adjust the white balance for accurate colors.
6. Catchlights

Catchlights are the reflection of light in your subject’s eyes.
When you’re photographing portraits, make sure you capture catchlights in their eyes. It’s what makes your subject’s eyes stand out and look full of life.
Related: What’s shape and form in photography?
To photograph catchlights, your subject must be facing the light. So, being near a window is perfect.
Then, you can snap a portrait with their eyes in sharp focus, and you’ll see the catchlight.
7. Direction of light

Light comes through the window in one direction.
However, there are three directions of light, which impact the way you pose your subject. The three directions are front light, backlight, and sidelight.
Front lighting means that your subject is facing the light source.
As the photographer, you’ll have your back against the window, and you’ll need to make sure your shadow isn’t in the way.
Front lighting offers an even light across your subject’s face. There will be few to no shadows, which can lead to a flattering and flat portrait.
Backlighting means that the light source is behind your subject. Their back will be facing the window.
Related: How to avoid glasses glare in photos
Backlighting can be flattering, as it can create rim lighting around your subject.
The main drawbacks are that it’ll overexpose the background or underexpose your subject.
If you don’t want the background to be too bright and you underexpose your subject, use a reflector to provide more light on your subject’s face. It’ll help with the exposure.
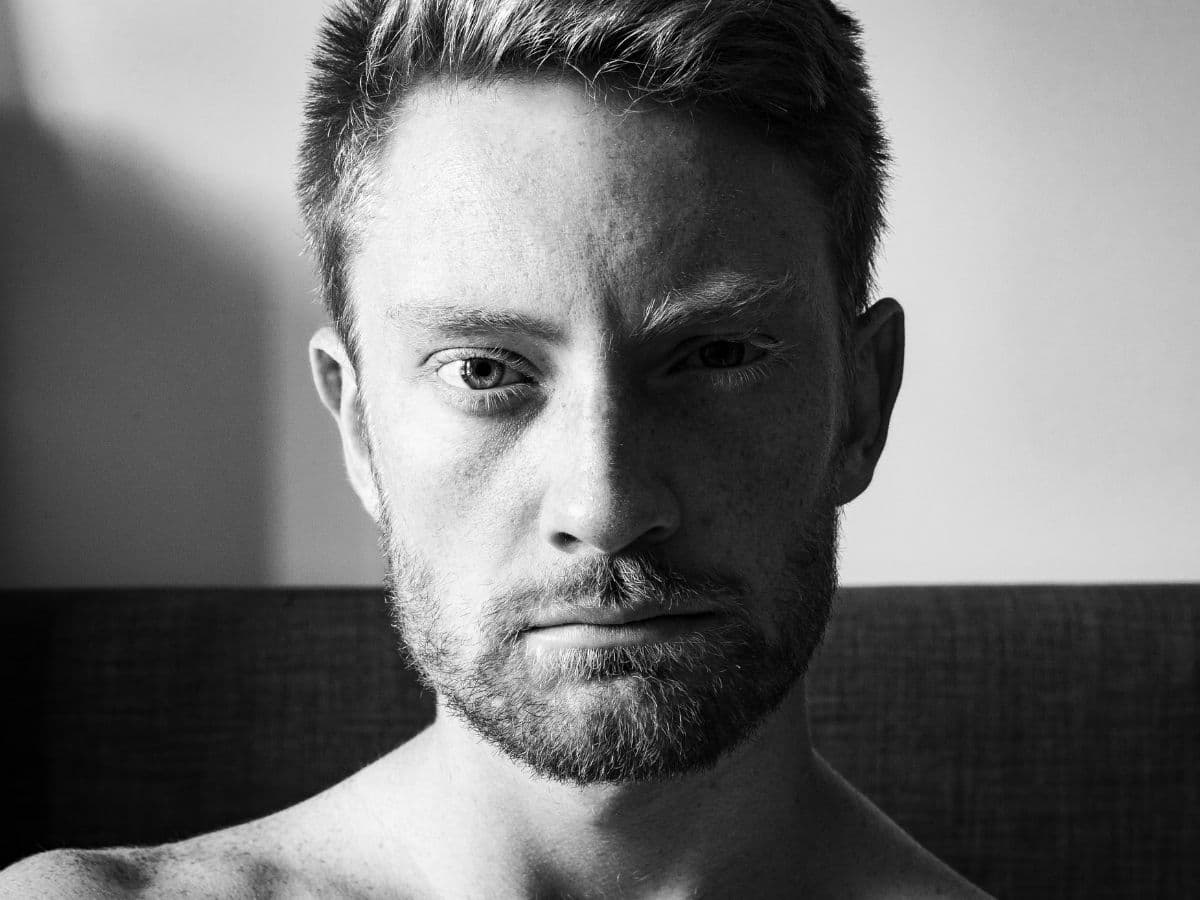
Side lighting is when your subject is lit from the side.
It can produce a moody and dramatic photo, as it’ll cast a shadow on one side of your subject’s face. Sidelight is an excellent way to capture depth and contrast.
All three directions of light can produce beautiful indoor natural light photos. However, they evoke different emotions. So, think about the mood before snapping the photo.
8. Set the scene
Lighting is one of the most important parts of indoor natural light photography. However, the scene is also important.
Your subject’s surroundings determine the mood and message portrayed.
Related: Understanding focus in photography
For example, if you’re taking portraits of a chef, showing the kitchen in the background provides context and interest. On the flip side, portraits of a mechanic with a kitchen in the background won’t make sense.
Find things that’ll add interest to the frame instead of being distracting or looking odd.
While you’re at it, clear the clutter. Not only will it remove distractions from the photo, but it’ll also be easier for you to move around and take photos.
9. Open the door
An easy way to add more light is to open the door. It’ll provide sufficient light to capture a well-exposed photo.
In brighter conditions, be careful with harsh light. You may need to diffuse it. However, more light provides more opportunities for amazing photos.
Related: How to shoot full-body portraits
Another benefit of opening the door is that you can frame your subject in the doorway. Framing is an eye-catching composition technique that leads to appealing photos.
10. Use a mirror

Mirrors are handy props because they can make indoor natural light photos more interesting. There are a few ways to use mirrors.
Depending on the size, you can have your subject hold the mirror while you capture a photo of them looking into the mirror.
Related: Documentary photography: Tips for taking compelling photos
Another option is to take a photo of your subject looking at their reflection. Then, you can crop the mirror out of the photo.
When you’re photos behind your subject with a mirror, make sure you’re not in the reflection. You’ll need to try different angles to find the ideal spot.
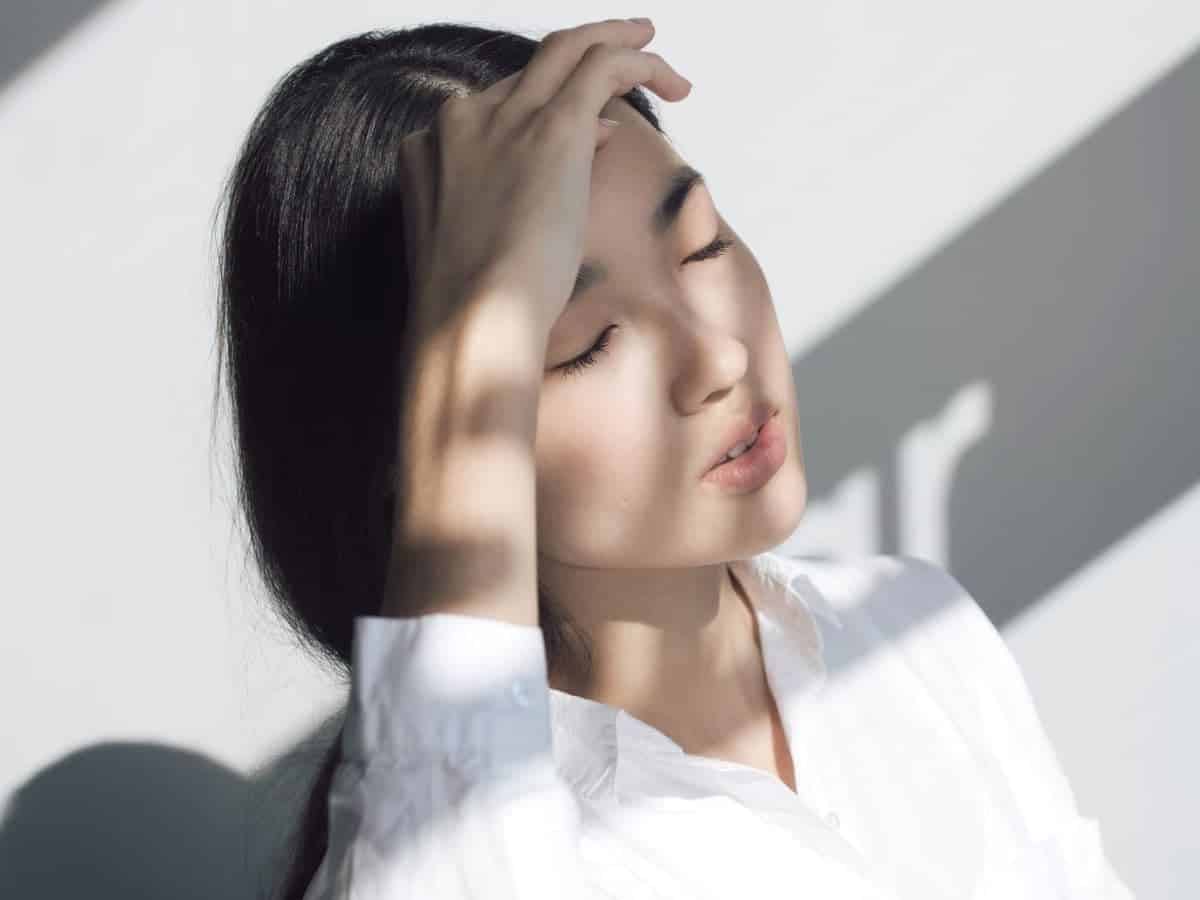
11. Get creative with shadows

When you’re taking indoor photos with natural light, you’ll experience many different shadows.
Instead of avoiding shadows, embrace them because you can capture aesthetic images.
Related: Understanding balance in photography
Use shadows to frame your subject or capture an eye-catching photo. Shadows are a part of everyday life.
So, they can make your subject look more approachable or candid.
Conclusion
There’s a lot to love about indoor natural light photography. The weather won’t stop you from capturing great photos, and the natural light on your subject is flattering.
By applying the tips you learned, you’ll capture beautiful natural light photos. Be flexible, adaptable, and creative, as the lighting can change.
Featured image courtesy of Canva.
