Learn how to resize an image in Photoshop without losing details and image quality. You’ll have the perfect crop and sharpness.
Photoshop is a powerhouse of photo and graphic design tools. One of the most-used tools in Photoshop is image resizing.
When you resize an image, the size changes without cutting anything out. If you cut away parts of the image, that’s called cropping.
So, resizing an image alters the dimensions, also changing the file size.
The ideal way to use the resizing tool is to reduce the size of a larger image.
If you’re making an image larger, it stretches the pixels, causing the image to look blurry, pixelated, and fuzzy.
Related article: The best apps to fix a blurry photo
The following covers everything you need to know about resizing an image in Photoshop.
Steps to resize an image in Photoshop
The steps to resize an image in Photoshop are straightforward, and it won’t take much time.
Related article: How much does Photoshop cost? (Plans and pricing details)
When resizing a photo, the priority is to retain as much detail as possible. The last thing you’d want is a pixelated and blurry image.
So, take the following steps to adjust the size of an image in Photoshop without losing quality.
1. Open your image in Photoshop
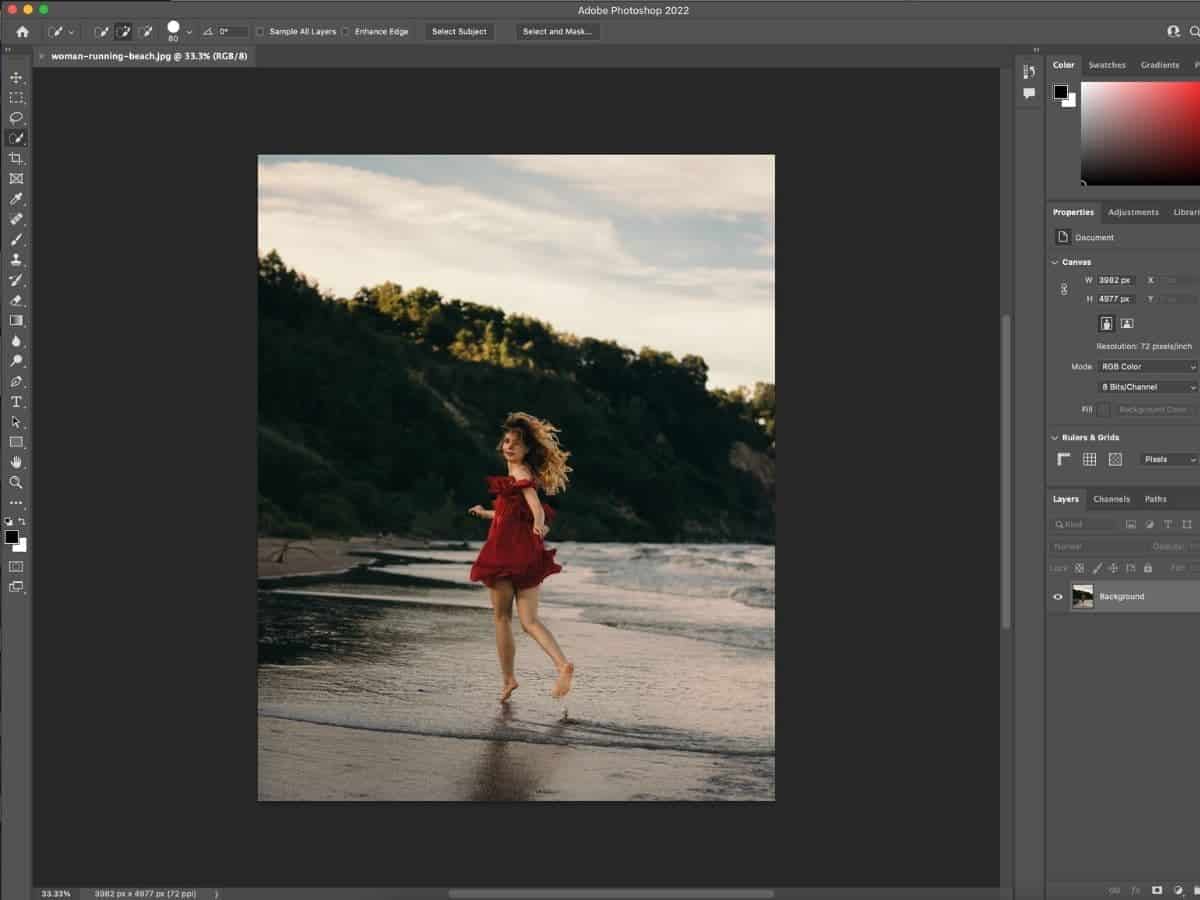
Before anything else, the first step is to open Photoshop and the image you want to resize.
While your image is available, you can make edits, such as adjusting the colors or exposure. Then, you’ll be ready to resize the photo.
2. Click Image then Image Size in the dropdown
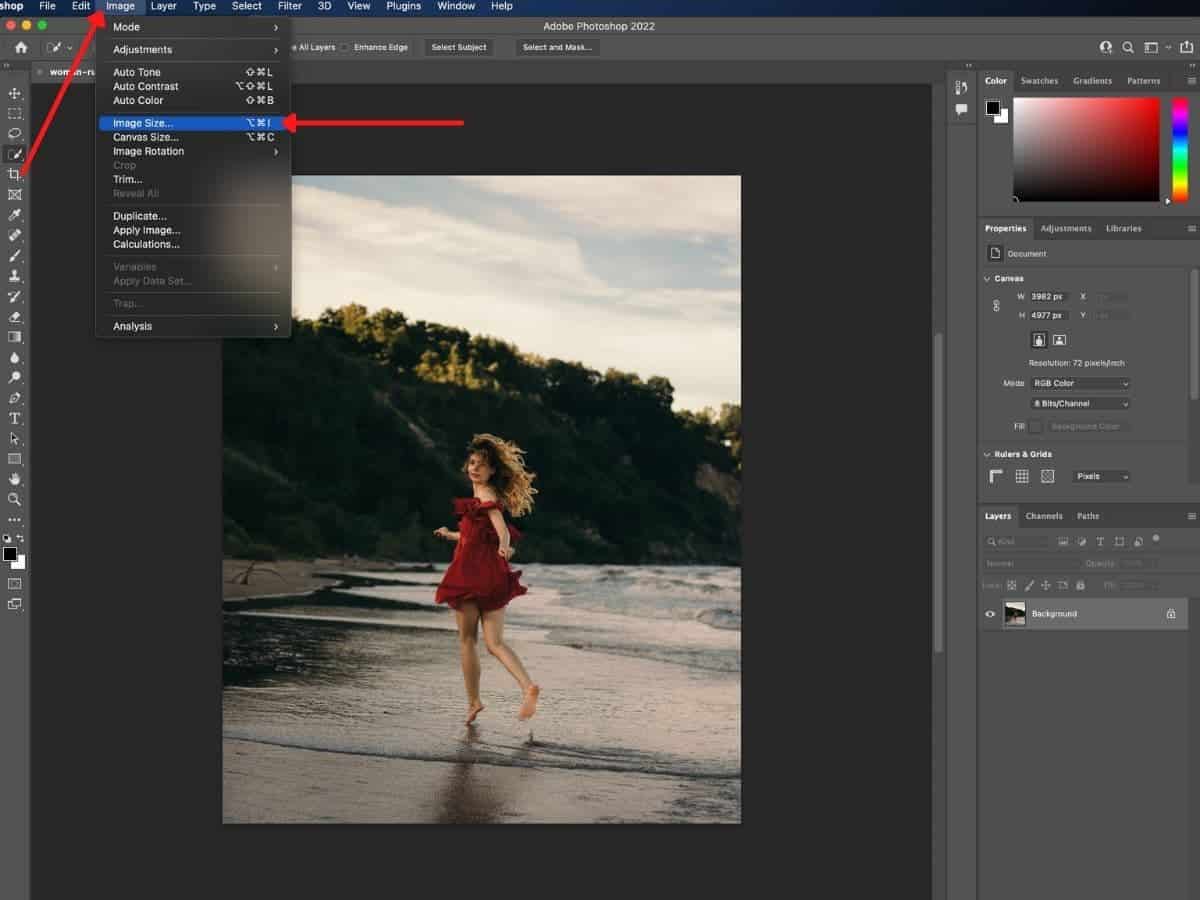
After the image is open and ready to be resized, click Image in the menu bar.
Then, click Image Size in the dropdown menu to open the image resizing window.
3. Change the image size
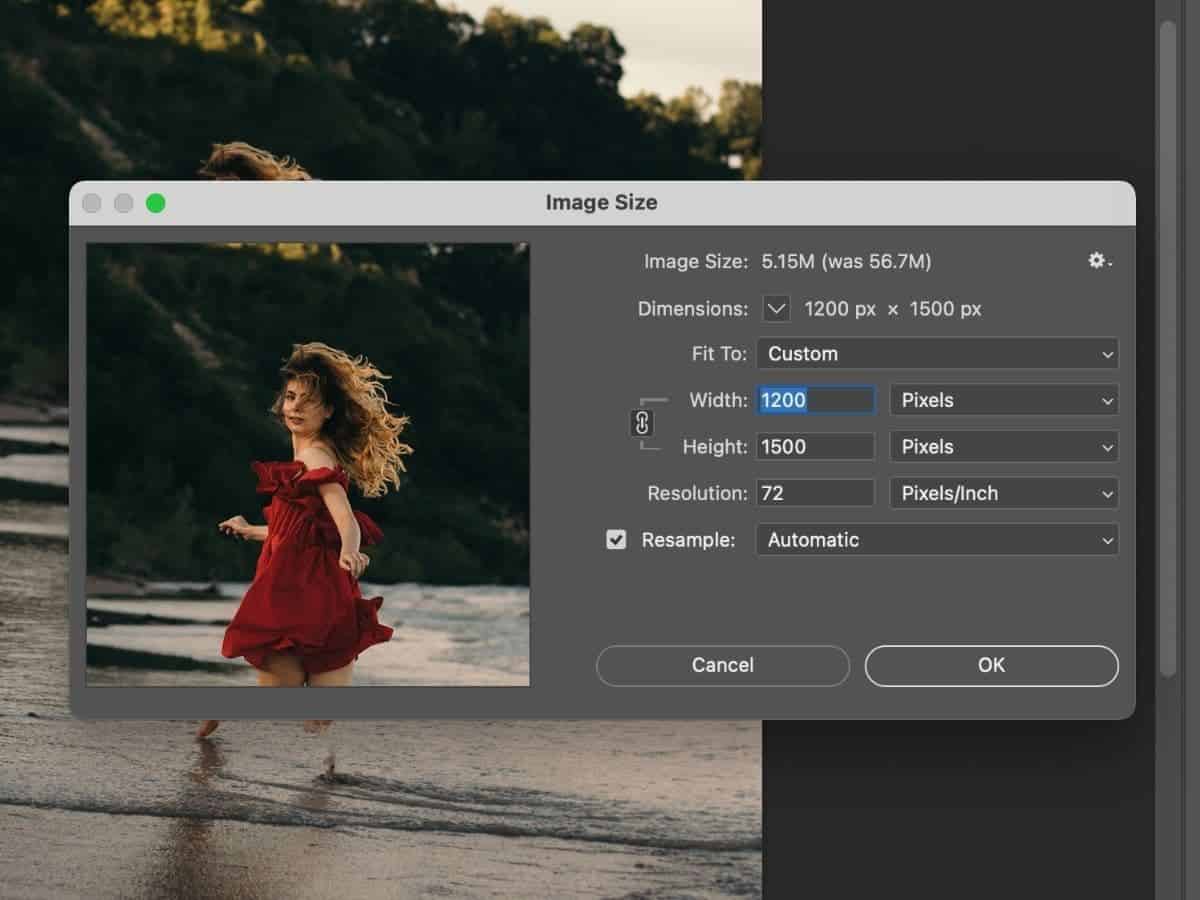
In the new Image Size window, make your desired adjustments. The window shows the image size, dimensions, resolution, and resampling options.
The image size will show how large the file is in kilobytes, megabytes, or gigabytes.
For the dimensions, you can select a unit of measurement. The options include percent, pixels, inches, centimeters, millimeters, points, and picas.
Photoshop also offers presets for common combinations of dimensions and resolutions.
Alternatively, Photoshop allows you to upload a preset or do custom resizing. In most cases, you’ll take the custom route.
To prevent stretching the photo, make sure the chainlink icon is selected. It’ll allow you to change the width or height while maintaining the same aspect ratio.
If you want to change the width and height independently, uncheck the chainlink icon.
Once you’ve set your desired dimensions, you’re ready for the next step.
4. Change the image resolution
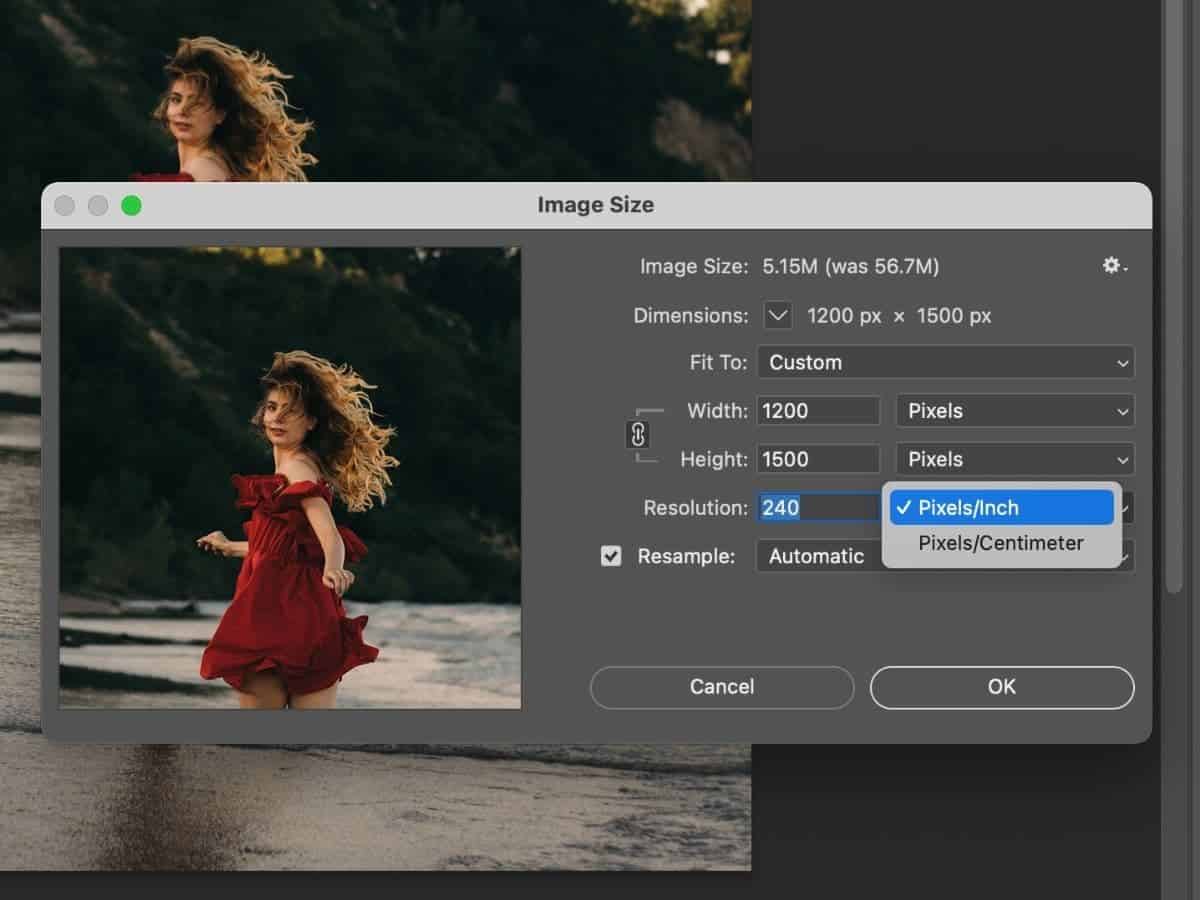
After changing the dimensions, the next step is to change the resolution. Photoshop offers pixels per inch (PPI) or pixels per centimeter (PPC).
For social media or web images, 72 PPI is sufficient. If you’re printing the image, you’ll use a higher resolution.
While it depends on what you’re printing and the size, it should be around 300 PPI or higher.
5. Change the Resample option
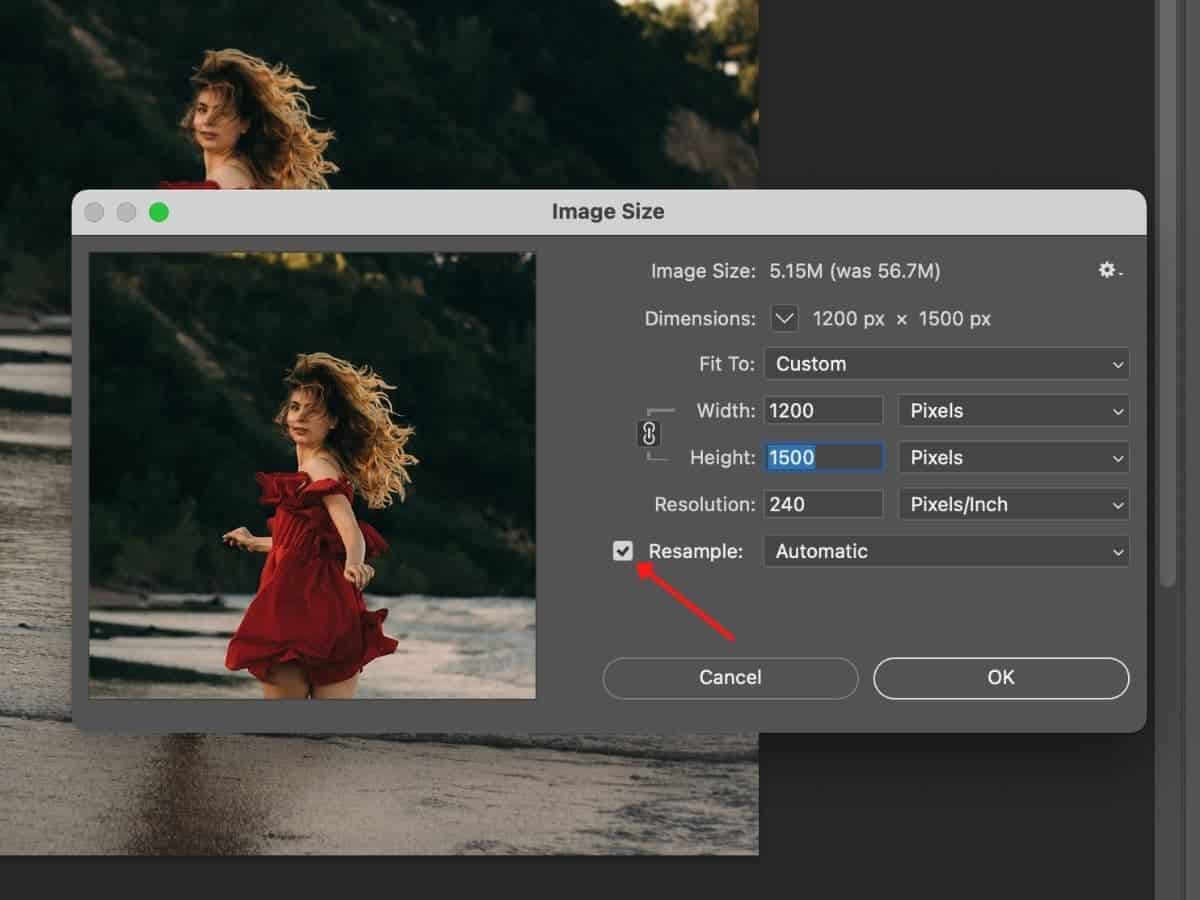
The Resample checkbox depends on what you want to do with the pixels in the image.
If you want to change the image size and resolution while keeping the same total number of pixels, uncheck the Resample box.
If you want the total number of pixels to change proportionally to the new image size and resolution, check the Resample box.
It’s also best to leave the Resample option listed as Automatic.
6. Apply the resize settings
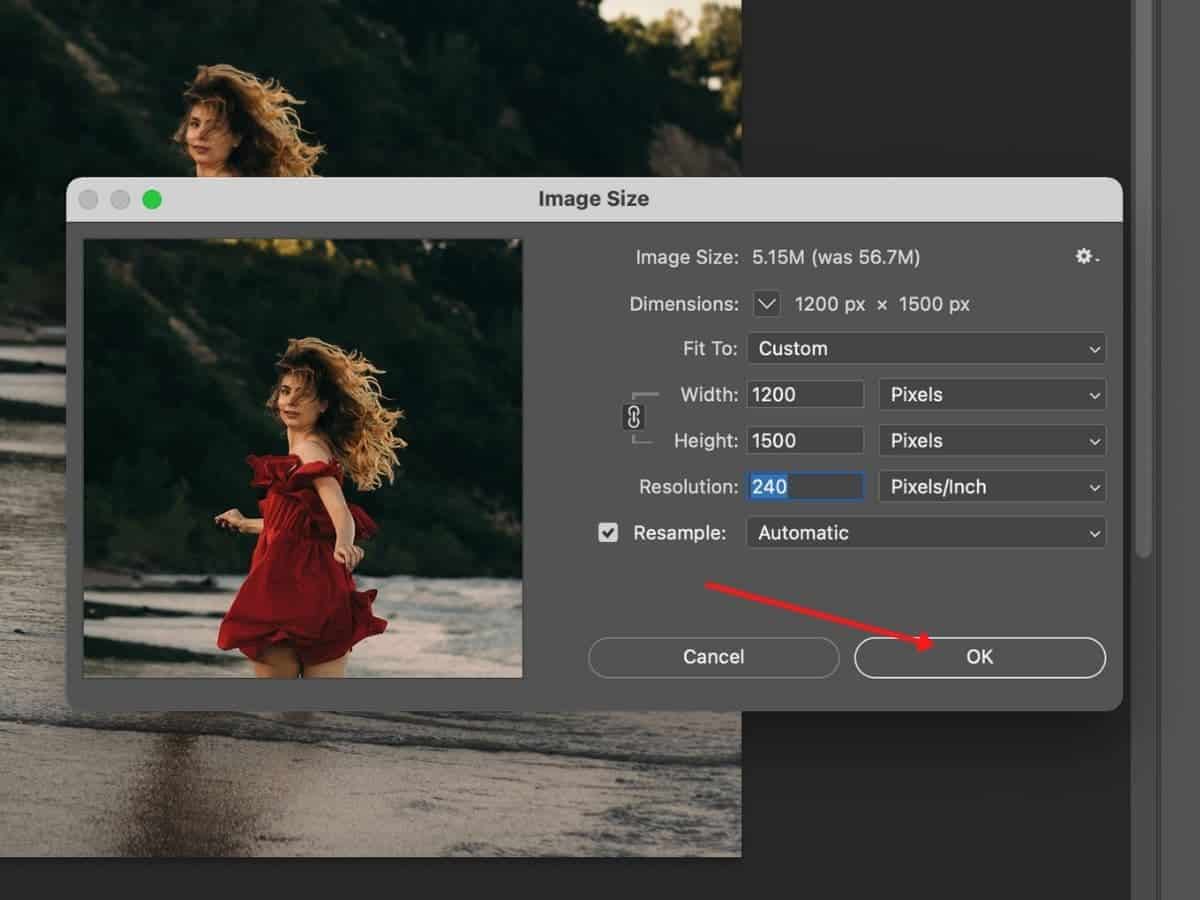
The final step is to click OK to apply the resize settings. Now that you’ve resized the image, it’s ready for export or more editing.
Conclusion
The resizing tool is something you’ll often use in Photoshop. In six effortless steps, you can resize any image to your liking.
Whether the photo is used online or in print, the resizing tool will get the job done.
Featured image courtesy of Canva.