Whether you specialize in headshot photography or want to add it to your services, learn tips to take stunning professional headshots.
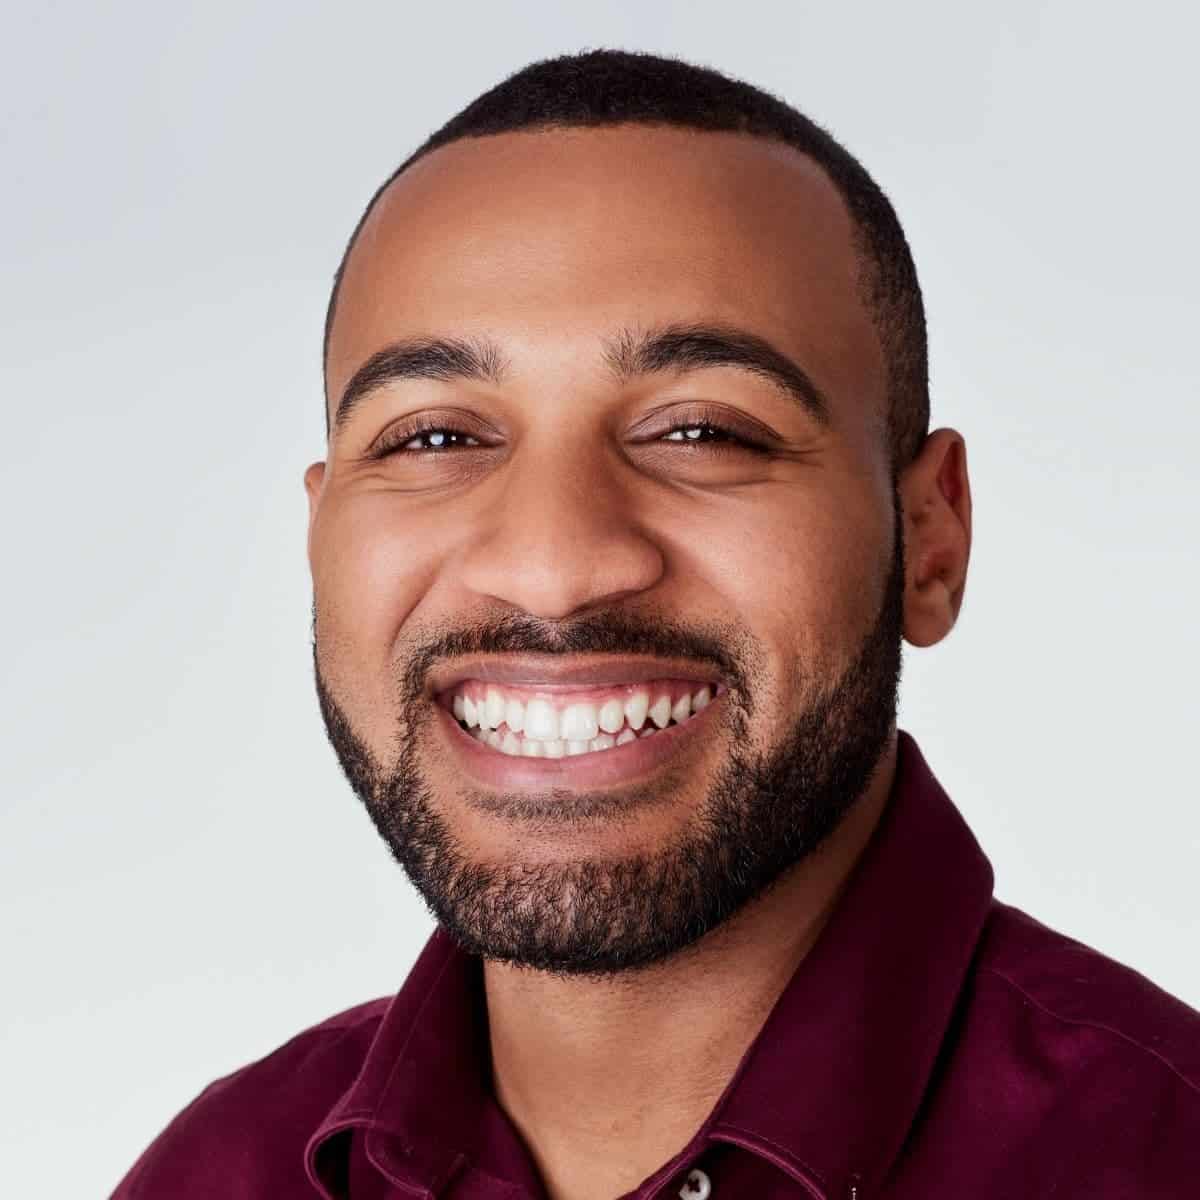
Everyone needs a headshot, as it can be for an about page, a profile picture on social media, online dating, or professional networking platforms.
As a photographer, your job is to take a headshot that showcases your subject’s personality and make them look their best.
While it may seem like just snapping a photo of someone’s face, there’s a lot that goes behind an incredible headshot.
Related article: Candid photography tips and examples
The following covers everything you need to know about headshot photography and how to capture the best headshots.
What’s a headshot?
A headshot is a photo of a person’s head. It’s a type of portrait photography that’s tightly cropped, as it features a person from the shoulders up.
Often, portraits differ from headshots because they show more of a subject’s body. Headshots are all about the subject’s face.
The purpose of a headshot is to make a great first impression.
Whether the image is used on social media or for a professional purpose, you’re showcasing your best self.
Related article: Best Manfrotto tripods for photographers
Tips for better headshot photography
Headshots are one of the most in-demand photography services.
Whether you’re a seasoned headshot photographer or want to become one, the following are tried and true tips to take spectacular headshots.
1. Understand the purpose of the headshot

Before the headshot session, meet with your subject to understand the purpose of the images.
Since there are many different headshot types, being on the same page ensures that you know what they’re looking for and can provide an excellent experience.
For example, an actor may want a headshot with dramatic lighting, while an executive may want a headshot with soft lighting to make them look approachable.
Additionally, discuss the background, color format, and styles.
The pre-session meeting can take place in person or over the phone, as the purpose is to gain information and build rapport.
It’s also an ideal time to discuss what to wear. Based on the purpose and what your potential client’s looking for, give ideas for one or more outfits.
Related article: What to know about speedlights before getting one
2. Use a longer focal length
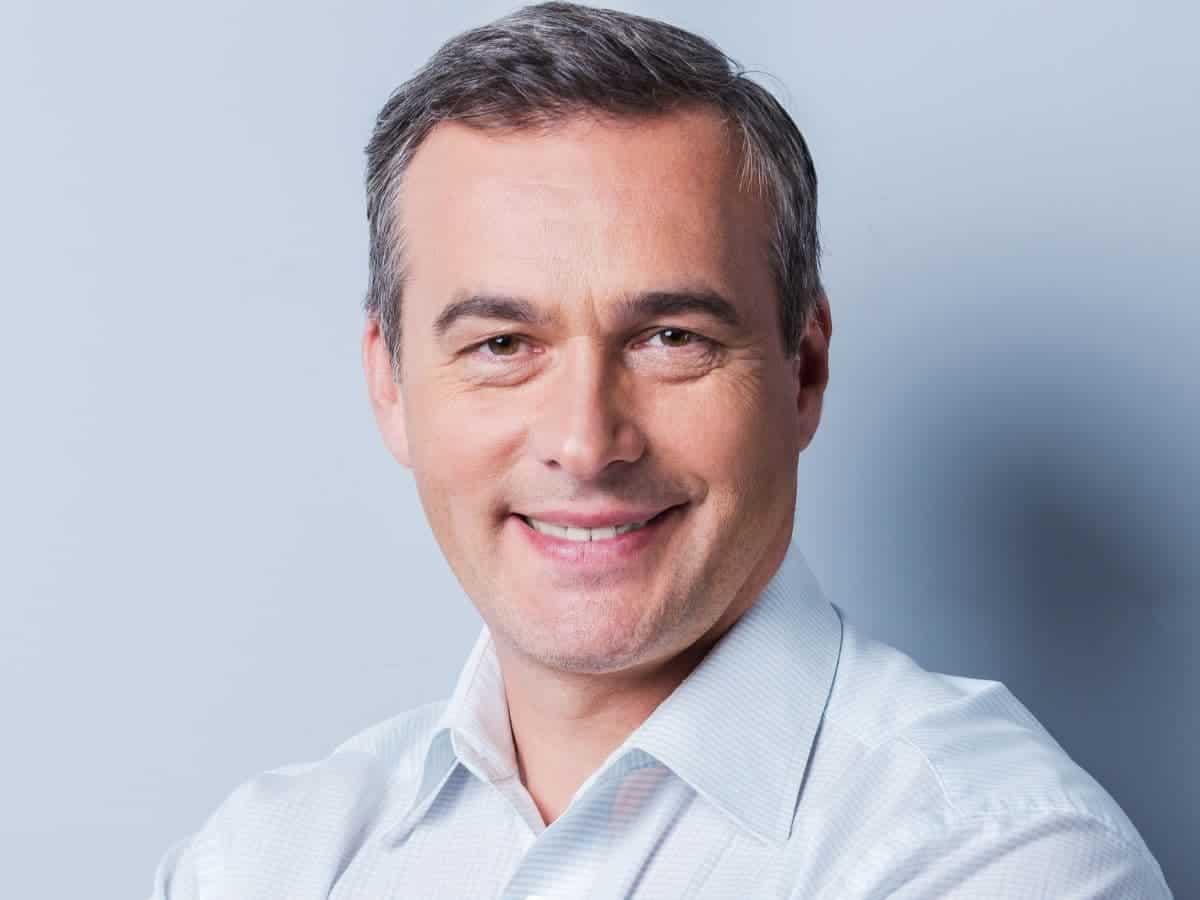
For headshot photography, longer focal lengths are the best.
A high-quality prime lens between 50 and 135 mm with a wide maximum aperture will create the best results.
Since you’re most likely not moving around too much, there’s no need for a zoom lens.
Plus, zoom lenses have a maximum aperture of f/2.8, while prime lenses can open as wide as f/1.2.
If you’re shooting the headshots outdoors, the wide aperture will create a beautiful blur in the background.
Another benefit of using a longer focal length is compression. Longer focal lengths don’t distort facial features, which ensures your subject looks normal.
A long and high-quality prime lens results in a crisp and exquisite headshot.
3. The aperture depends on the location

Aperture is an important camera setting because it controls the depth of field and what’s in focus. However, the aperture you select depends on the background.
If you’re photographing headshots in a studio with a plain backdrop, use a smaller aperture, such as f/8.
A smaller aperture ensures that your subject’s entire head’s in crisp focus. It’ll require more light, which isn’t a problem in a studio.
If the session is outdoors, use a wide aperture, like f/1.4 or f/2.8.
A wide aperture is best when taking headshots outdoors because you’ll avoid distracting elements in the background.
It’ll produce a beautiful blur and bokeh while separating your subject from the background.
4. Find the perfect background
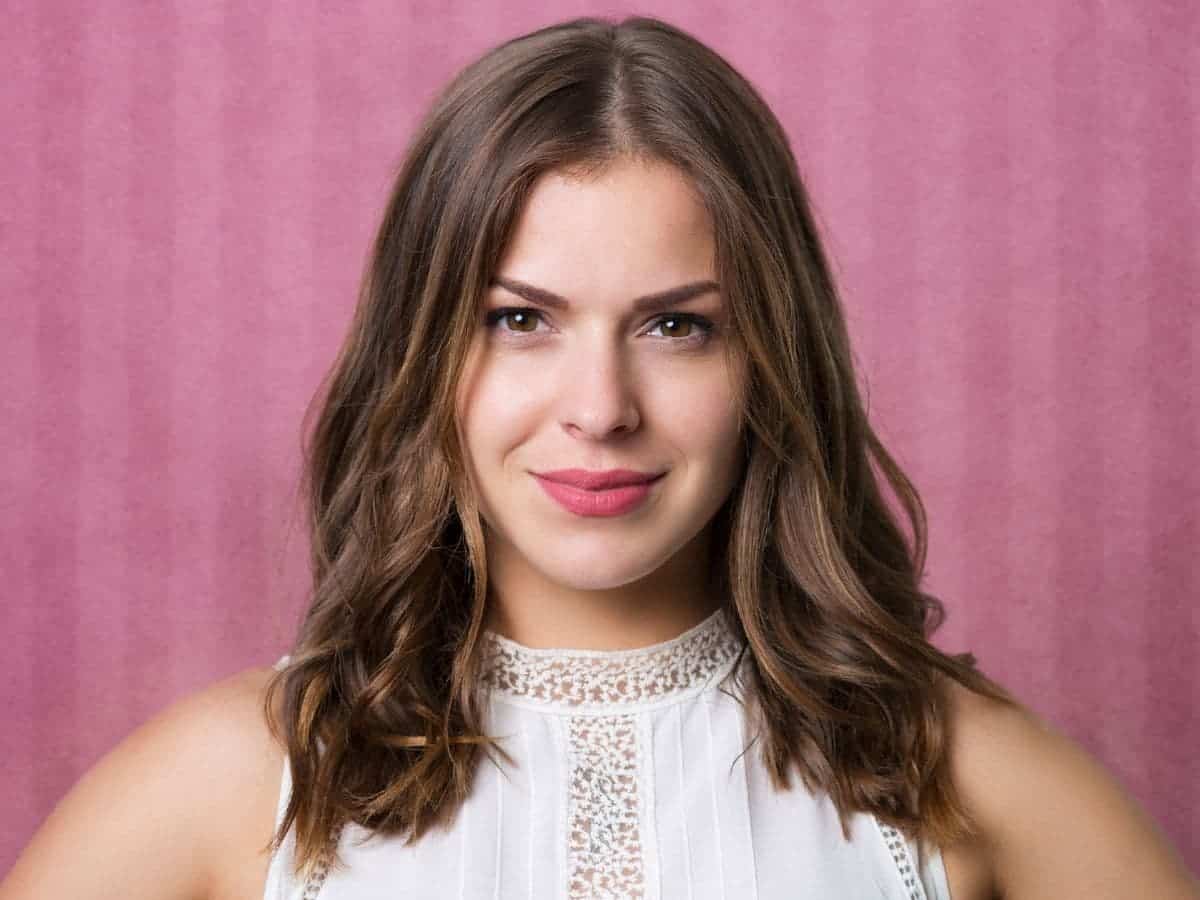
In headshot photography, the perfect background is subjective. While a professional photography studio set-up is incredible, it’s not required.
A simple wall or backdrop is perfect for clean and minimal headshots. Often, corporate headshots will opt for white, grey, black, or the brand’s colors as the background.
You can also photograph headshots outdoors with trees or buildings in the background.
Give your subject a few options that fit their needs and work with them to finalize a location.
Remember, the point is to make your subject look good. So, use a location that offers flattering light, a non-distracting background, and matches the needs of your subject.
5. Focus on the eyes and include catchlights
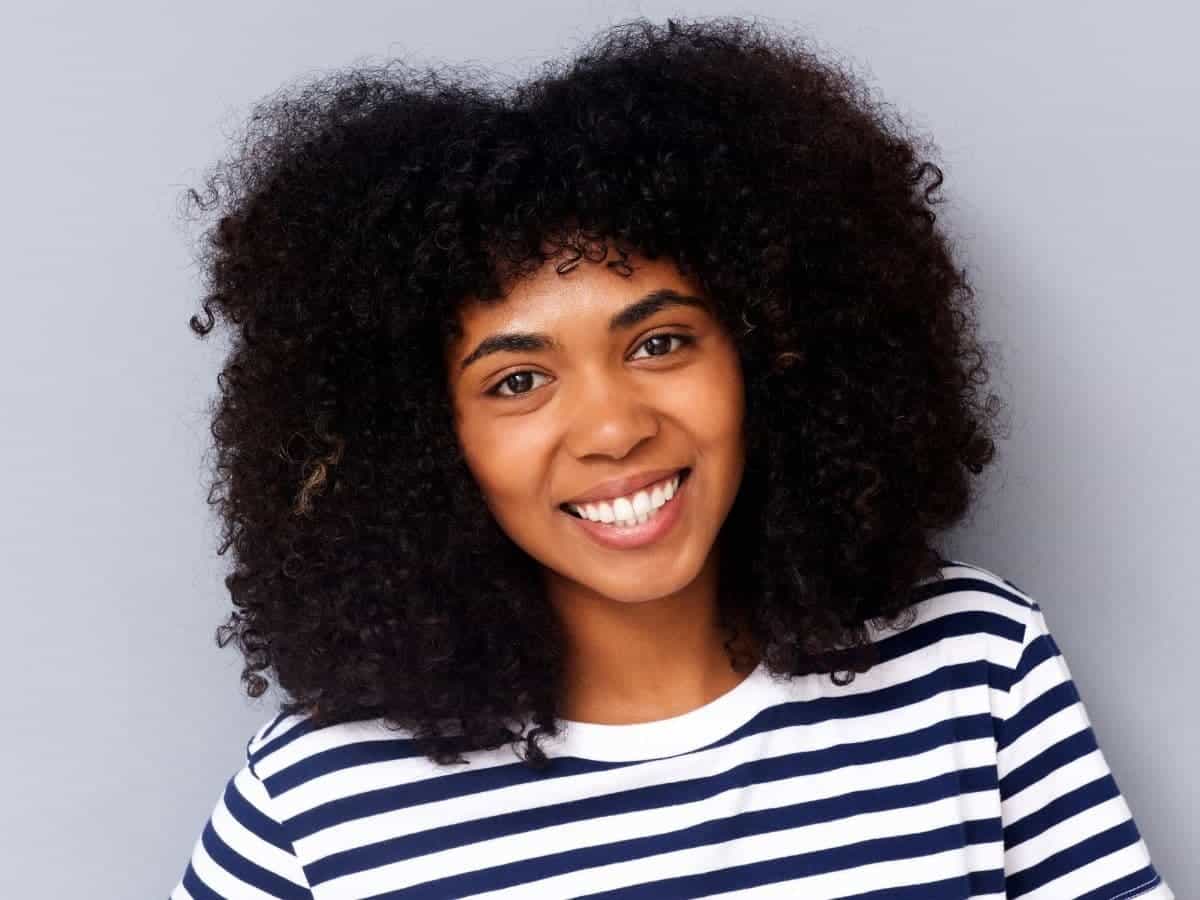
Outstanding headshots are all about the eyes. A person’s eyes say a lot about who they are and how they feel.
So, make sure your subject’s eyes are in focus and look for catchlights, which are reflections of light in their eyes.
Also, make sure your subject looks confident, professional, and approachable. To do that, it starts with the eyes.
A slight squint, such as the one you’d have when having an interesting conversation with someone, is ideal.
6. Try different poses
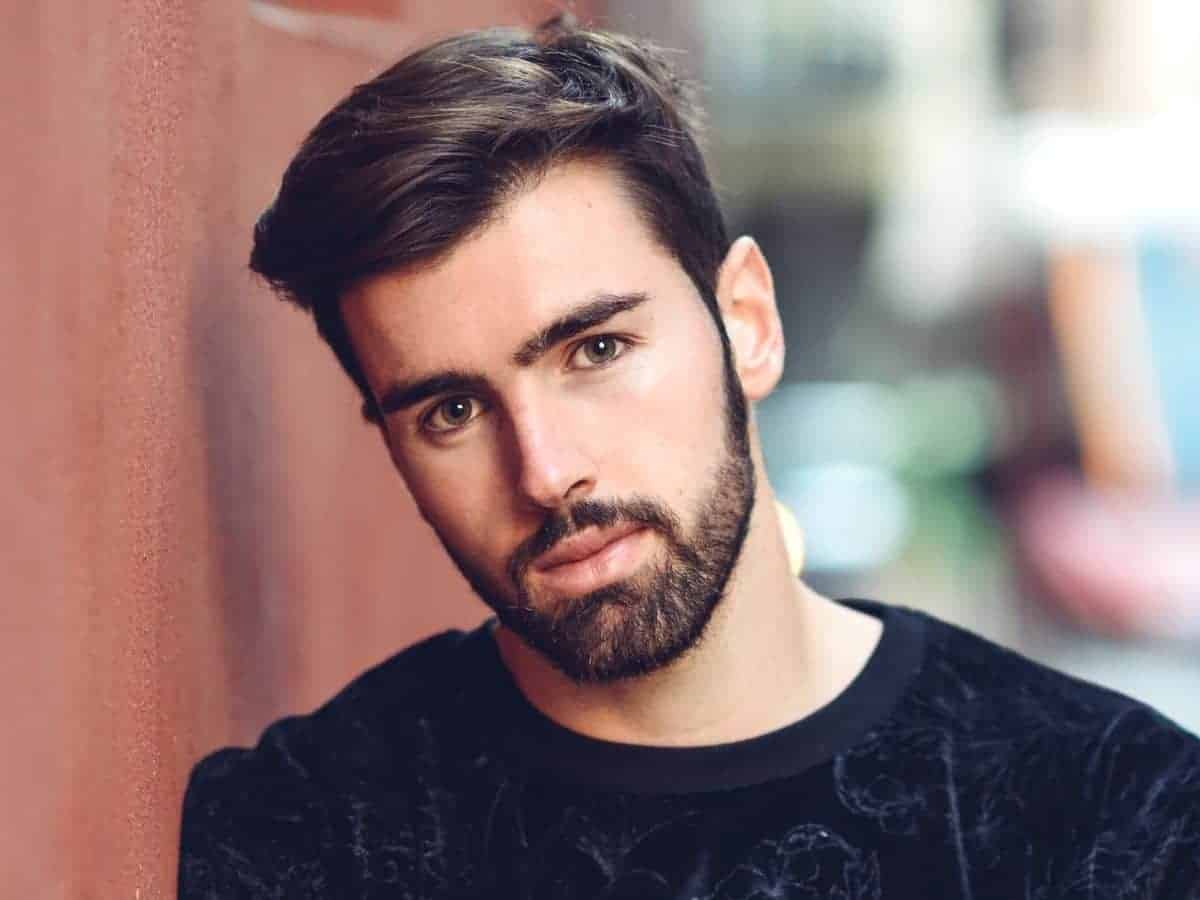
When choosing a headshot pose, it needs to be comfortable and natural for your subject.
Overall, headshot posing is easy because it involves the shoulders up. You don’t have to worry about the arms, hands, or legs.
The following are the best poses for headshot photography:
- Standard headshot with the subject’s chest turned 45-degrees, back straightened, and looking at the camera.
- Laughing or a sincere smile.
- Having a serious face.
- Touching glasses or fixing hair.
- Arms-crossed while doing the standard pose.
- Leaning against a wall.
- Looking over the shoulder.
- Slightly tilt the head.
If a pose doesn’t look right or your subject isn’t comfortable, try a different pose.
Instead of the subject focusing on the pose, find one that’s natural so your subject can focus on their expression.
If you’re having difficulties with posing, be the example. Ask your subject to mirror you as you show them the pose.
It’s the easiest and fastest way to get your subject in the optimal position.
7. Facial expressions are key
Facial expressions are subtle yet powerful. It’s a vital aspect of a high-quality headshot. However, authentic facial expressions aren’t easy to achieve.
So, start by putting your subject at ease by having a conversation. There’s nothing more awkward than a completely silent photoshoot.
Next, you can dive into the poses or ask for silly faces, as it’ll make regular expressions easier.
When it comes to facial expressions, ask your subject to communicate with their eyes. You can use prompts or jokes to help get genuine facial expressions or smiles.
The goal is to make the subject look natural, confident, and approachable.
Related article: The complete guide to children’s photography
8. Find your subject’s good side

Everyone has a good side. So, ask your subject if they know theirs. If they don’t know, your job is to find it.
Observe their smile, how they talk and laugh. Typically, the more expressive side is the good side.
Since a great headshot means showcasing the best of your subject, focus on their good side when it comes to the direction they face.
9. It’s all about the angle
A flattering angle is a goal for all headshots. For most people, a slightly downward angle looks perfect. It has a slimming effect and highlights the cheekbones.
To use a downward angle, you’ll place the camera about three inches above the subject’s eyes.
You can also use a straight-on angle by placing the camera on the same plane as your subject’s eyes.
Experiment with both angles to see which makes your subject look better.
10. Show the jawline
An accentuated jawline symbolizes confidence and makes a subject look more flattering.
If you don’t accentuate your subject’s jawline, they may have a double chin.
So, the key is to have the subject push the head forward and slightly down. It’ll make the jawline stand out, and the headshot will look incredible.
11. Natural vs. artificial lighting
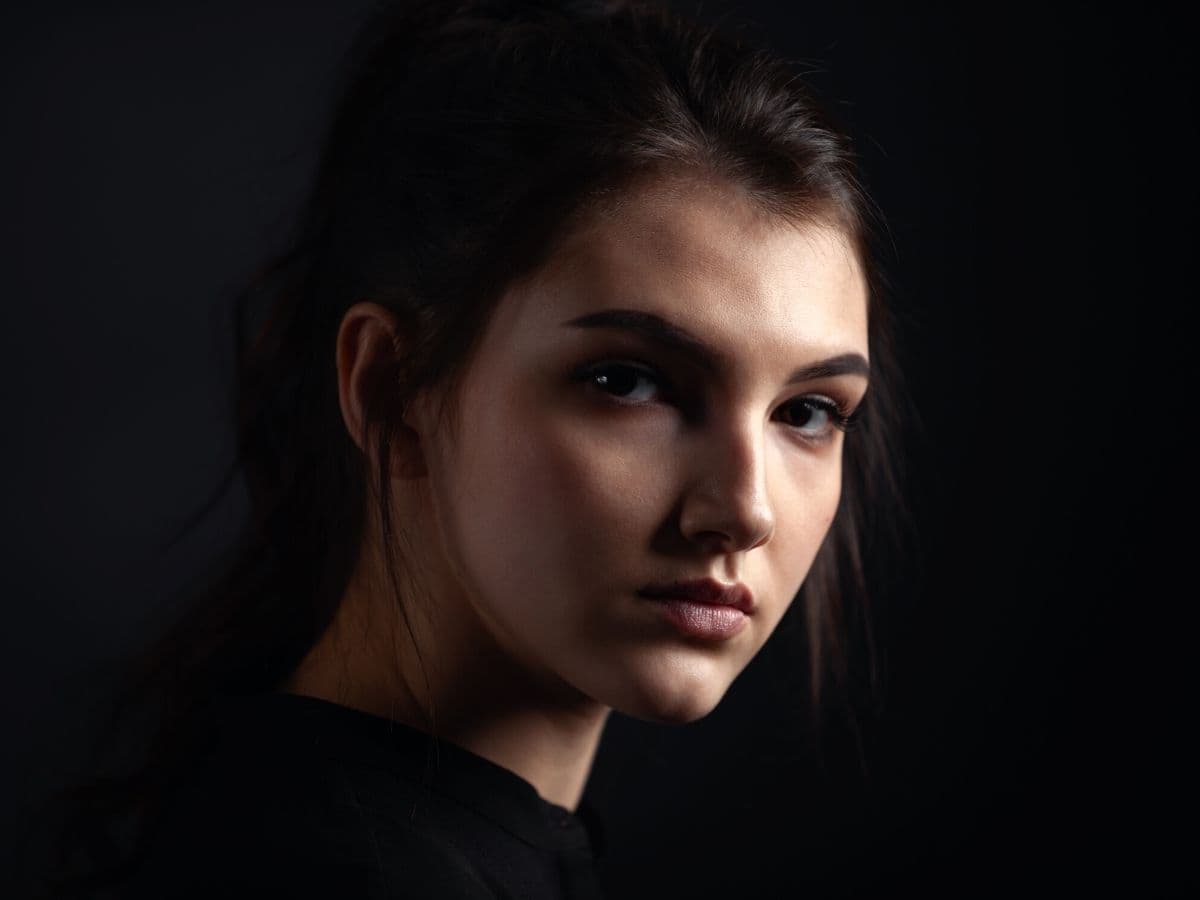
Lighting can make or break a headshot. It affects how the headshot looks and feels. Both natural and artificial lighting can produce amazing headshots.
If you’re outside, use soft natural light because it’s appealing and looks natural.
Additionally, reflectors are excellent for outdoor natural light images because it bounces the light to fill the shadows.
For indoor sessions, use artificial light. While it’s best to check with your subject, most headshots have little or no shadows.
A key light 45 degrees from your subject and fill light on the opposite side produces the best results.
Also, you can place a softer light source behind your subject and 45 degrees to the side to create a glowing effect.
12. Create a positive environment
To provide the finest experience and results, your subject needs to feel comfortable.
Throughout the session, be the one leading the conversation and be positive.
Even if you’re having trouble capturing the perfect headshot due to your subject’s posing, reassure them.
Avoid expressing negative emotions or sharing negative feedback. Always be positive and keep the conversation going.
13. Keep your edits simple and elegant
Since most headshots are used for professional purposes, keep your edits minimal and elegant.
Common edits include perfecting the exposure, adjusting the colors, removing blemishes, or correcting the white balance.
When you edit headshots, make sure your edits look realistic. It’s easy to go overboard, so refer back to the original image.
The goal is to enhance how your subject looks, not change them.
14. Master the crop
The crop is equally important when it comes to headshots. There are several options, and you can provide your subject with multiple versions.
The following are common aspect ratios for headshots:
- 1×1 square
- 3×2 horizontal
- 2×3 vertical
- 4×5 vertical
Regardless of the crop ratio, the fundamentals remain. Make sure the top of the frame isn’t too close or cutting off part of your subject’s hair.
Leave a little room. Otherwise, the headshot will give a sense of tightness.
If you divide the frame into a 3×3 grid, your subject’s eyes should align with the top horizontal line.
The way you crop the headshot is crucial. So, crop it properly, and you’ll have a happy subject.
15. Build a consistent portfolio
If you want to book more clients as a headshot photographer, you need a consistent portfolio.
When potential clients look at your portfolio, they should know what they’ll get.
Make sure your posing, lighting, and editing are consistent. It’ll help you build a brand and become known as a headshot photographer.
Headshot photography pricing guide
Once you’ve built a portfolio of headshots and you’re proud of your skills, you’re ready for paid bookings. Before promoting your services, set up your pricing.
On average, headshot photographers charge between $150 to $500 per hour. You can choose to charge hourly or have a single price. Use the averages as a starting point.
Then, check out headshot photographers in your area, as the price for headshots varies by location.
When setting up your pricing, be sure to consider your skills, time, equipment, and living expenses.
Your goal should be to thrive, not survive.
When you set a price, stick with it. If you want higher-paying clients, improve your skills and elevate your brand.
Conclusion
It takes time to master the art of headshot photography.
There are a lot of details that make up an excellent headshot. So, practice as much and as often as you can.
Apply the tips you learned, and you’ll become a better headshot photographer.
Over time, you may become one of the leading headshot photographers in your area.
Featured image courtesy of Canva.
