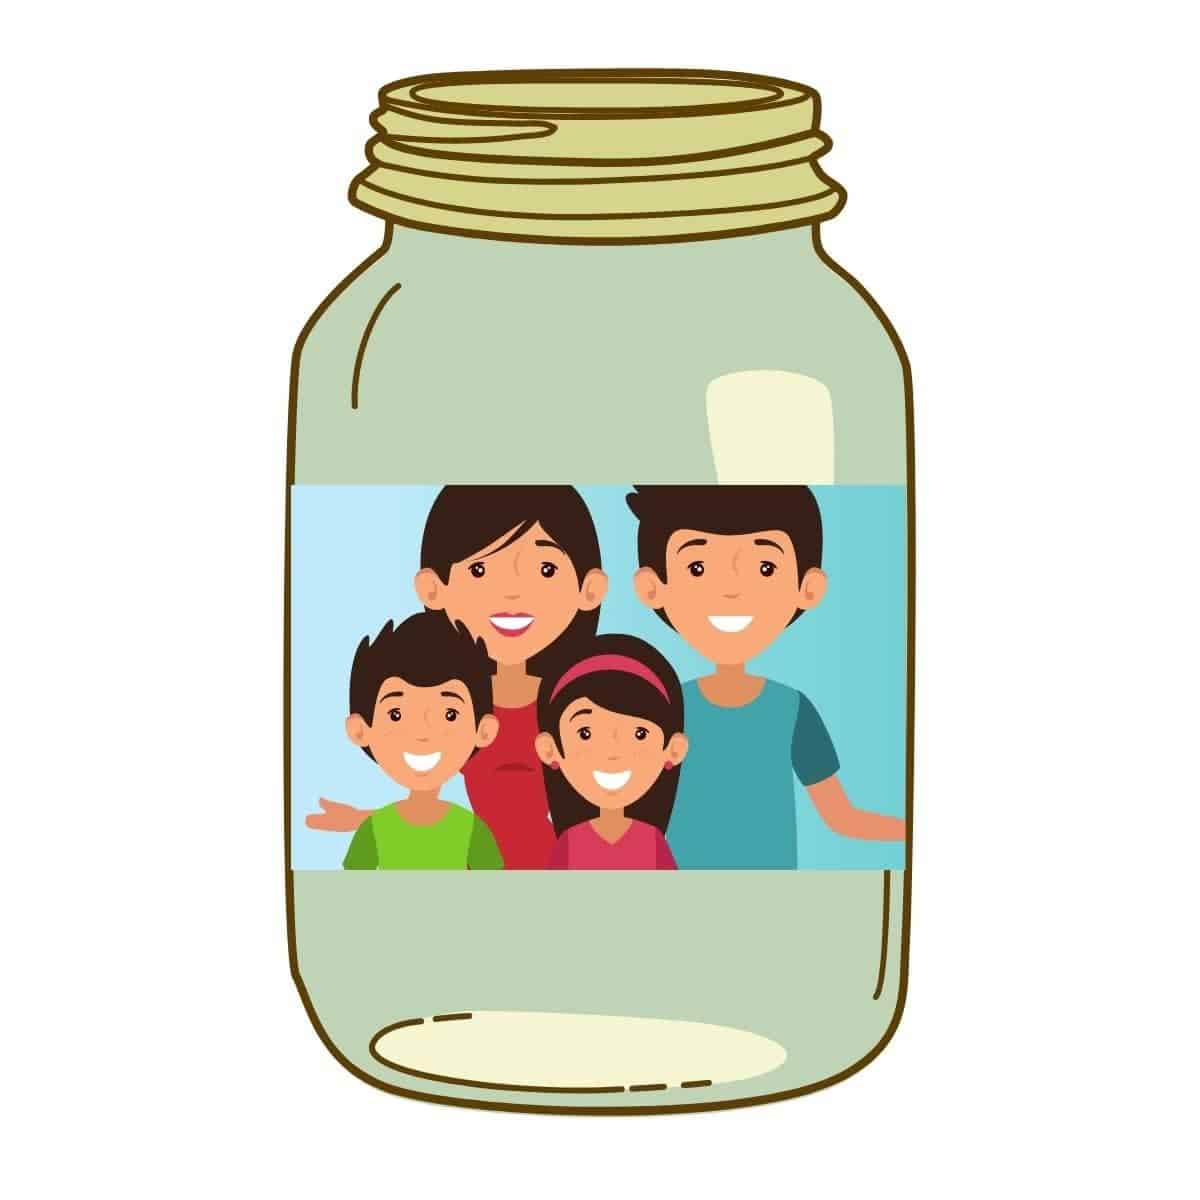
Make any glass object, such as a jar or container, unique by adding a photo. Learn how to transfer photos onto glass objects.

To uniquely personalize and decorate your home, put images on glass objects. Use jars, windows, mirrors, or any other glass object you have.
It results in a vintage look and also makes for thoughtful gifts.
The most effective and easiest way to transfer a photo onto glass is with the decal method by using Mod Podge. However, packing tape is an alternative that also works well.
Related article: 8 best cameras for kids
Learn how to put images on glass objects and get tips to ensure a beautiful outcome.
Materials you’ll need
To transfer a picture onto glass, you have two options. Choose between Mod Podge or packing tape.
Both techniques work well, and the following are the materials you’ll need:
- Glass surface
- Scissors
- Packing tape or Mod Podge Medium Photo Transfer
- Printed out photo.
- Sponge or foam brush
- Wax paper or craft mat
- Scraper or card
- Bowl
When you print out and cut the images, be sure to leave about a border of an inch around them.
With the proper materials, the process for transferring images to glass will be seamless.
Related article: The complete guide to children’s photography
Turn your photo into a decal with Mod Podge Photo Transfer
The decal method is the best way to transfer a photo onto a glass surface.
It uses Mod Podge, which works as glue and is why you’ll hear it called the Mod Podge method.
Another benefit of Mod Podge is that it can transfer printed images to other materials, such as wood, fabric, and canvas.
For glass surfaces, take the following steps to transfer an image onto it:
- Print the image using a printer with dry toner, such as a laser printer.
- Cut the image to your desired size while leaving a one-inch border around it.
- Lay the photo on wax paper, a craft mat, or a paper plate with the image facing up.
- Use a sponge or foam brush to apply a thick layer of Mod Podge Medium Photo Transfer until you can’t see the photo.
- Place the image on wax paper or a craft mat for 24 hours to allow it to dry.
- Flip the image over and use a wet sponge to dampen the back of the paper.
- Rub away the excess paper with your fingers.
- Allow the image to dry.
- Carefully peel the image from the surface.
- Cut the borders and apply the image to the glass surface.
It’s amazing to watch Mod Podge turn a piece of paper into a decal.
When you’re applying the image to the glass surface, press down hard if you want it to be permanent. If you want the ability to peel and reuse the image, press down gently.
Transfer a photo onto glass with packing tape
The decal method is spectacular. However, you may not have or want to get Mod Podge. So, the alternative is packing tape.
Regardless of your skill level, you’ll find it easy to use the following steps to transfer a photo onto a glass surface with packing tape:
- Print the image using a printer with dry toner, such as a laser printer.
- Cover the printed image with packing tape.
- Use scissors to cut away excess paper and tape.
- Lay the image face-up and use a scraper or card to remove all air bubbles and ensure the image has adhered to the tape.
- Submerge the image into a bowl of warm water for five minutes to transfer the image onto the tape.
- Pull the image out of the water and rub the paper off the tape.
- Use a blow dryer to dry the image or lay it on a table to air dry for 30 minutes.
- Press the image onto a glass surface.
Compared to the Mod Podge method, the packing tape method is faster. Both methods work well, so use the one you have available.
Inkjet vs. laser printer

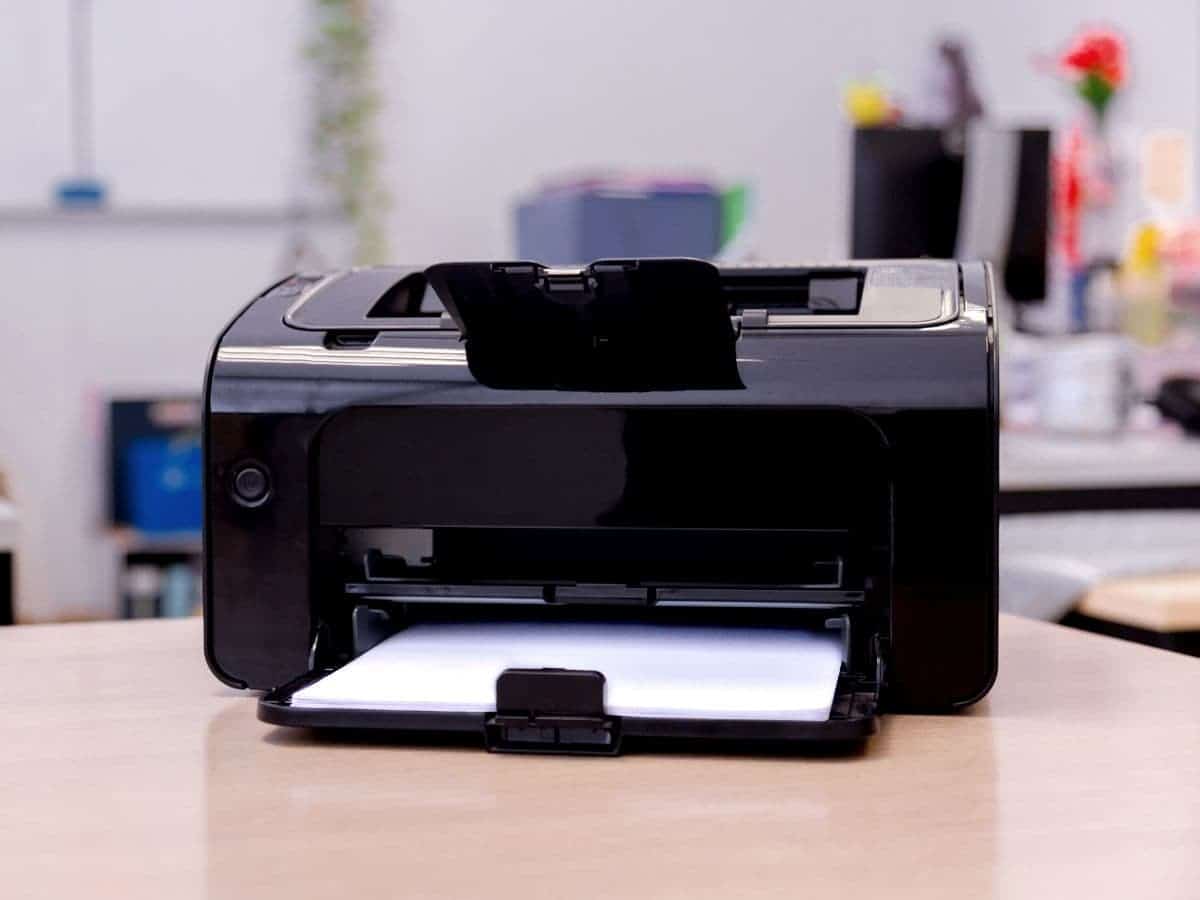
For both the decal and packing tape method, use a laser printer instead of an inkjet one. Inkjet printers use ink drops, whereas laser printers use toner powder.
The key is using a printer with dry toner. With an inkjet printer, the image will rub off.
Additionally, you must use regular printer paper because photo paper won’t transfer onto a glass surface.
Related article: What are Lightroom presets?
Tips for successfully transferring a photo onto glass
To make your project a success, use the following tips. They’ll help you create the best results when transferring a photo onto a glass surface.
Start with a clean glass surface
If you want the photo to stick well on the glass surface, start with a clean slate.
Wash the glass with soap and water or a glass cleaner. Then, wipe it completely dry before starting the transfer process.
It’ll ensure the image adheres fully to the glass surface.
Thinner paper is better
Use 20-pound or thinner paper for the best results. Since the process for both methods requires you to rub away the paper, the thinner paper makes it easier and more efficient.
Also, it’ll prevent tears and rubbing hard to remove the paper.
Reverse images with words
If you’re printing an image with words on it, flip it before you print it. Otherwise, the words will be backward once you’re finished.
Flipping the image before printing will save you time and ensure you successfully transfer the image onto the glass surface in one try.
Print two copies of the image
Before getting your hands dirty, print two copies of the image. If you mess up the first one, you can proceed with the second.
Mistakes can happen. So, printing two copies ensure you don’t have to start over from the beginning.
Get glass prints instead
If you’d rather have someone else put images on the glass instead of the DIY method, there are options.
The best places to get glass prints are Fracture and Shutterfly. Both offer high-quality results and various options.
The benefit of using a service like Shutterfly or Fracture is that they use top-notch printers and equipment to turn your digital images into glass masterpieces.
While it’ll cost more than doing it yourself, the results are stunning and worth it.
Conclusion
To create a beautiful gift or decorate your glass surfaces with images you love, transfer a photo onto them.
The decal or packing tape method will give you a long-lasting result. With the Mod Podge method, you can even place the glass in the dishwasher.
Try transferring a photo onto a glass surface today. It’s easy, fun, and creative.
Featured image courtesy of Canva.
