Overexposure occurs when too much light reaches the camera’s sensor. It means the image is too bright. Learn to fix it when it happens.
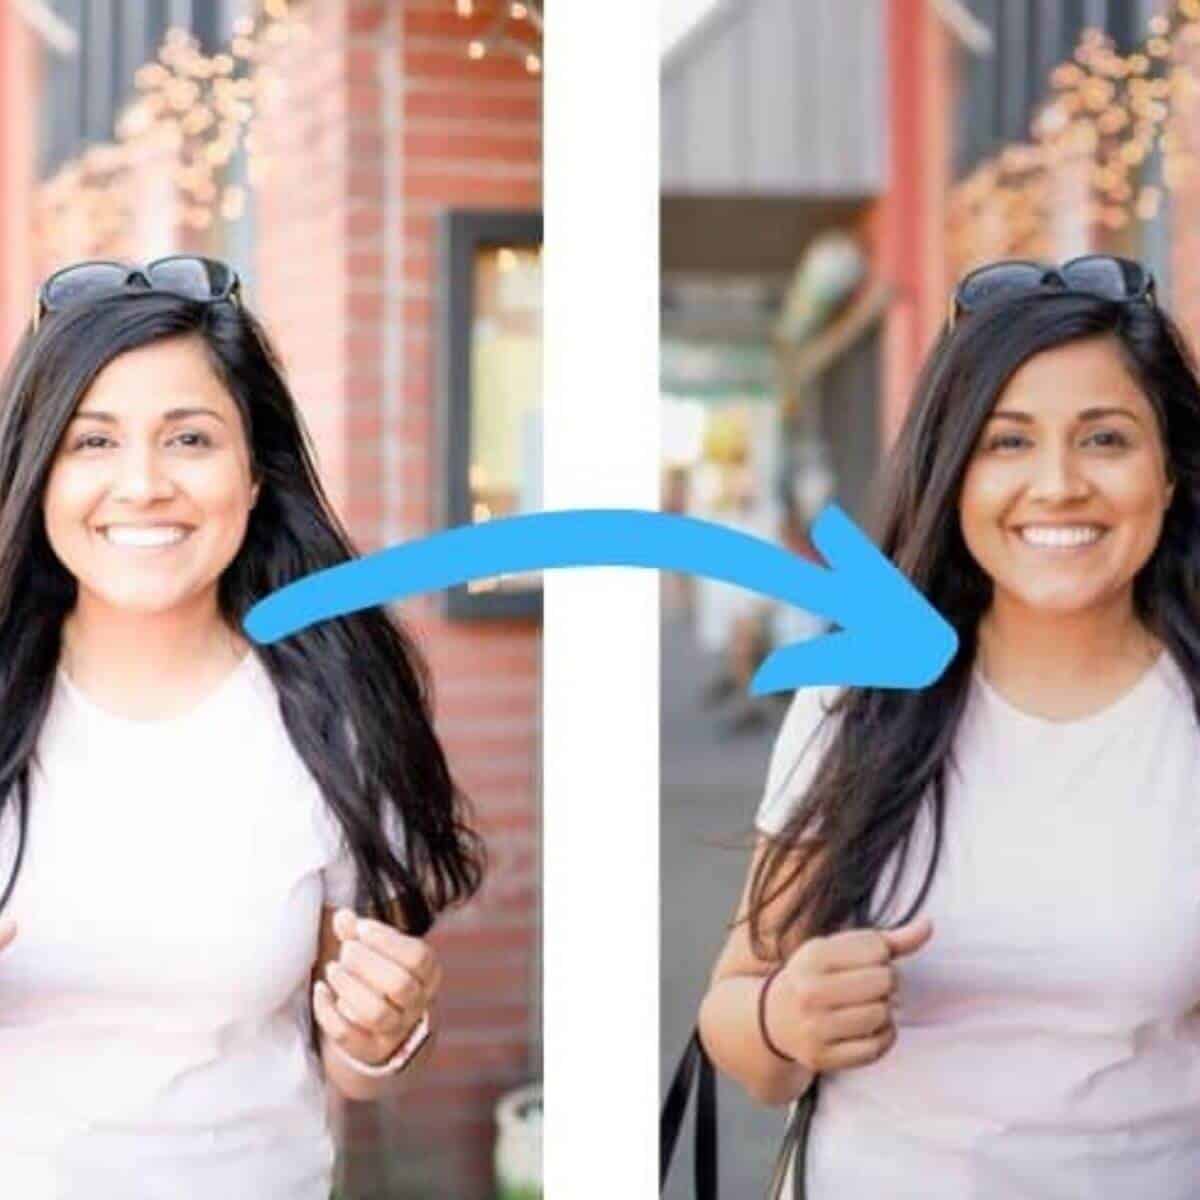
Light bounces off objects and falls onto an image sensor through the camera lens. The pixels collect the light and create an image.
Too much light can hit the image sensor, leading to overexposure.
Proper exposure is essential to be a great photographer. It’s how you capture outstanding images on the technical and visual side.
The following covers everything you need to know about overexposure and how to fix it.
What’s an overexposed image?
Cameras have light meters that assess the scene to balance the exposure.
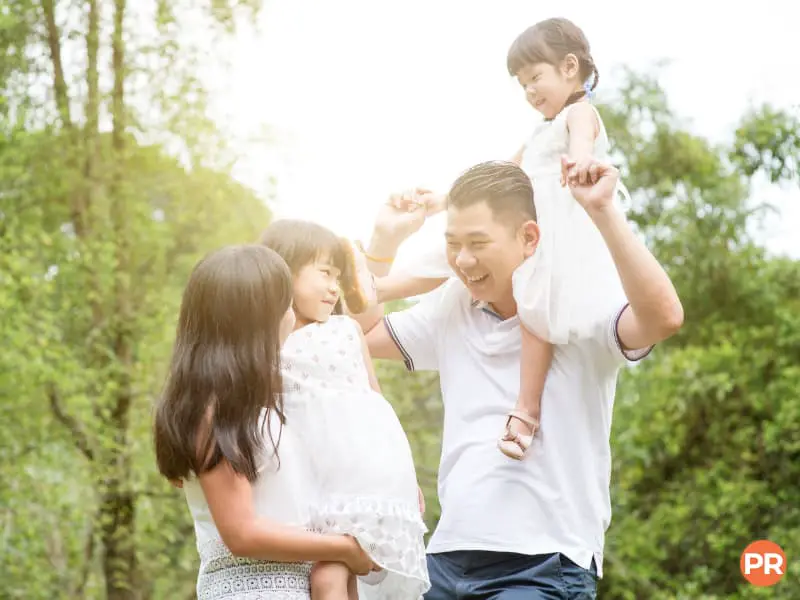
The goal is to capture a photo with even lighting and one that matches the scene’s brightness.
Images that are brighter than the scene are overexposed. It happens when too much light hits the image sensor.
The result is bright parts of the image without details. Aside from losing image details in the highlights, overexposure washes out your photos.
Exposure has a significant effect on your results. So, it’s essential to capture the correct exposure in-camera.
Causes of overexposure
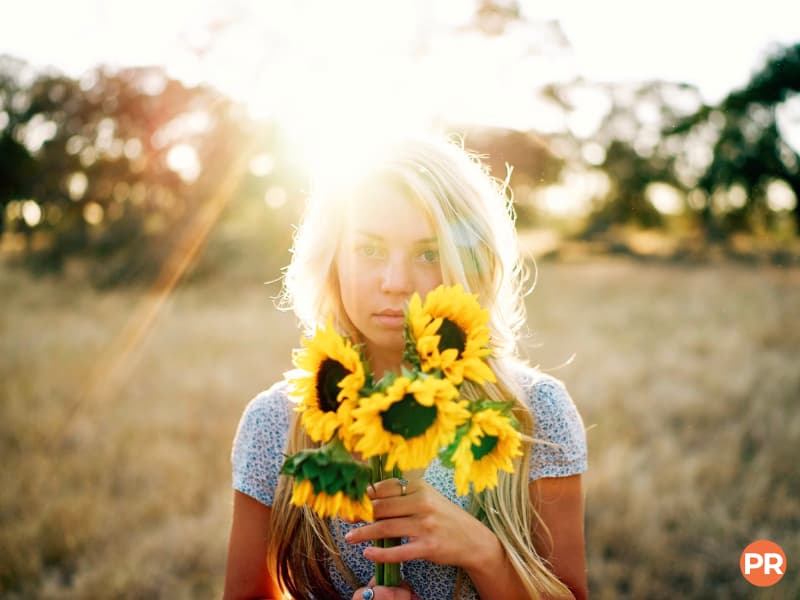
Overexposure occurs when the image is too bright. Too much light reaches the sensor and results in washing out the details.
Incorrect camera settings are the cause of overexposure. A balance of aperture, shutter speed, and ISO is essential for correct exposure.
The aperture and shutter speed control how much light reaches the sensor. ISO regulates brightness, as it’s the camera’s sensitivity to light.
A high ISO, slow shutter speed, and large aperture can lead to overexposure.
So, a low ISO, fast shutter speed, and narrow aperture lead to darker images.
Change the settings depending on your creative vision and lighting condition.
Another cause of overexposure is the incorrect metering mode. When using automatic mode, the metering type is crucial.
Spot metering is an excellent choice because you can point it at the brightest part of the frame.
It ensures the camera captures the image without overexposure.
Matrix or evaluative metering can also work well, as it considers the whole scene.
By understanding common causes, you can avoid them. It allows you to capture beautiful images with correct exposure.
How to avoid overexposed photos
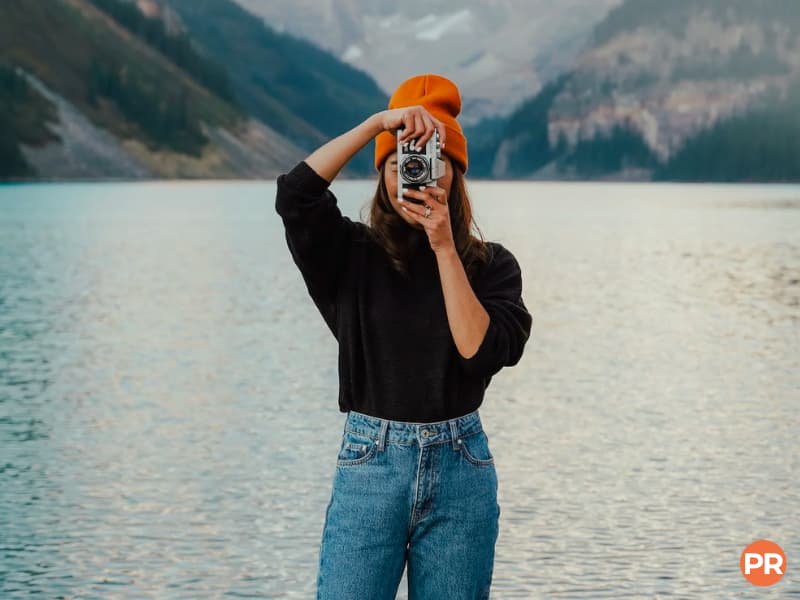
Avoid overexposure so you can capture excellent photos out of the camera. It saves you time by not having to fix it in post-processing.
Aside from nailing your settings from the start, use the bracketing technique.
Exposure bracketing is a technique where you take three photos of the same scene instead of one.
The three images are light underexposure, correct exposure, and light overexposure.
It ensures you have a shot with the ideal brightness and gives you a chance in post-processing.
You can also combine the three exposures to create the perfect image.
Another way to avoid overexposure is by using the in-camera histogram.
The histogram should peak near the middle and taper on the left and right.
If its peak is on the left, there’s underexposure. If it peaks on the right, there’s overexposure.
How to fix overexposure in post-processing
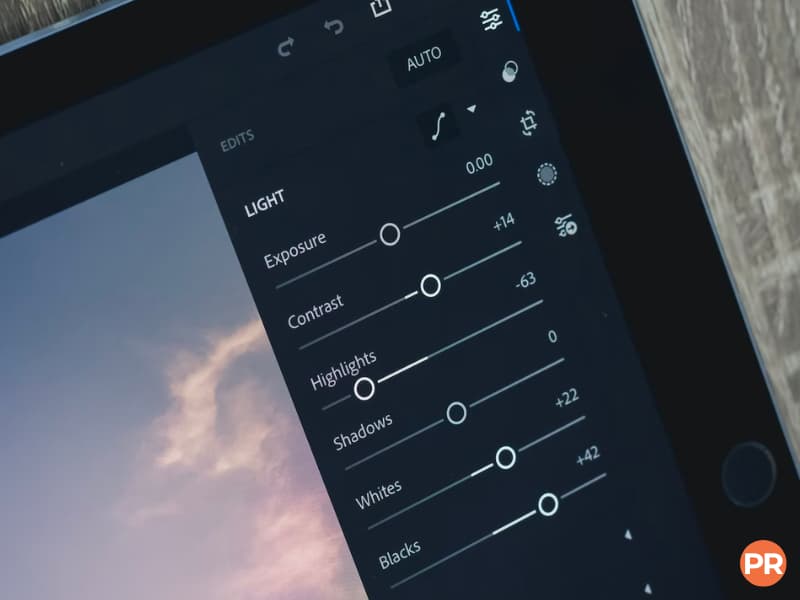
Software like Photoshop, Lightroom, and Capture One makes it possible to fix overexposure.
When shooting, set the camera file format to RAW. It retains all the data from the image sensor without compression or processing.
RAW files will make it easier to recover lost details than JPEG.
Regardless of the file format, use the following methods to fix an overexposed image.
Exposure slider
The exposure slider adjusts the brightness of the image. You can drag it to the left to decrease the exposure.
Instead of changing a part of the image, the exposure tool affects the entire photo.
When using the exposure tool, keep an eye on the brightest parts.
You can stop editing if the image gets darker and the highlights remain too bright. It shows that the software is unable to recover the details.
The most straightforward way to fix overexposure is with the exposure slider. It’ll work for most photos.
Highlights and whites slider
The highlights slider allows you to change the highlights. The highlights are the brightest parts of the image.
What makes it excellent is that it leaves the shadows and dark parts of the photo alone.
So, you can bring back details in the highlights without changing anything else.
The whites slider changes the tone of the white parts of the picture.
It looks grayer as you decrease the whites slider. It becomes brighter and whiter as you increase it.
Both sliders are excellent for fixing overexposure in the background, sky, and subject.
Frequently asked questions about overexposure
Is it better to underexpose or overexpose?
It’s better to underexpose than overexpose. Most software does better at recovering details in shadows than highlights. The ideal scenario is to capture the correct exposure out of the camera. But if you have to choose one, underexpose the image.
When should you overexpose an image?
Overexpose can be an artistic technique. When capturing snow, a minimal composition, or black-and-white images, overexposure can look good. It also creates a feeling of cleanliness, happiness, and energy. It’s best to capture the correct exposure, but you can use overexpose for creative reasons.
How do I stop my background from being overexposed?
Overexposure in the background means the foreground is too dark. Use artificial lighting like a flash or continuous light to add front lighting. You’ll get an overexposed background when shooting against the sun without adding light. So, it’s best to avoid using the sun as the background.
Conclusion
Overexposure means the image is too bright. You lose the details in the bright parts of the photo.
It happens when the settings are incorrect for the lighting scenario.
The best way to avoid it is to watch the light meter in your camera. Also, you can turn on the histogram to help you balance the exposure.
Overexposure happens, and when it does, editing software can rescue the image.
Decrease the highlights, whites, and exposure to make the picture darker. It may recover details and fix overexposure.
Related: Photography Contract Guide and Free Templates
Featured image by David Em/Portraits Refined.
