Removing a background allows you to change it. Learn the best ways to remove a background from an image in Photoshop.

Adobe Photoshop is a powerhouse when it comes to post-processing. One of its most impressive capabilities is how quickly and easily it can remove a background from an image.
Related: 5 best photo editing software
If you don’t have Photoshop yet, get it today from Adobe. It’s such a powerful suite of editing tools.
While there are many background removal techniques in Photoshop, the following is the best for most photos and the simplest.
Related: What’s a polarizing filter?
1. Open the image in Photoshop
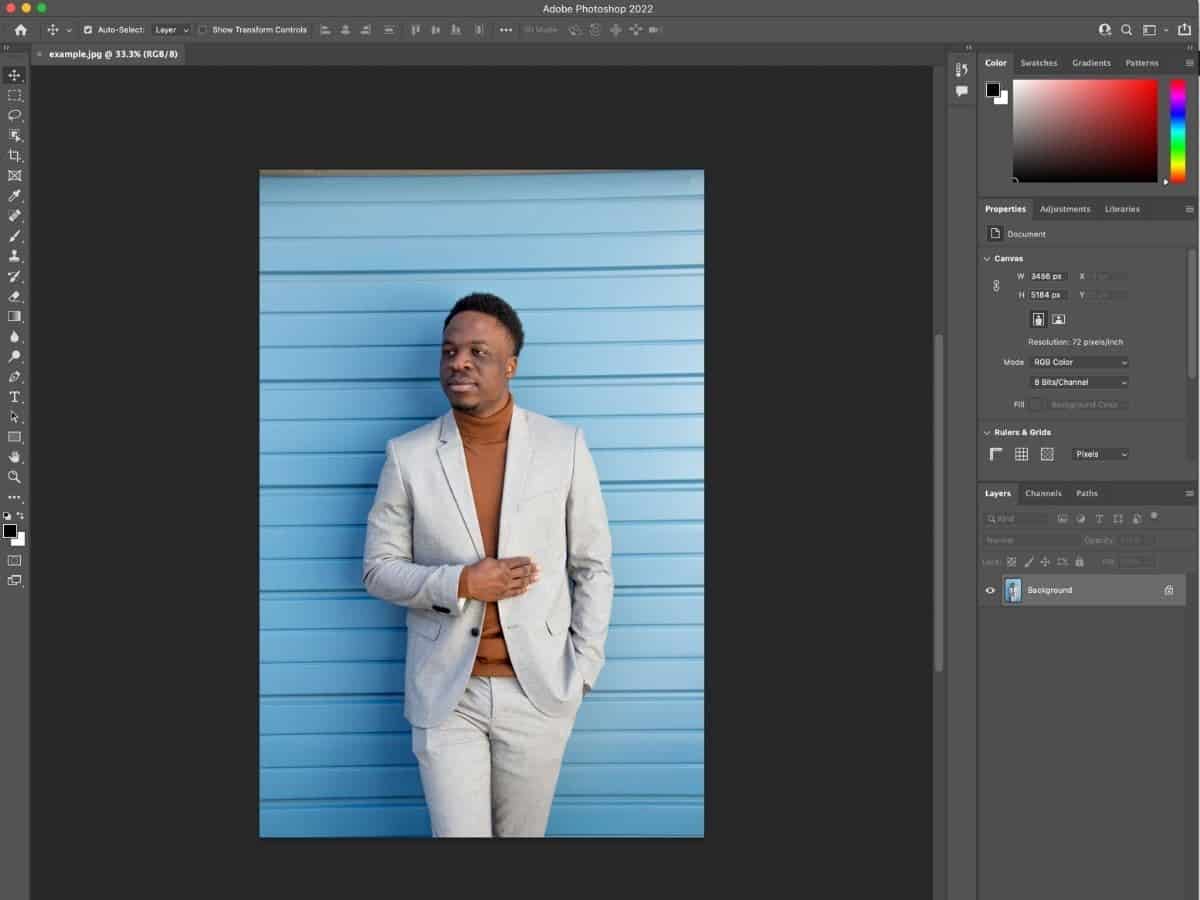
The first step is to launch Photoshop and open your image. You can drag and drop the image or in the top menu, click “File” and then “Open”.
Related: How to format an SD card
2. Click Select in the menu bar and Select and Mask
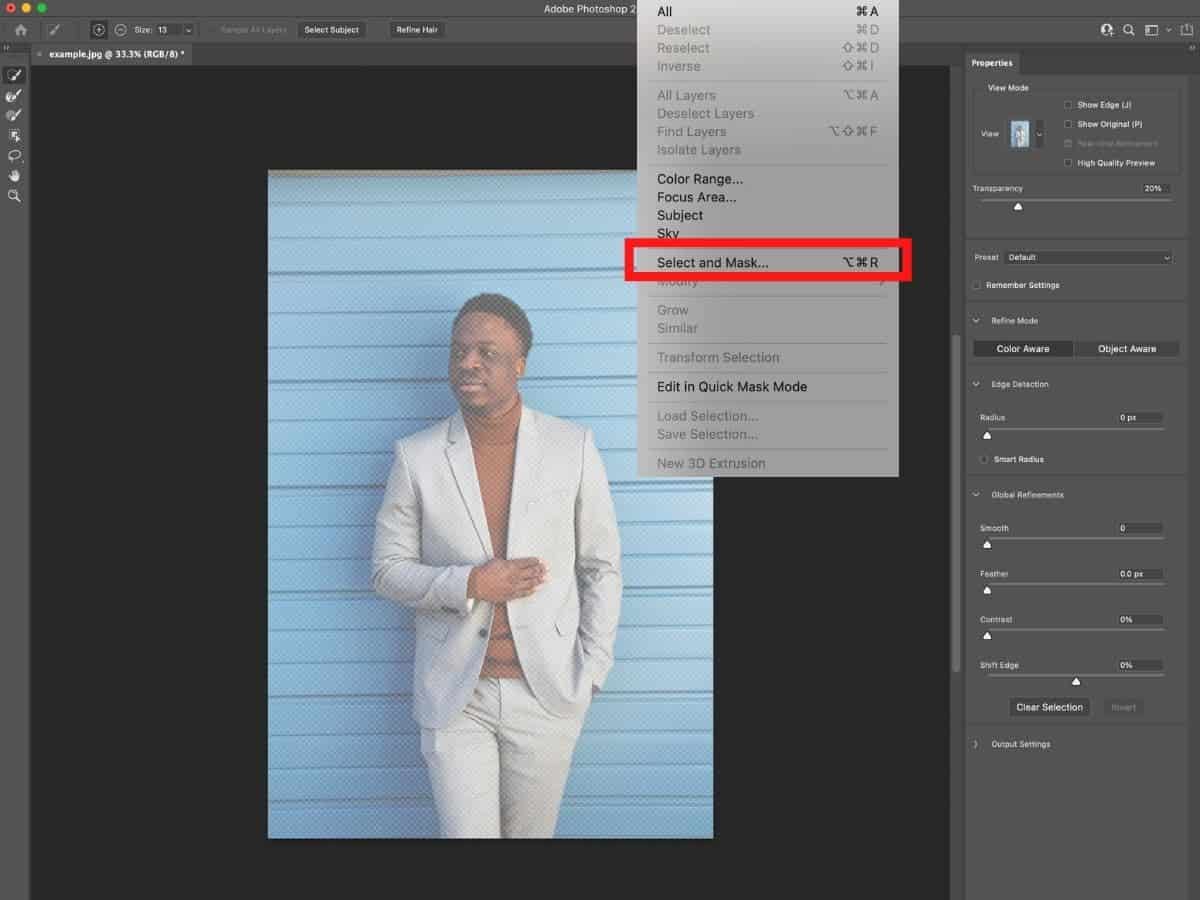
Next, you’ll prepare the image for background removal by clicking Select in the menu bar. Then, click Select and Mask.
Now, you’re ready to choose what part of the image you want to keep.
Related article: What are Lightroom presets?
3. Click Select Subject
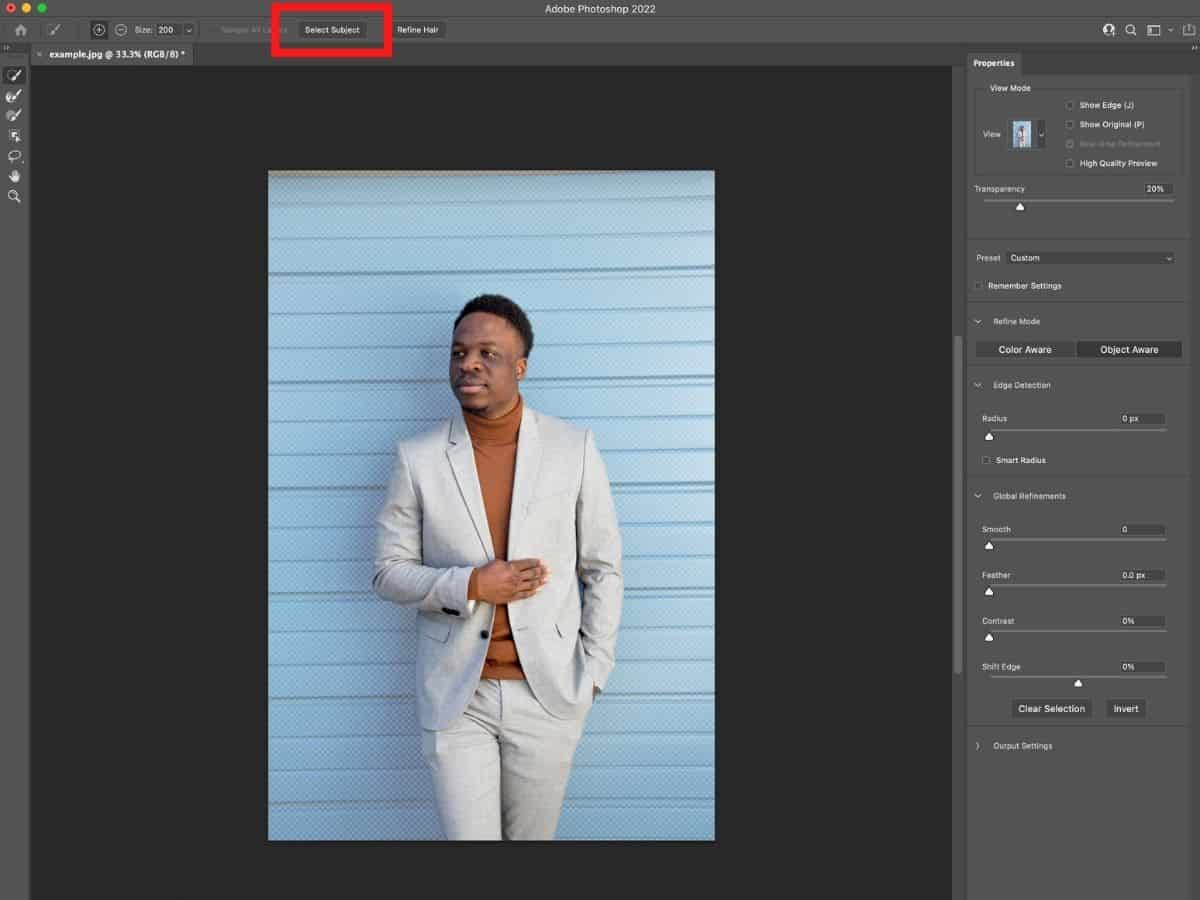
Thanks to the power of artificial intelligence, Photoshop can accurately select your subject in a matter of seconds. Click the Select Subject button, and Photoshop will complete it quickly.
You may have to go in with the subtract tool to deselect parts of the image, but the Select Subject button is an excellent place to start.
Related article: What’s a PSD file, and how do I open one?
4. Make adjustments with the subtract tool
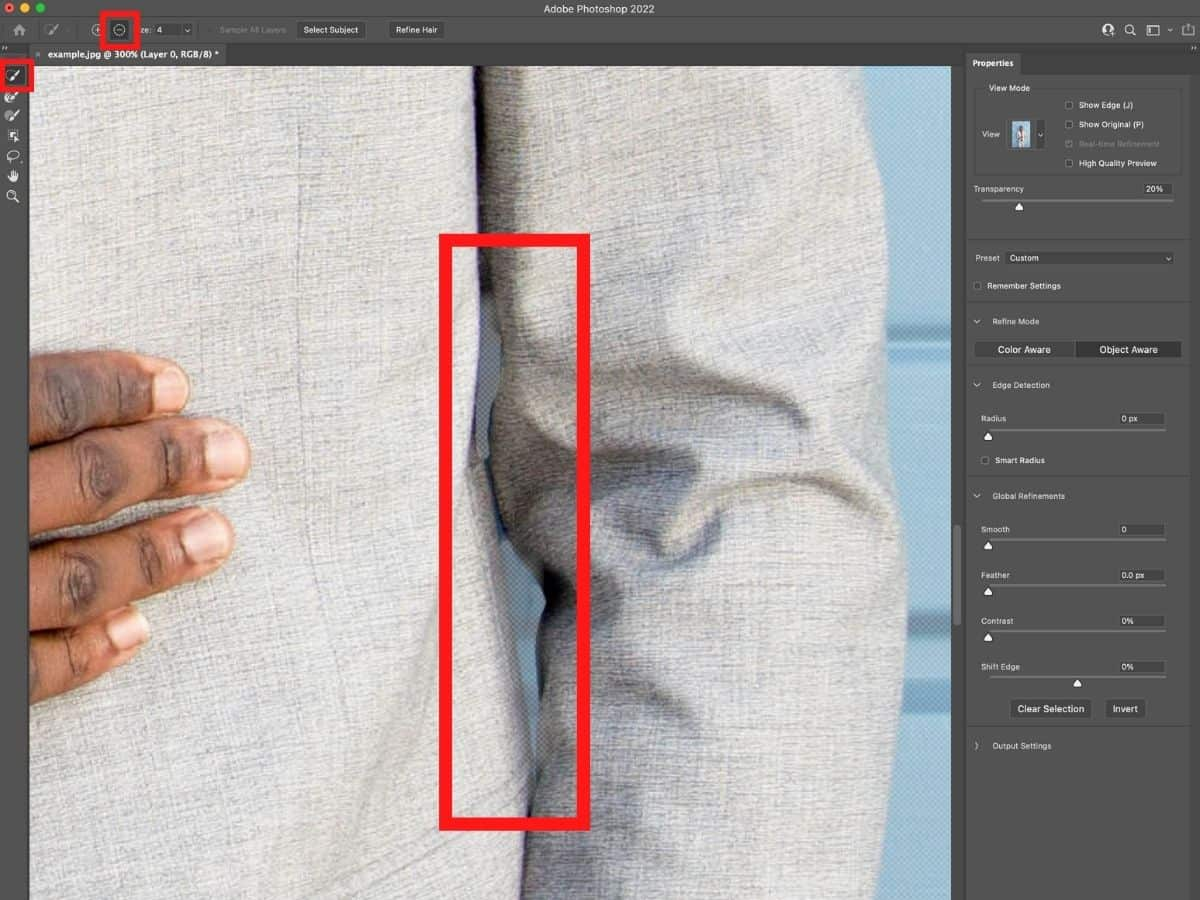
Photoshop may miss small details. So, make sure the Quick Selection Tool on the left and the subtract button at the top are selected.
Then, zoom into your photo and make the adjustments with the brush.
Depending on the area, you may need to increase or decrease your brush size.
5. Output to Layer Mask
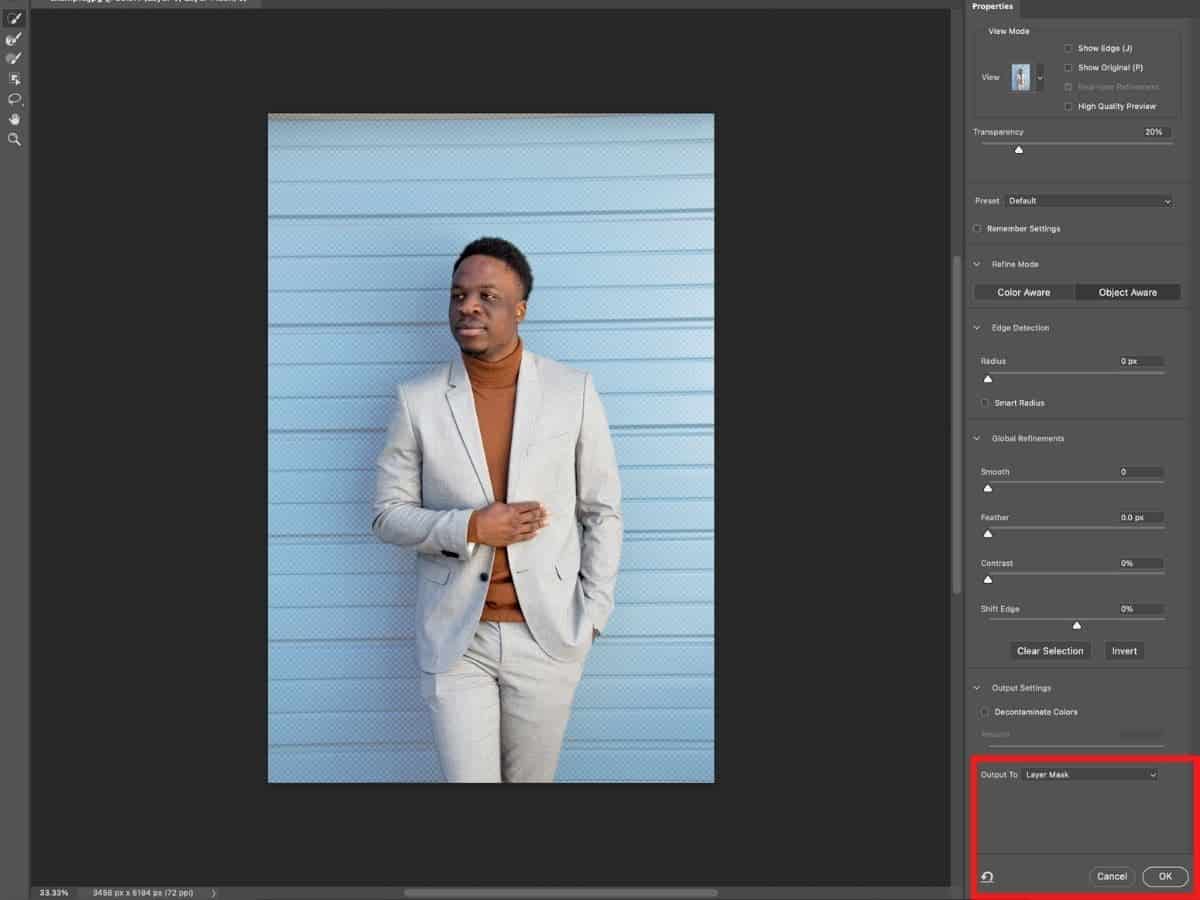
After you’ve selected Output to Layer Mask and clicked OK, you’ll have your subject without the background.
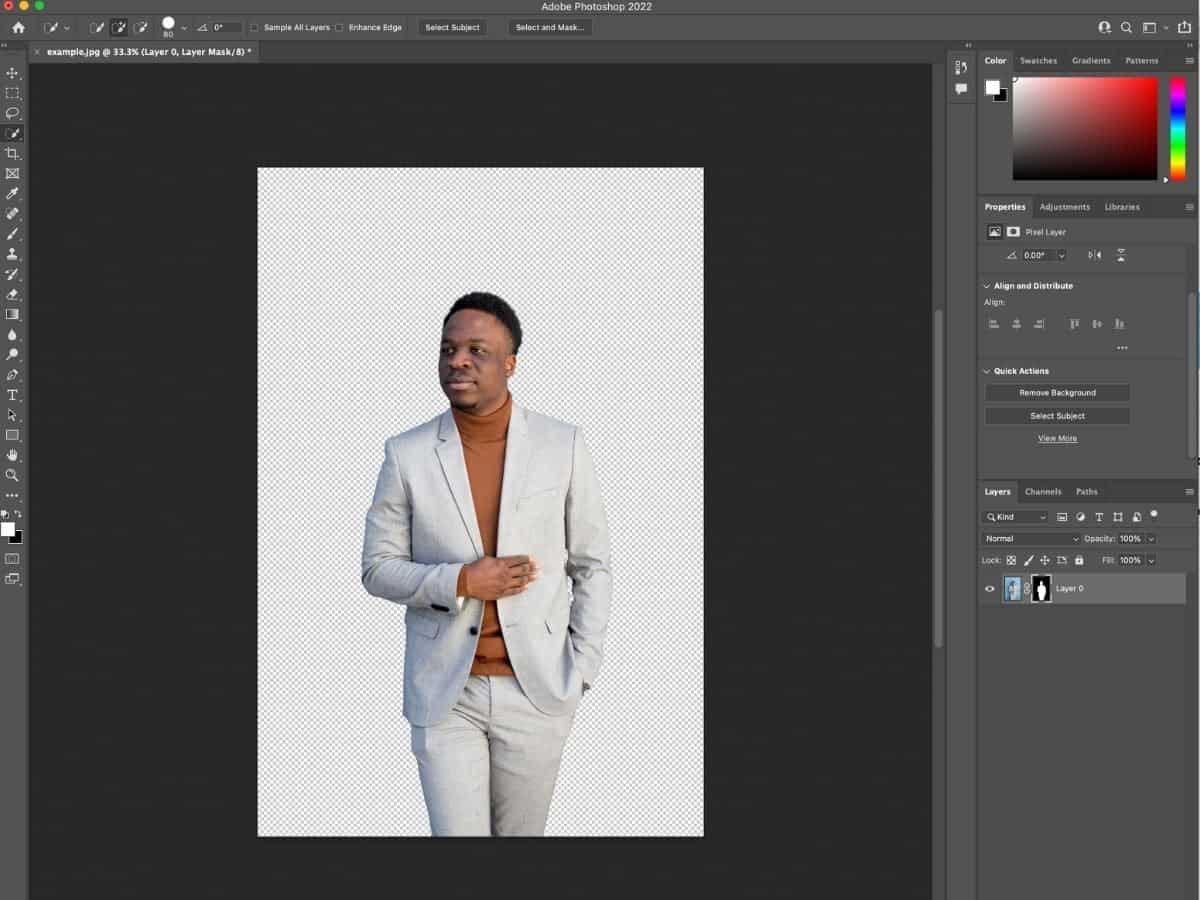
6. Change the background
Now that you’ve removed the background and isolated your subject, the rest is up to you. Change the background by filling it with a color or blending it with another image.
Now you know how to remove the background from an image in Photoshop. However, it won’t always be seamless.
Sometimes, you’ll need to spend more time refining the selection.
It’s easier to do when there’s a contrast between your subject and the background.
Featured image by Unsplash and David Em/Portraits Refined. Photoshop logo courtesy of Adobe.