From finding the right location to understanding natural light or golden hour, learn how to take high-quality outdoor portraits.

Why natural light is important
Natural light is a great way to learn portrait photography because it’s everywhere.
By shooting in natural light, you’ll learn the following:
- Navigate tough lighting situations.
- Understand the direction of light.
- Shoot during all times of the day.
- Work with different backgrounds and sceneries.
- Shoot in harsh and soft light.
- What different camera settings do and how to adjust them.
- Perfectly expose images.
Shooting in natural light will help you better understand your camera and how light works.
8 outdoor portrait photography tips
The following are eight outdoor portrait photography tips that’ll immediately elevate your portraits:
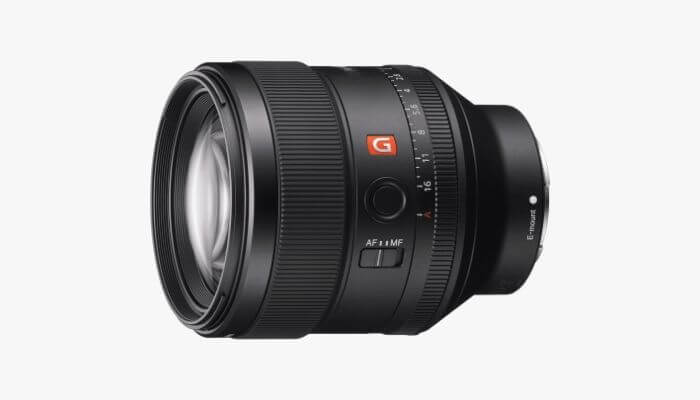
1. Use a prime lens

A fixed focal length lens will help you grow quickly. You’ll have to move around and utilize different angles, instead of being able to zoom in and out.
Although zoom lenses are great, practicing with a prime lens can help you be more creative and understand how a specific focal length affects the look of an image from different distances.
Close-up portraits that show half of the body require a 50mm lens or longer. However, if you’re shooting environmental portraits, which is a type of portrait where the background plays a role in the photo, a wide-angle lens is key.
Often, lenses with a fixed focal length have larger apertures. A large aperture is important because it allows you to capture a shallow depth of field. This means that you can blur out the background and focus on your subject.
A challenge that you’ll experience shooting outdoor portraits is the background. Due to the many factors and environment, there’ll be distractions behind your subject.
Using a large aperture such as f/1.8 or f/1.4 can create a smooth background without distractions.
2. Shoot towards the darkness
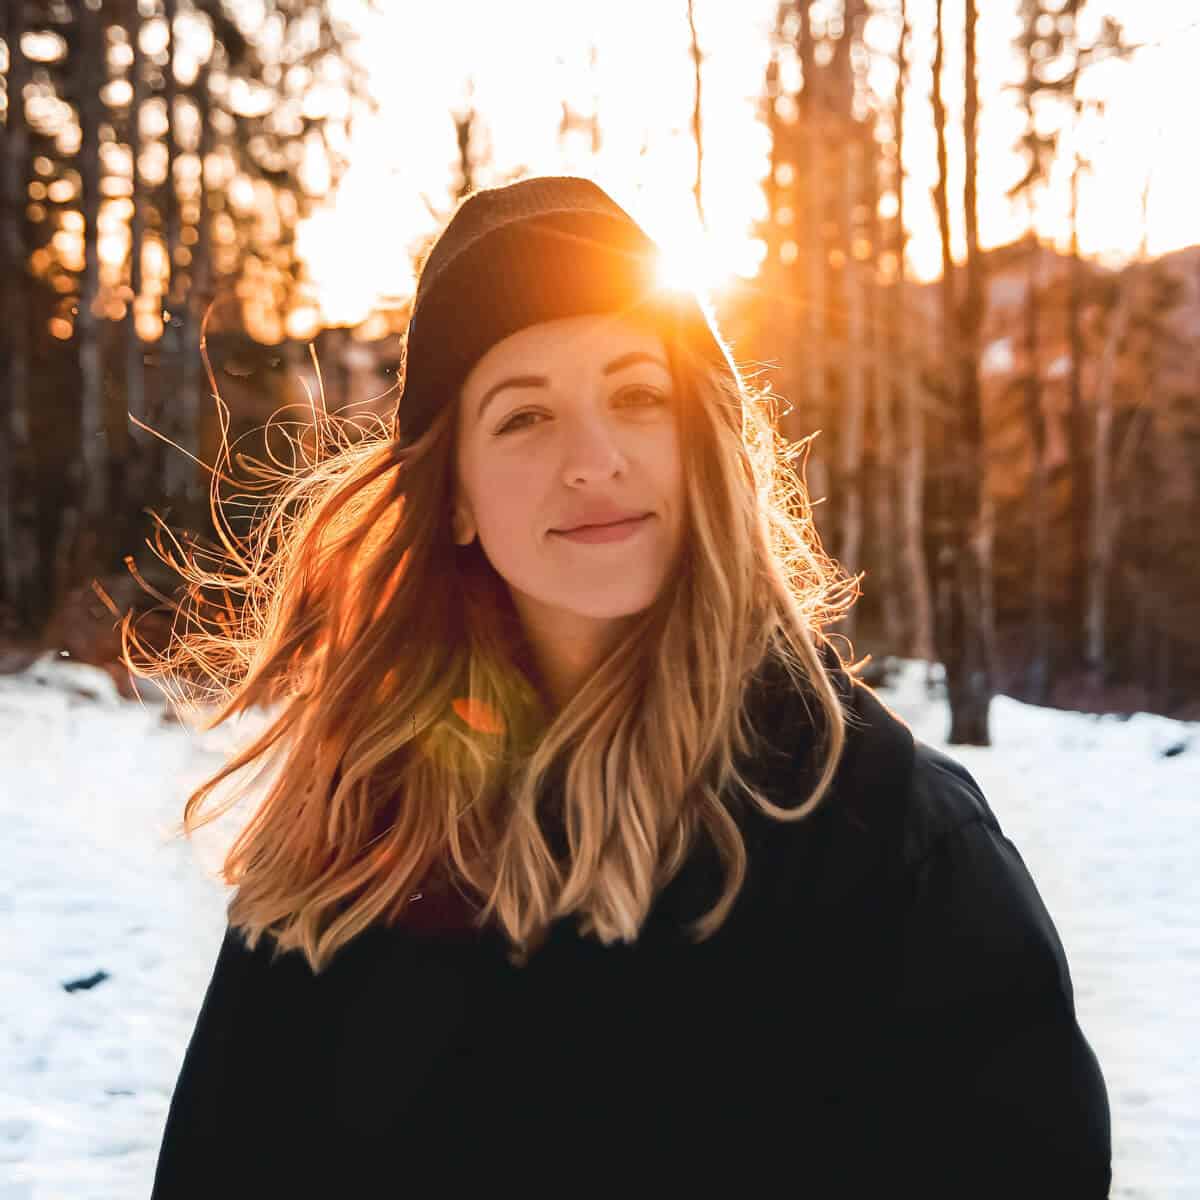
Shooting with the darkness behind your subject will ensure that the image is well-exposed.
When the background is brighter than the foreground, you’ll either have to underexpose your subject or overexpose the background.
Shooting into the darkness will save you a lot of time and help you capture beautiful outdoor portraits.
3. Use a reflector

A reflector is a great way to light up your subject’s face. When the light is behind your subject, their faces will naturally be underexposed.
Another way to use a reflector is to illuminate your subject’s face when they’re in the shade. If you’re shooting in harsh light and don’t want to get hard shadows, have your subject stand in the shade.
In the shade, you may notice underexposure or uneven lighting. As a result, you can use a reflector to add light to your subject’s face and get even light.
Note: Have your subject close their eyes while you find the perfect spot for the reflector.
A collapsible reflector is excellent for travel because it folds to a smaller size. They’re a great way to brighten underexposed areas without a flash.
4. Diffuse harsh light
The purpose of a diffuser is to soften the light and are helpful during midday sunlight. When you’re using a diffuser, keep in mind that the closer the diffuser is to your subject, the softer the light will be.
Soft light is directly correlated with the light source. If you want to get softer light, the source needs to be big and close.
5. Turn the other way
To create an eye-pleasing portrait, have your subject point their nose towards the light source while turning their body away from it. This creates contrast while illuminating their faces.
This type of pose can be done standing or sitting. Remember to crop your subject between their joints. When you crop them at their joints, it causes the photo to look awkward and unpleasing to the eye.
6. Head above or below the horizon

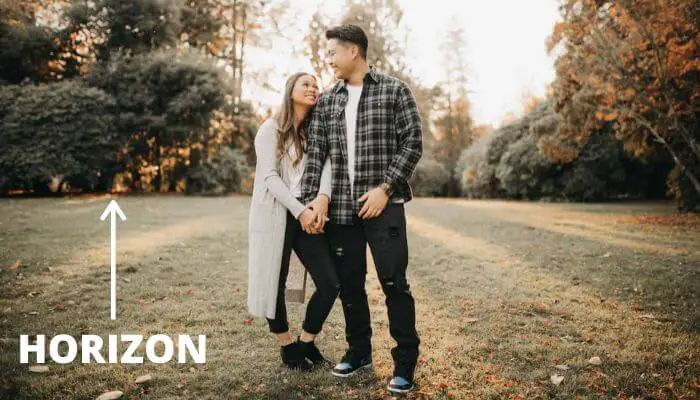
Spearing is a term used to describe a line going through your subject’s head. It’s distracting as viewers look at the portrait. Therefore, pay attention to the horizon.
Ensure that your subject’s head is above or below the horizon. This will keep lines from going through their heads in the background.
7. Foreground blur

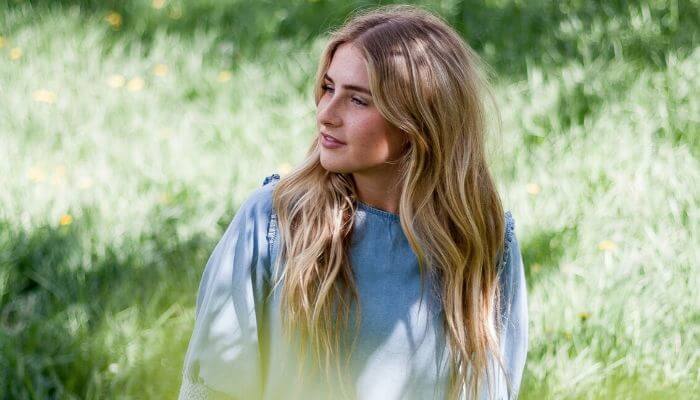
Capturing foreground blur makes the portrait more interesting to look at and creates depth in the photo. Foreground blur is created when you place an out-of-focus object in front of the lens.
You can also use the foreground to frame your subject. For example, if there’s a bush nearby, shoot through the bush and focus on your subject because the blurred out bush will create a frame around your subject.
If you add foreground and background blur with a sharp focus on your subject, it’ll be obvious that the focus is on them.
8. Check for squinting
You’ll know when it’s too bright because your subject will squint. No one looks good when they squint, so make sure you check your subject’s eyes before you press the shutter.
Instead of looking at the sun, tell your subject to look towards the sky, or use a diffuser to soften the light. If you need to shoot with your subject facing the sun, have them close their eyes until you’re ready.
Once you’ve found the perfect position, count to three, and have them open their eyes. You might only be able to capture a couple of photos if you use this method, so preparation is key.
Colors that photograph well
Certain colors photograph better than others when you’re shooting outdoors. Stay away from bold patterns and bright colors. If you’re in doubt, opt for dark colors or black.
During the fall, neutral and earth tones look the best because it’ll match nature. Implementing colors such as olive green, brown, dark red, and neutral colors are excellent.
If you’re shooting during the spring or summer, lighter colors work well.
Portraits on cloudy days
Cloudy and overcast days produce soft light, which can be flattering on your subject. Another benefit is that you don’t have to worry about your subject squinting because there won’t be a bright light.
On an overcast day, it may be hard to capture a catchlight in your subject’s eyes. Therefore, shoot at a downward angle towards your subject.
The downward angle will cause your subject to lift their eyes slightly, and the sky will fill it with light.
Another tip for cloudy day portraits is to utilize color. Since it’ll be grey, the photo can look boring. Instead, use a pop of color to add visual interest.
When it comes to camera settings, use a wide aperture such as f/2.8, which will capture more light. This will help you capture a well-exposed image without motion blur.
Frequently asked questions
What’s the golden hour?
Golden hour occurs during the early morning or as the sun is setting, which creates a warm glow. Generally, this is 2 to 3 hours before sunset and 1 to 2 hours after sunrise.
What are the best settings for outdoor portraits?
Settings quickly change with the environment when shooting outdoor portraits. However, the following is a good baseline: ISO 100, f/2.8, 1/500. If the image is too bright, increase your shutter speed, and if it’s too dark, decrease your shutter speed.
Does white balance matter if you shoot in RAW?
It doesn’t matter because it’ll be easy to adjust in post-processing, but what you should consider is time. By getting the perfect white balance out of the camera, you won’t have to spend time adjusting it when you edit the photos.
Conclusion
Learning outdoor portrait photography is essential to becoming a better photographer. Use different tips and techniques to shoot during any time of day and with any lighting situation.
Related: Instagram Image and Video Size Guide
Featured photo courtesy of Unsplash.
